Tutorial: Mosaic Mirror
FIRST CRAFTED TUTORIAL! YAY! 🙂
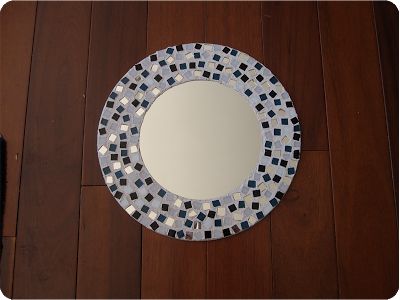
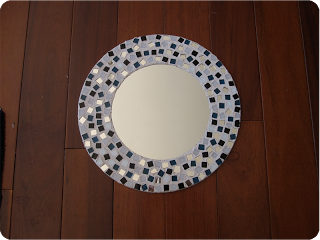
Mosaic Mirror
This was my first attempt at making a mosaic creation so i have some
tips that fall in the “ohhh i should have…” category.
(aka. OISH)
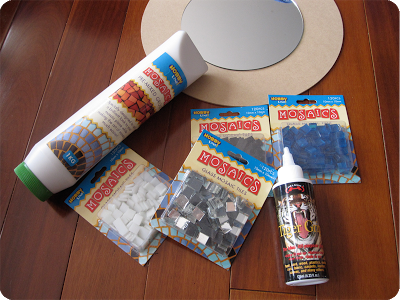
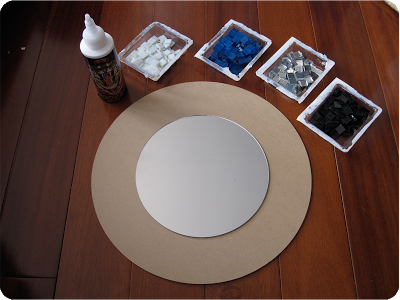
You will need:
A good strong glue.
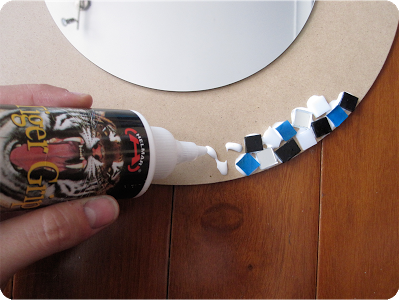
you need one that will work with glass. Tiger Grip is amazing! I use it A LOT!
Mosaic Tiles
Choose colours that will go with the area you want to put the mirror, or if its a gift colours you this the recipient will looove. 🙂
Mirror
Size is important. Keep in mind the size of your backing board when picking the size of you mirror.
Backing board
I used a MDF placemat. again think about the size of your mirror…
Grout
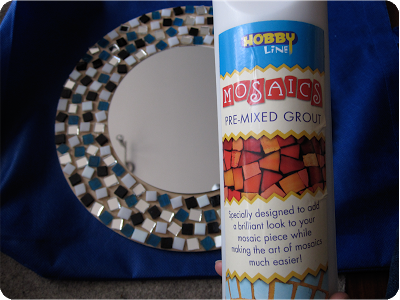
As a first time mosaicer i used pre-mixed grout. No mixing required. This comes in a variety of colours.
Squeegee
I cheated and went for the cheap option of a folded piece of foam. works fine.
Prep:
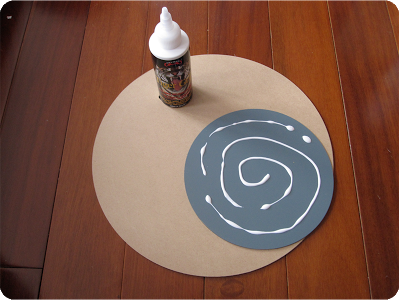
*OISH* Paint the board the colour of your grout. top sides and back. This way any areas that you miss with the grout wont be to obvious and the sided will match. Just makes for a more professional looking piece when you have finished.
Step 1: Glue mirror to backing board. Make sure to place it in the centre.
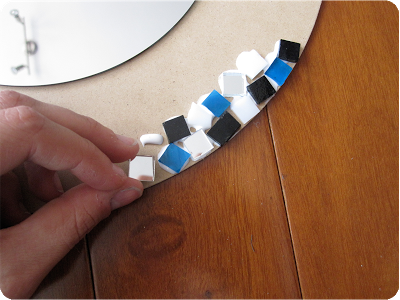
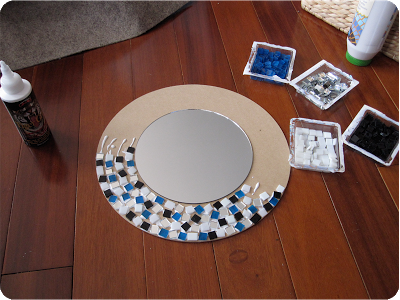
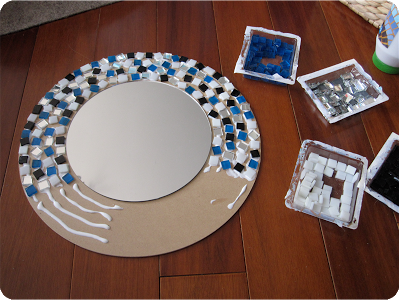
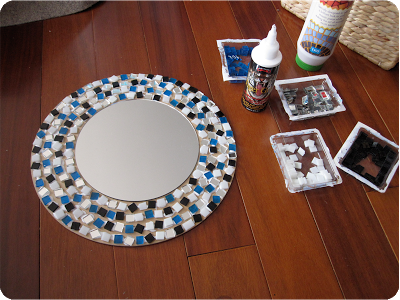
Step 2: Glue the tiles onto the backing board.
If your tiles are translucent make sure you cover the entire base of the tiles. That way you wont get any strange marks showing through the tiles once the glue has dried.
Try not to have gaps bigger that 3mm. The grout works best in small spaces.
When you have all your tiles stuck down leave your project until the glue has dried completely.
Step 3: Time to get grouting.
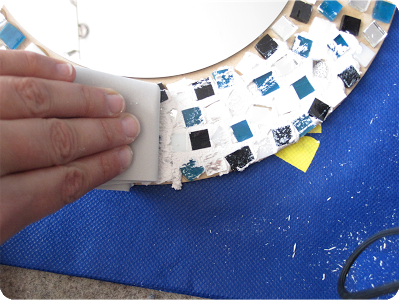
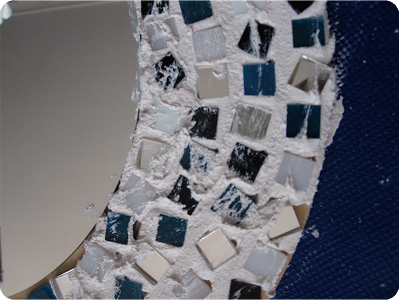
Now that your glue has dried you can apply some grout to your work. Its fairly easy to start out. Just slap it on and spread it around with a squeegee. (again i cheated and used a folded piece of foam.)
Make sure you fill all the gaps in the tiles. Avoid getting any on the mirror. If you do get grout on the mirror it is can be removed once it is dry so don’t worry to much.
*OISH* When you have all the gaps filled (and before it is dry) wipe over the work with a damp sponge. This will even out the texture of the grout and clean some of the grout off the tiles.
Don’t worry about any excess grout on your tiles because you can remove that later on too.
Step 3: Re-Grouting
After you have covered all areas leave the work to dry. (24 hours to be save) If the grout cracks don’t stress! Pre-mixed grout can crack because of the pigments and other additives in the grout. When the grout is dry simply apply more grout to the areas that are cracked just as you did with the gaps in the tiles. Leave that to dry again. You can do as many coats of grout as you need.
Step 4: Cleaning off the excess
I found my fingernail to be a great tool when cleaning the grout off the tiles. However if you have nice nails I do not recommend doing it this way because the grout does kind of act like a nail file…
It you have any stubborn grout you can use a bit of vinegar to loosen the grout. It works really well.
Step 4.5: Cleaning the mirror.
Use a vinegar soaked paper towel to very slowly wipe away the excess grout. Do small amounts at a time and wipe off any grout from the paper towel. If you don’t remove this from the towel you can scratch the mirror. so go slow and BE CAREFUL!
Here are some other cool mosaic tutorials you might like:



-5 Comments-
Love this project, I've been meaning to give mosaics a try and you make it sound so doable!
Your project is awesome! Thanks so much for linking in our blog hop. We wanted to let you know that we're doing a special FC newsletter issue on 11/24 recapping the blog hop, including the projects linked. We can't wait to see what you link next month!
Thanks,
Blair, editor at FaveCrafts.com
Think I'd like to try this with some homade tiles made from glass buttons, like the kind you use to make refrigerator magnets. I could do so many different kinds—animals, flowers, star wars characters, birds, craft papers, etc!
wow…beautiful work. thank you for sharing
beautiful and so interesting work! I love it this job.