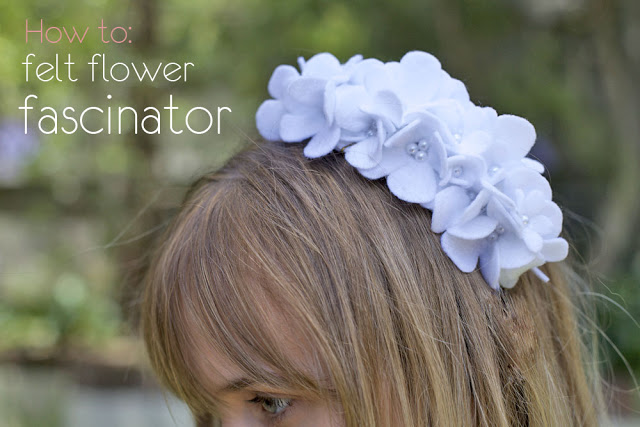
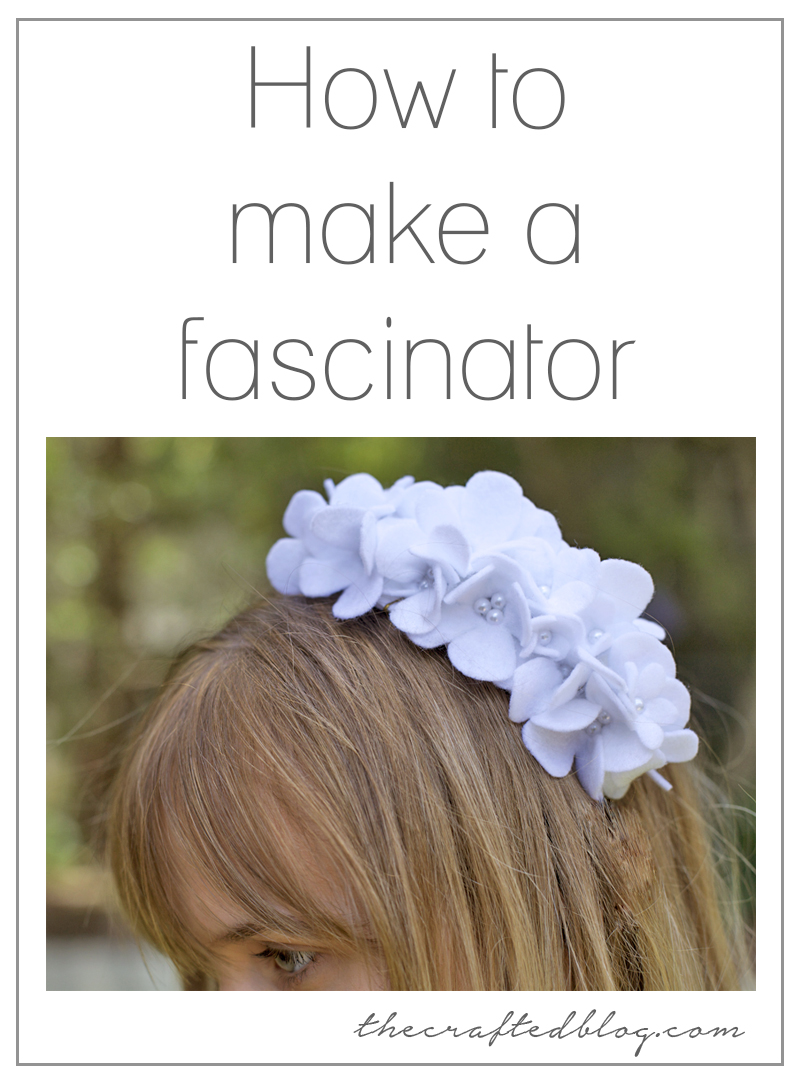
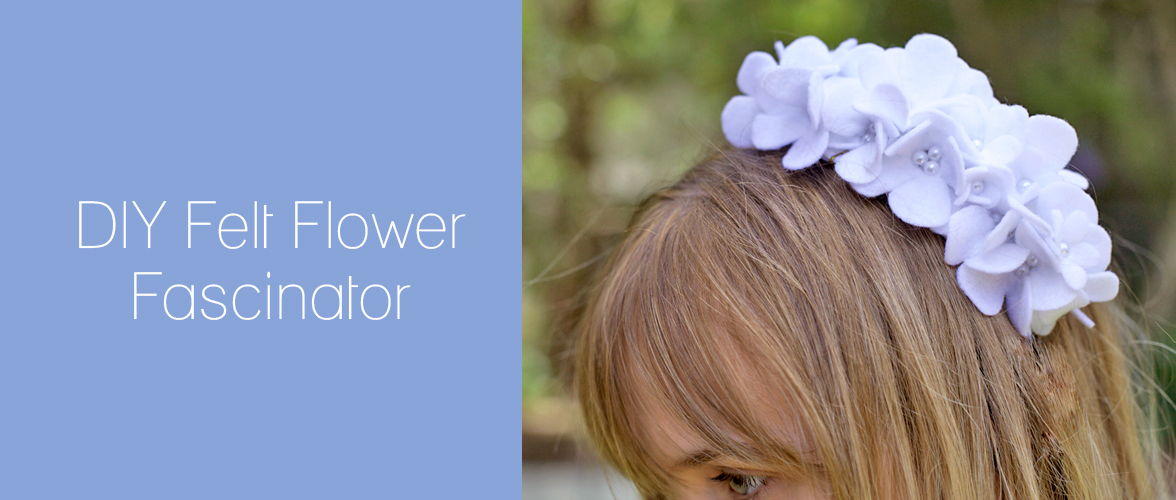
How to: Felt flower fascinator
You will need:
Felt – I used about 3 A4 sheets. You might want more or less depending on the number of flowers and size of fascinator.
Beads – I used fake pearl style beads but you can of course change it up with different beads.
Wire – Florest wire is great because it is already cut into lengths
Glue – I used a fabric glue as well as a stronger “all purpose” glue
Cardboard – Try to choose a colour close to the colour of the felt
Scissors – Any are fine as long as they can cut through felt
Step 1: The base
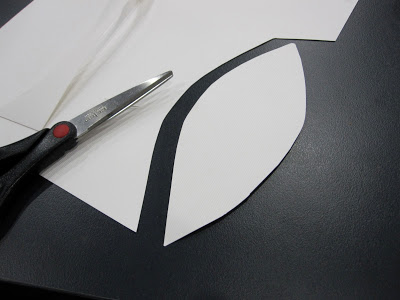
Cut the shape you want for the base out of cardboard. Measure it to your head and make sure you are happy with the size. Once the fascinator is finished it will be a bit bigger with all the flowers stuch on so keep that in mind too.
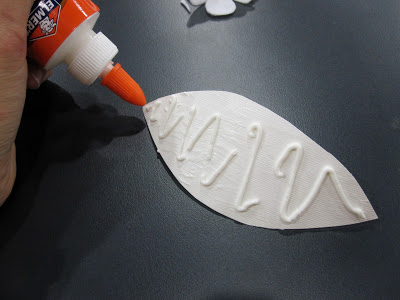
Cover the Cardboard in fabric glue.
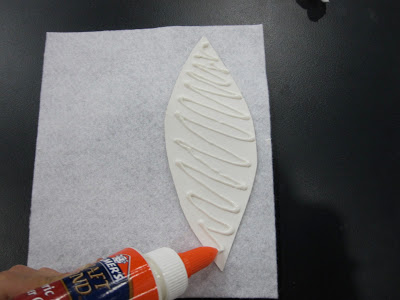
Put the glue covered side facedown on a piece of felt.
Now glue the other size and fold the exess felt over on top, covering the cardboard piece.
By using cardboard we are giving the base a stronger support than just felt
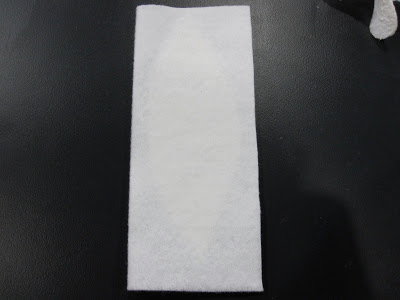
If you look closely you can see the cardboard piece inside the folded felt sheet.
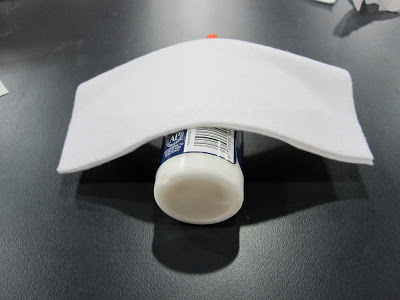
Rest the base over a curved object while it’s drying. This is where gravty helps us out and it will dry in a nice curve so it fits nicely to your head when it’s finished.
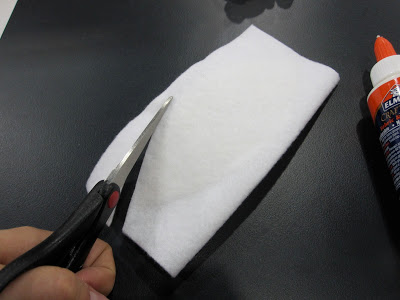
Once the glue is dry you can cut out your base. Try to stay as close to your cardboard shape as you can.
.
Step 2: The big flowers
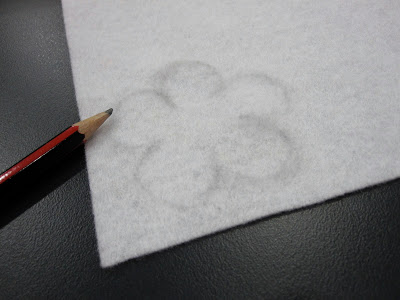
Draw a flower onto a sheet of felt.
Draw a flower onto a sheet of felt.
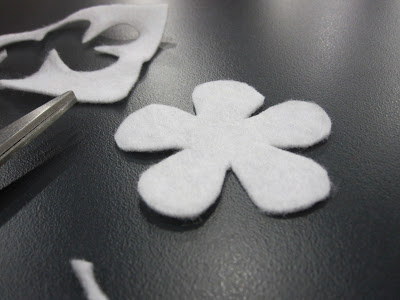
Cut out the flower. It doesn’t have to be perfect. When all the flowers are grouped together no one will notice and imperfections in the flower shape.
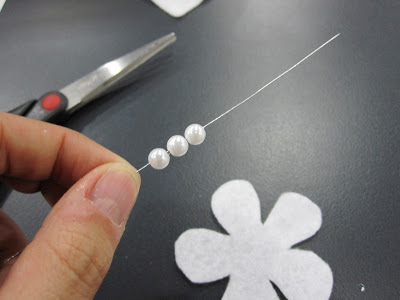
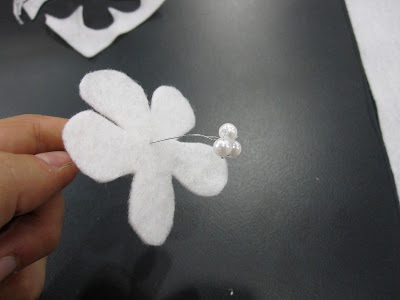
String three beads onto a piece of wire. Leave about 1.5cm wire sticking out from the beads.
Wrap the end of the wire around the other end of the beads making a triangle like you can see in the picture above. Wrap the small sticking out piece around the longer side. Just to keep things neat. 🙂
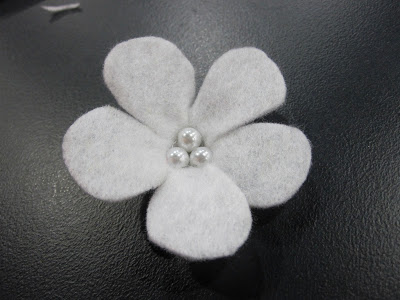
Stick the wire through the center of the flower.
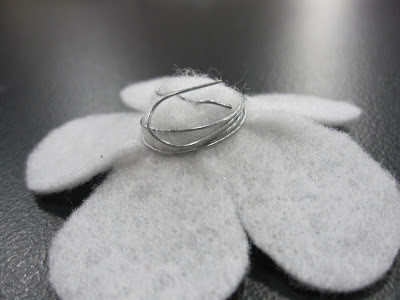
Wind the exess wire around the beads on the back side of the flower. This will make the beads appear to be set into the flower rather than just sitting on top.
Like this. 🙂
Step 3: Little flowers
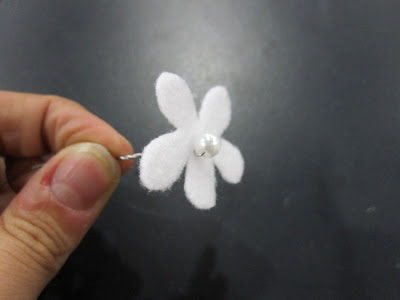
To make the little flowers you use the same process as the bigger ones but with a smaller flower and only one bead. You will only need a few of these little ones.
Step 4: Sticking them all together!
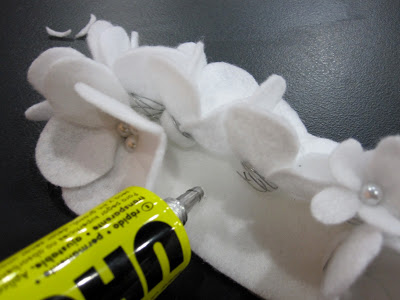
Once you have made a bunch of flowers you can start sticking! I placed them on the base first to see where I wanted them to go. Put the big ones down first and use the small ones to cover any bits where you can see the wire between the flowers. Works perfectly to cover any bits that are not ment to be seen. 🙂
I chose UHU All Purpose for this bit. It’s a really good strong glue. I just wasn’t sure if the fabric glue was going to be strong enough to handly the strange shapes of the back of the flowers.
Finished!
I made mine for the races but I think it would be a beutiful piece for a wedding. 🙂
Have you made a fascinator before?







-0 Comment-