How to: Cover a book in fabric
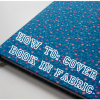
This year I just couldn’t find a diary I liked, well at least not one in my price range. So I headed into K-mart and bought the cheapest, ($3) most boring diary I could find to work my D.I.Y. magic on. It worked awesomely! I made this a few months ago and have waited until now to share the tutorial because I wanted to make sure the diary would stand up to every day use. It still looks awesome.
Here’s how you do it…

Step 5
Use more tape to stick the excess fabric on the inside of the cover. Again trying to keep the fabric stretched as tight as possible.
Step 6
Cut off any overlapping fabric that is not going to be stuck down. Check the pic if you are not sure what i mean.
Step 7
Keep this process going around each edge of the cover.
Step 8
Do the same with the front cover.
Making the inside look pretty.
My book was A5 and my paper was A4 (Australian sizing) so it fit perfectly but if you have an unusual sized book you might need to cut your paper to size. You want the paper to be the size of the book when it is open.
Step 9
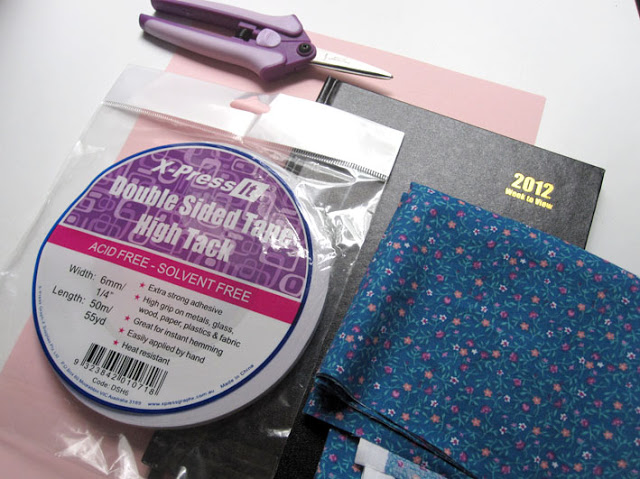
Put double sided tape around the edges of your piece of paper.
Step 10
Peel HALF of the backing paper off the piece of paper. (enough to stick onto the inside of the cover)
Step 11
Stick the paper down onto the cover side only and run your finger down the spine of the book to make a nice fold in the paper.
Step 12
Stick the other side of the paper onto the first page of the book.
FINISHED!
Now you have turned a boring book into a beautifully personalised one.
What do you think?


-0 Comment-