DIY White Rim Planter Pots
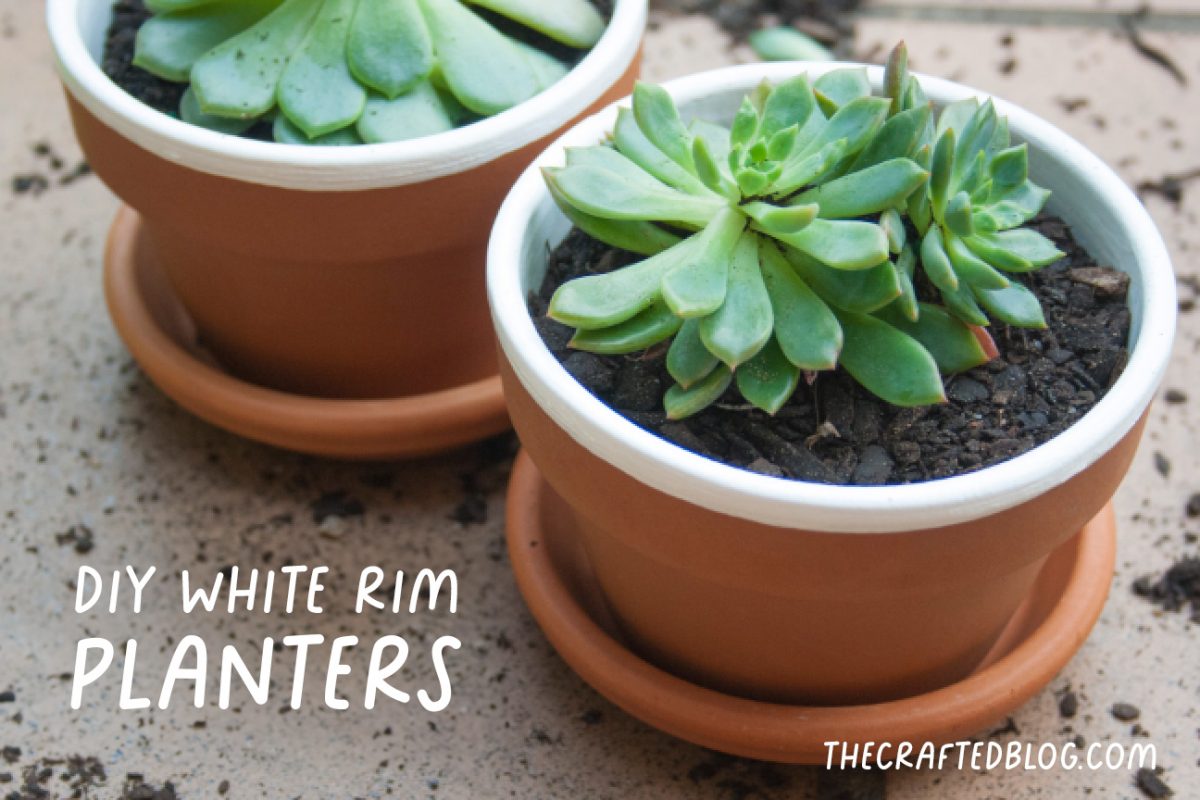
This cute little DIY white rim planter is great for a quick little project to spruce up your existing terracotta pots.
Material
Masking tape
Any masking tape will do. However the better quality tape will most likley give you a cleaner finish.
Paint brush
I used the Monarch Sample Pot Brush. These brushes are such a great size. They also have synthetic bristles giving you a nice clean paint finish too.
Terracotta pot
Choose any size/shape pot you like. This concept can be applied to just about any kind of planter.
Gloss white enamel paint
Enamel paint is best for this DIY white rim planter project because its waterproof and gives a great gloss finish.

The Process
Step 1
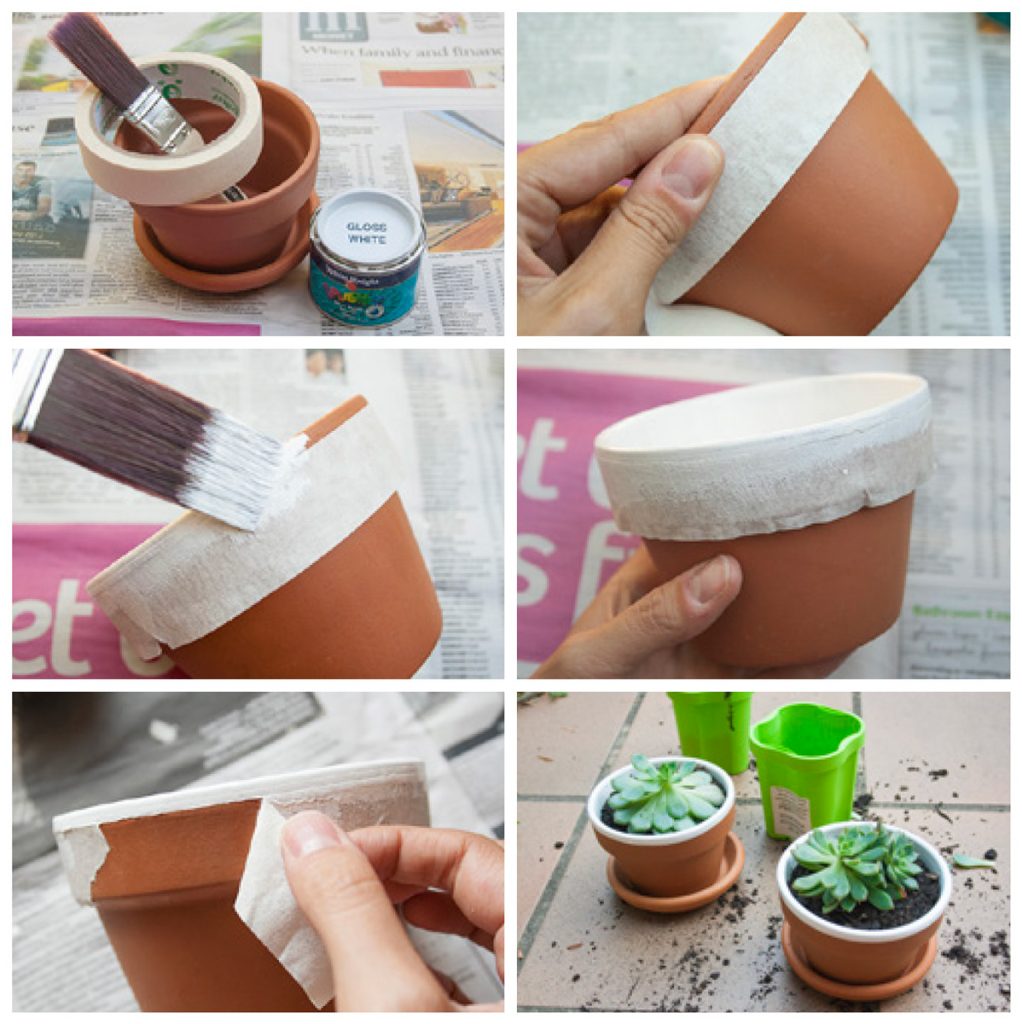
Make sure your pot is clean and dirt free. Apply a strip of masking tape to the level you want your paint to stop.
Step 2
Paint the inside of your pot and around the rim. Ensure your masking tape is stuck down well before applying your paint or it could bleed under the tape.
Leave that coat to dry well before adding a second coat.
Continue this process until you are happy with the opacity of the painted areas.
Step 3
Once the paint is dry you can remove the masking tape.
Take your time and be careful. The thicker the paint the more care you will need to take with removing the tape. If the paint has bled a bit, don’t fret! You can use a fine paintbrush and go around the edge to even it up.
Now just fill them with your favourite plants and enjoy!


-0 Comment-