DIY Christmas Garland
Hello crafty friends! If you’re looking for a quick and easy project for the festive season this DIY Christmas garland is PERFECT.
This project is number one in a three-part series of Christmas projects that you can totally achieve last minute before Christmas.
This gorgeous garland is also quite transeasonal. After all, stars are not just for Christmas… 😉
Full disclosure: This DIY Christmas Garland project contains affiliate links. If you choose to purchase something from one of the Amazon links below we will receive a small commission. These commissions are what help us keep this site going so thank you so much for your support!
Clay Star Christmas Garland
Materials
Air dry clay
Star cookie cutter
Paintbrush
String
Craft knife
Cutting Mat (or any surface suitable for working with clay)
The Process
Step 1
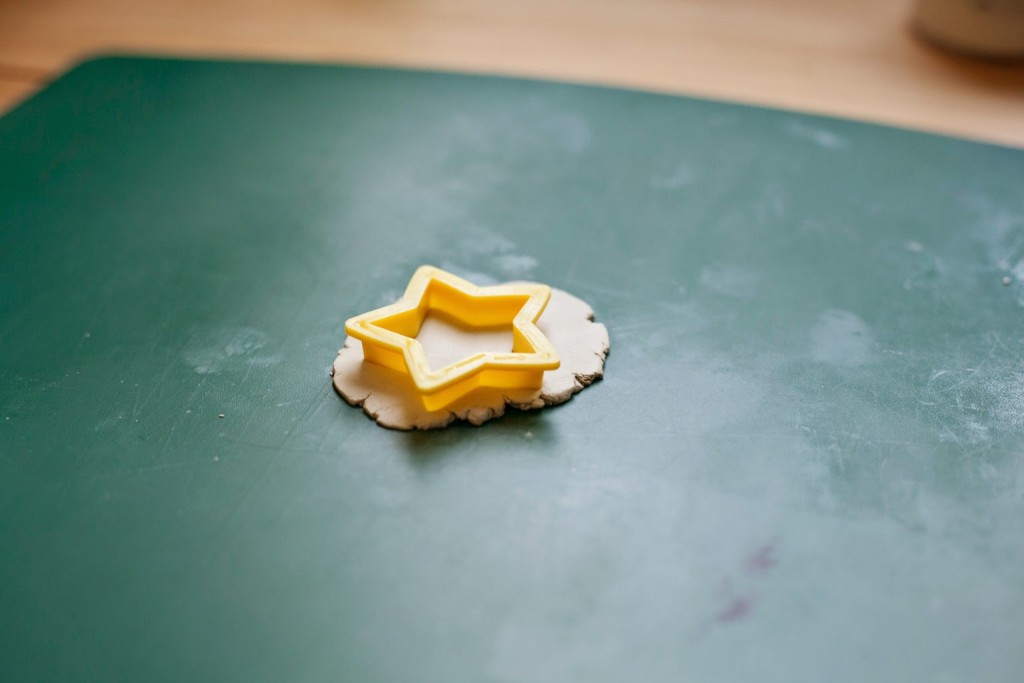
Here we go! The first step in this DIY Christmas Garland is to roll out a small piece of air-dry clay and use a star cookie cutter to create your base shape.
I’m using the back of a cutting mat for my workspace. I think cutting mats make a great base for working with air dry clay because they are super smooth and the clay doesn’t get too stuck to the mat.
Step 2
Carefully remove your star from the surface. I’m using a craft knife.
Once you’ve removed your star from the mat very carefully smooth off any rough-looking edges with your fingers.
Step 3
Use the non-brush end of a paintbrush to poke a hole in the middle of your star.
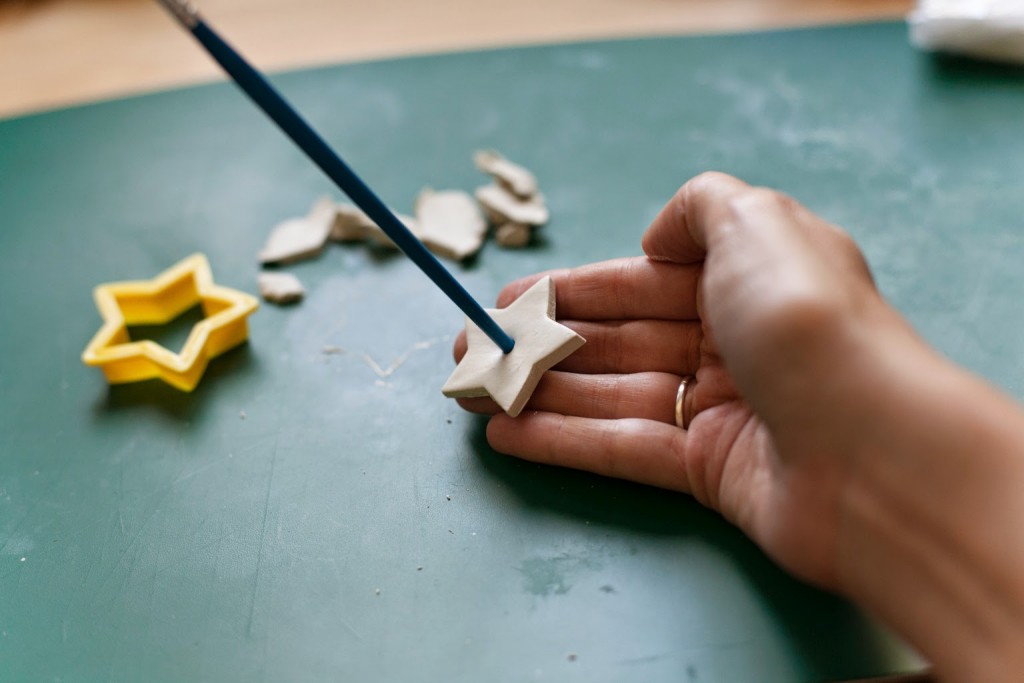
Now repeat this process, make a whole bunch of stars and leave them to dry overnight.
Tip: If you don’t have time to waste use a polymer clay then you can bake the stars in the oven and they’ll be done in around half an hour!
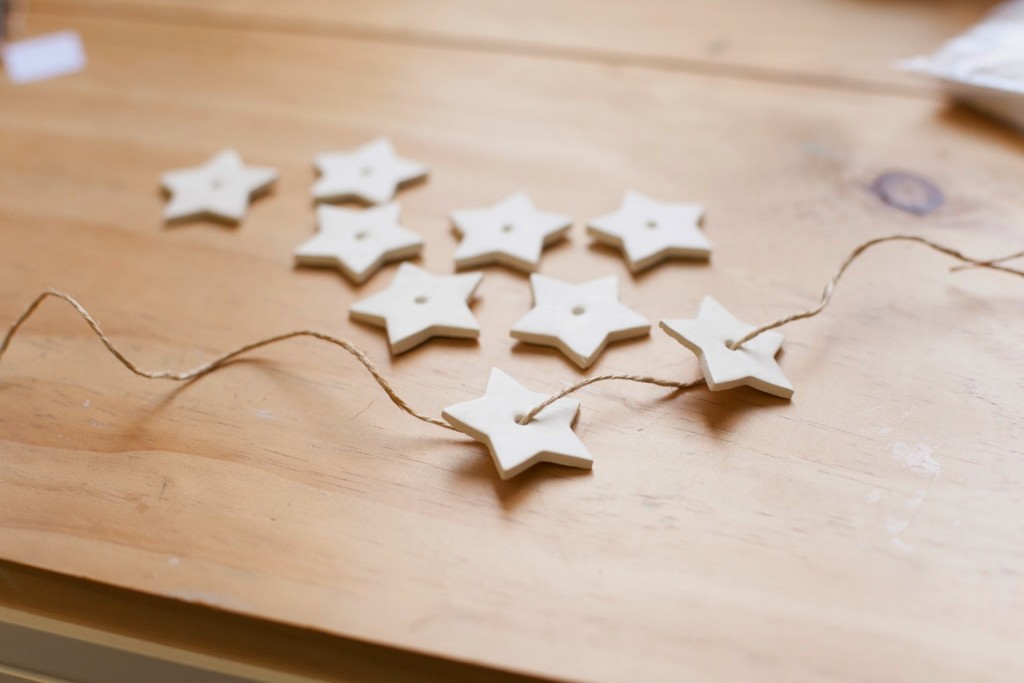
Step 4
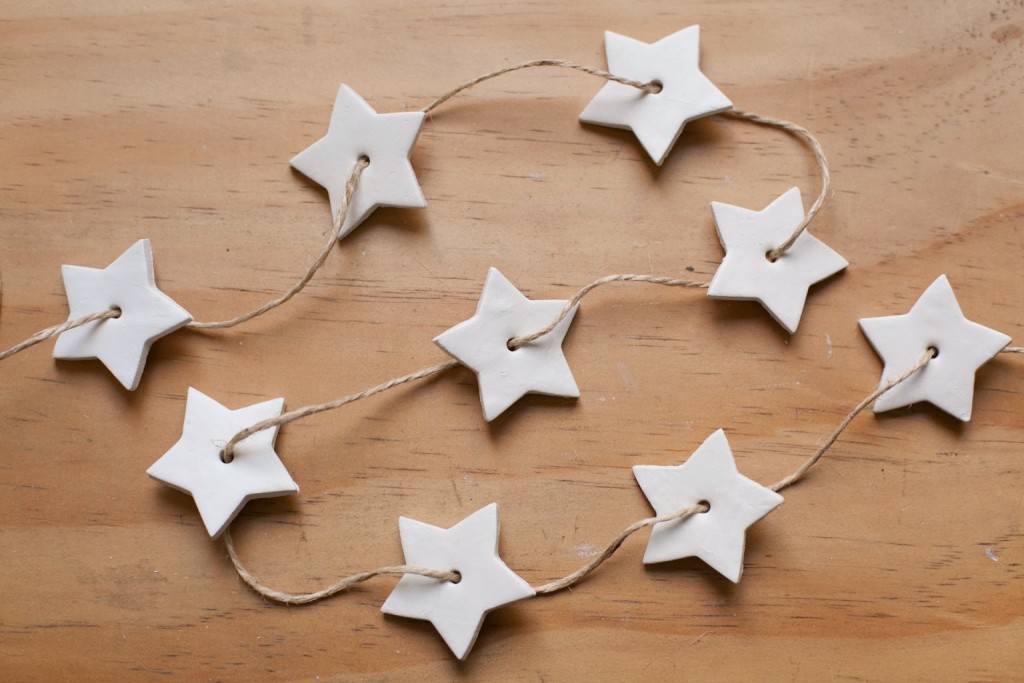
Thread your string through the holes in the stars. Tie a knot under each one to make sure they stay in place. I’ve left mine loose sitting on the knot but if you want to make them a bit more secure just add a little bit of glue. UHU All Purpose is my FAV!
Pretty!
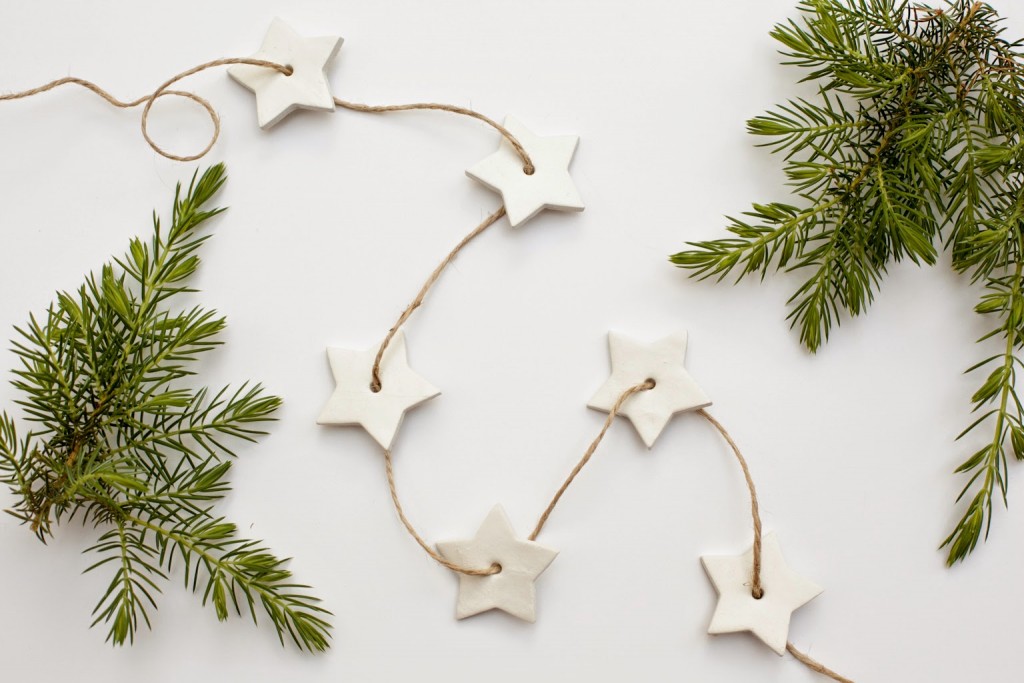
Now the only thing left to do is choose where you want to put it! I’m going to put mine on the Christmas tree. 🙂
Did you enjoy this project?
Check out our other last-minute Christmas DIY projects.
3D Star Christmas Place Cards
Star Christmas Gift Wrapping






-0 Comment-