DIY No-Sew Gift Bag
Everyone loves a no-sew project right!
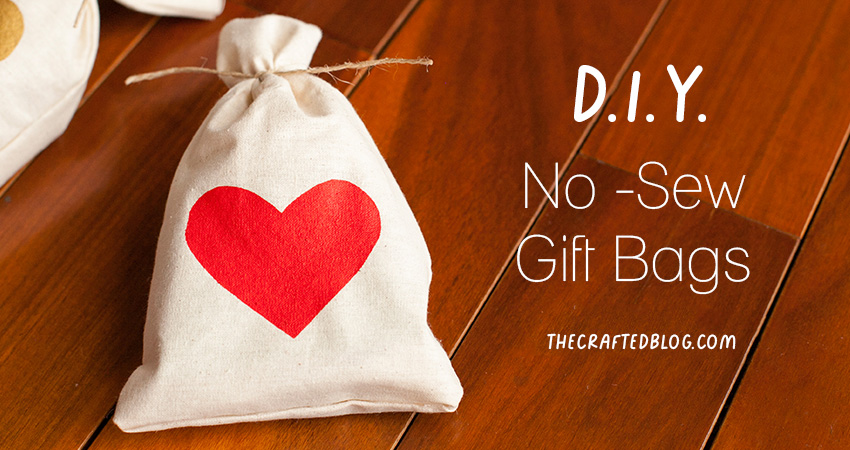
This cutie little no-sew gift bag are perfect for any little gift or event favour. The best thing is they are ridiculously easy to make. Seriously. Take a peek at these instructions and find out for your self.
Full disclosure: This post contains affiliate links. If you choose to purchase something through the links in this post I will get a small commission. (thank you!)
Step 1
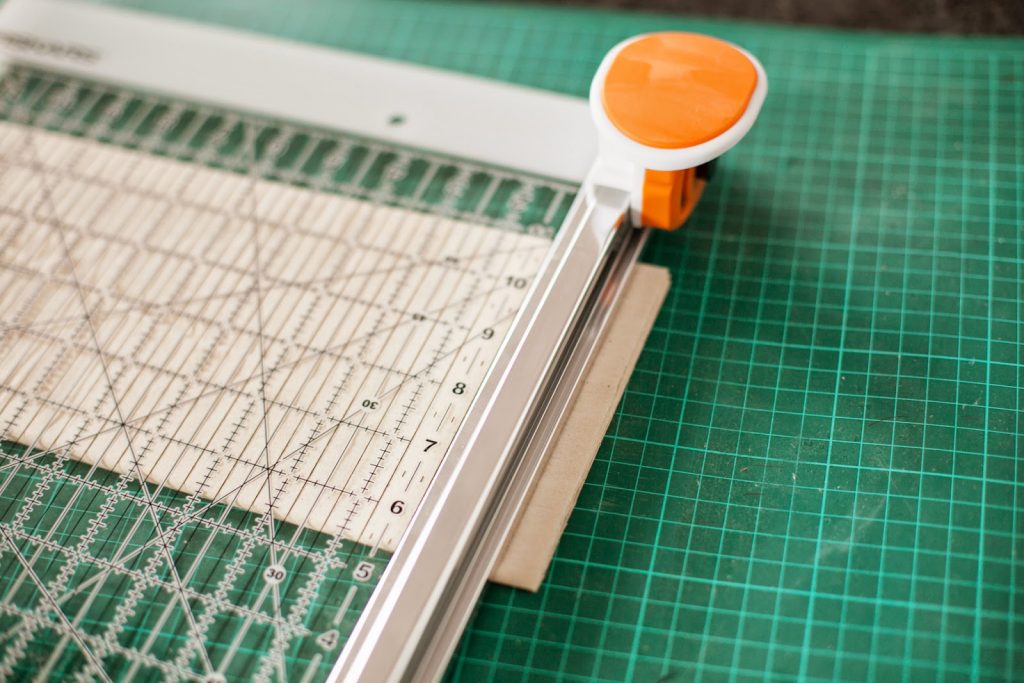
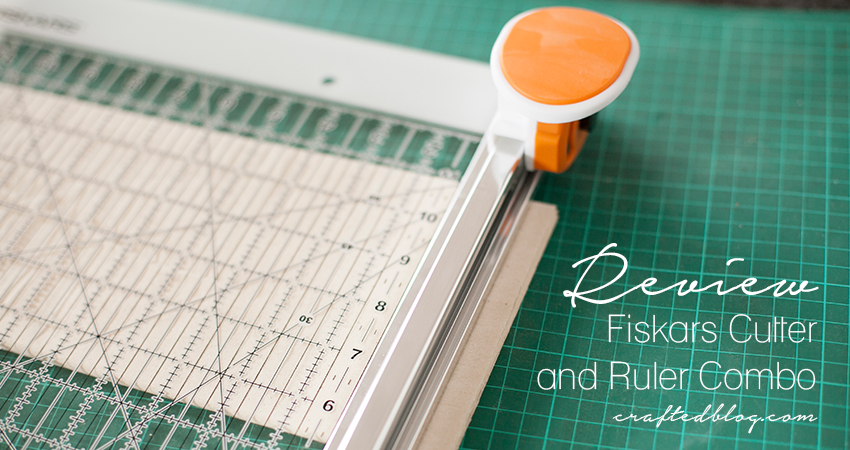
Workout how big you want your bags to be and cut your fabric to size. This Fiskars cutter is amazing for fabric. See my review here. Each bag needs two pieces.
Step 2
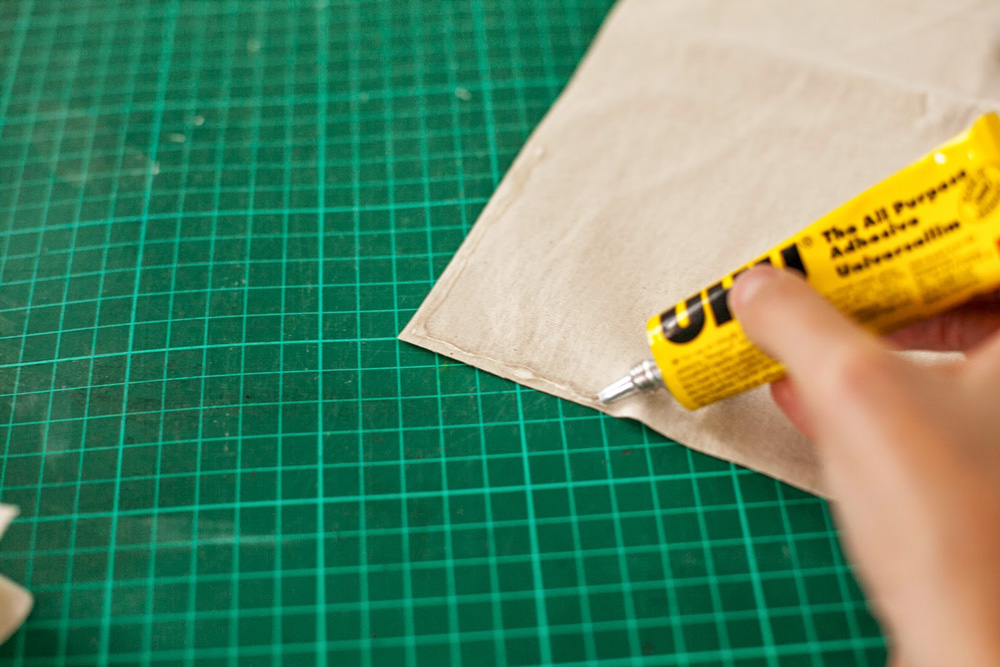
Apply glue to three sides of the fabric. The side without glue will be the opening for the bag. Stick two pieces together.
Step 3
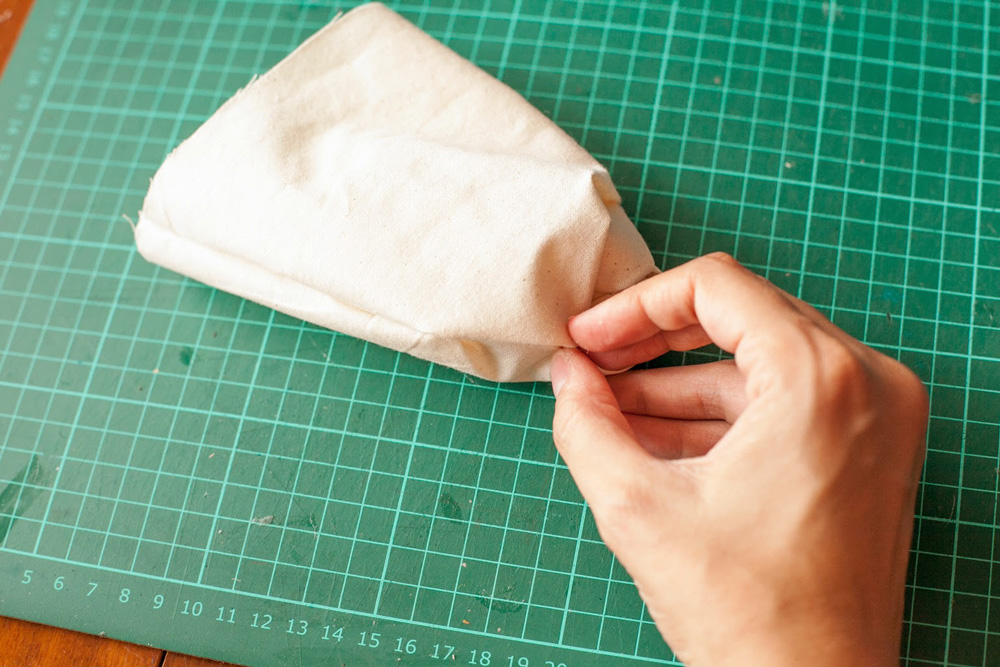
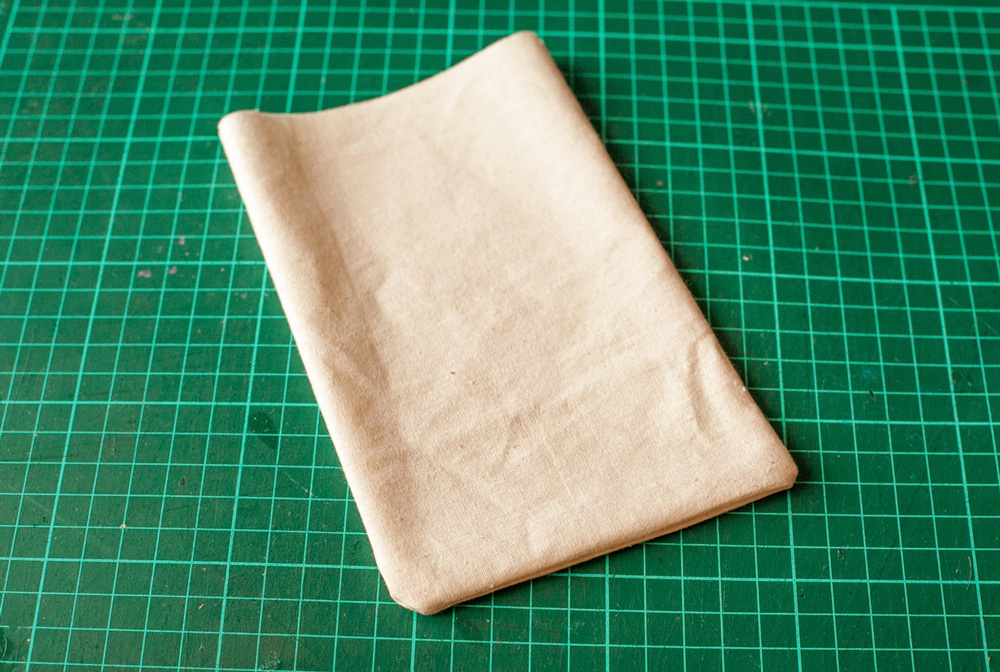
Once the glue is dry turn the bag inside out. This will give you a lovely neat seam.
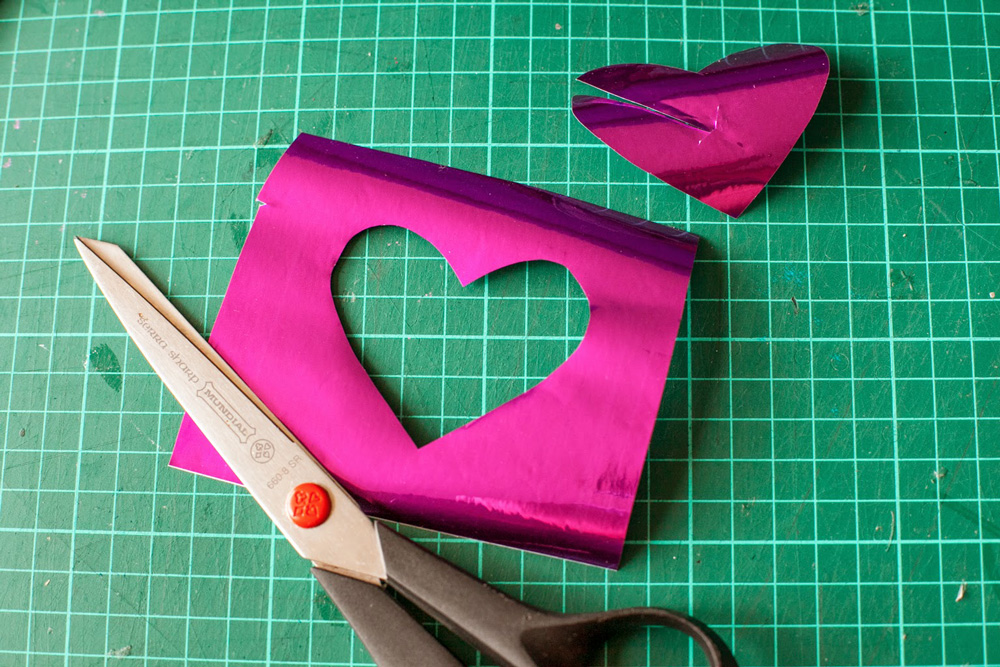
Step 4
Make a stencil using adhesive contact.
All you have to do is cut the shape you would like on your bag from the centre.
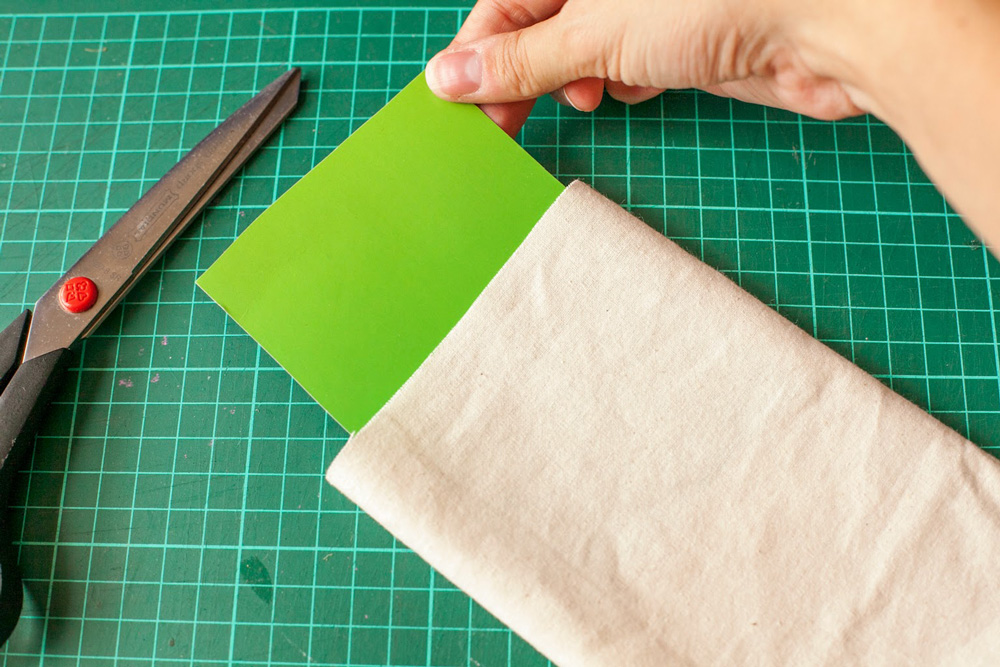
Step 5
Pop a little piece of cardboard inside the bag.
This will stop the paint going through to the other side of the bag.
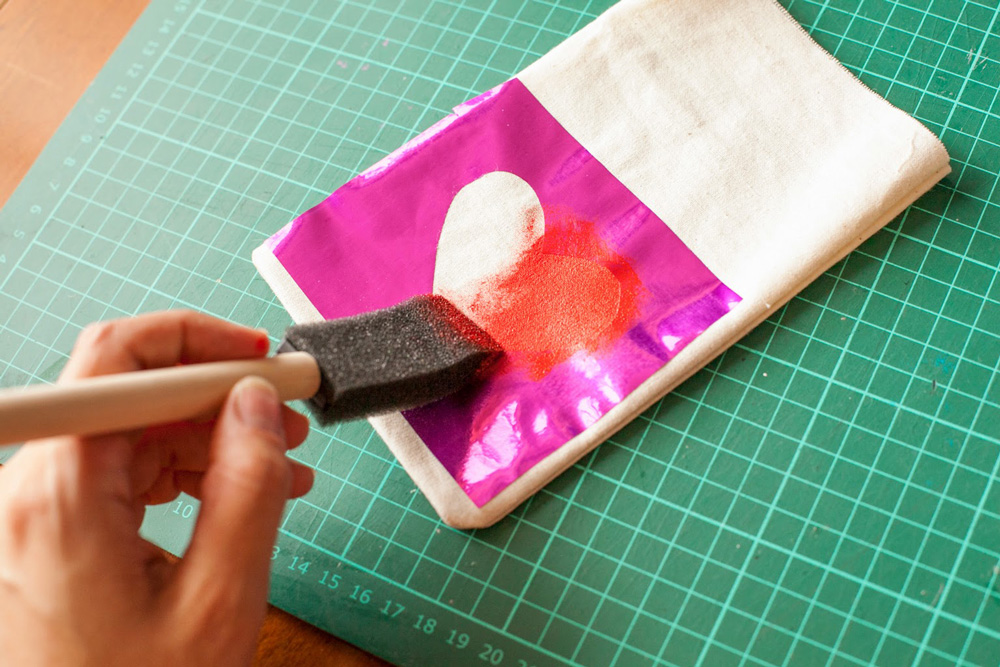
Step 6
Sponge paint over the stencil
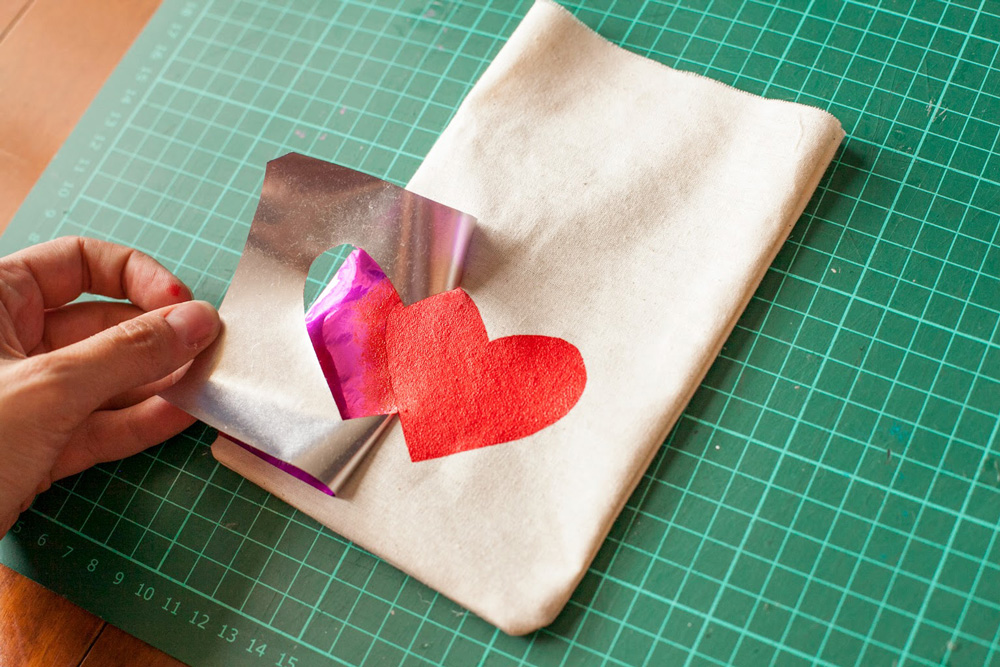
Step 7
Remove the contact and admire your work!

Pretty cool right! 🙂
Now just fill the bags with your little pressies and tie them up with a lovely, simple piece of brown string.
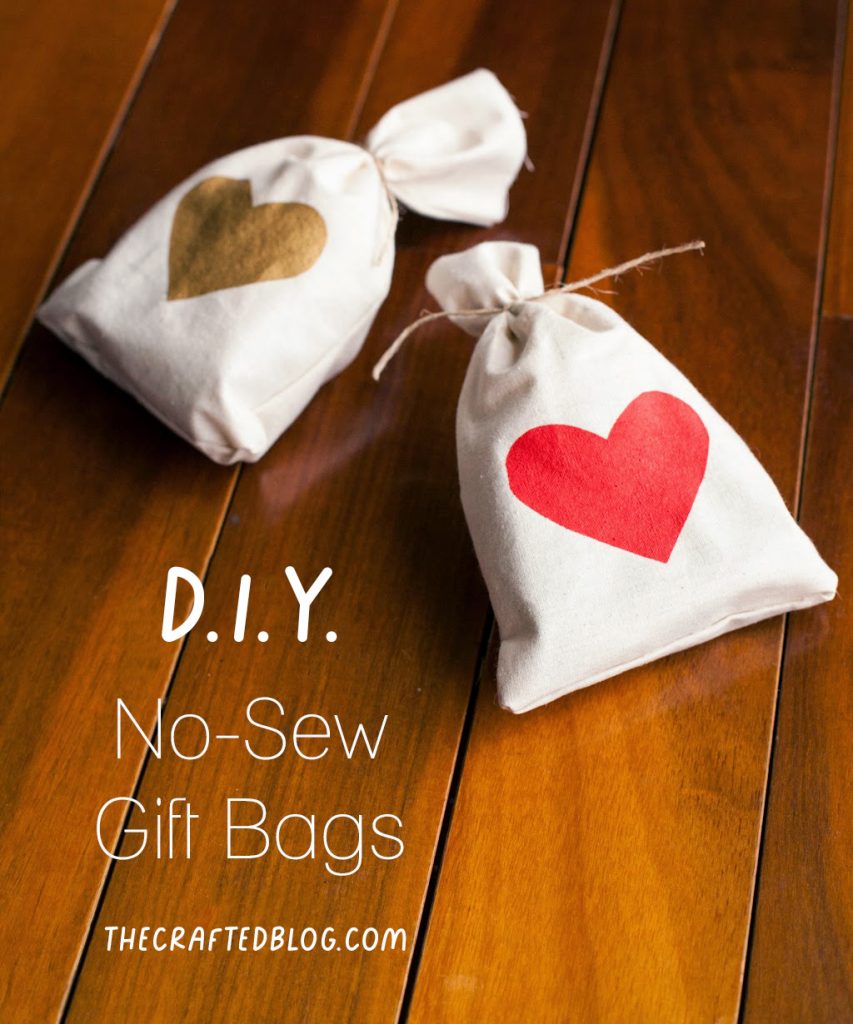
Cute right? And so SO simple.
What do you think? 🙂



-1 Comment-
[…] No-Sew Gift Bags […]