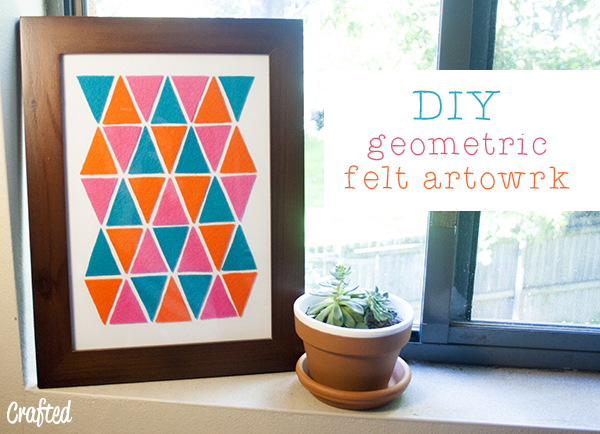
DIY geometric felt artwork
Any frequest readers will know I’m still totally smitten with triangles. I’ve done several DIY posts featuring these geometric lovelies… Triangle gift tag printables, Geometric coasters and Painted geometric bangle just to name a few. But really…
Neon felt + Triangles, what else do you need from an artwork?
You will need
Thick card stock
Scissors
Coloured Felt
A4 Picture frame (match to paper size)
Double sided tape or fabric glue
Blank A4 paper
Ruler
Step 1
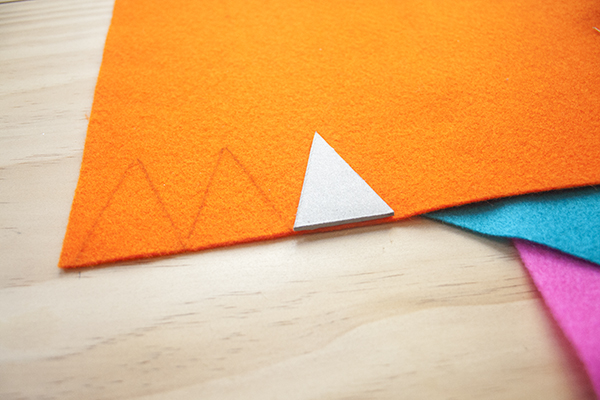
Create a triangle template from a piece of thick card.
Trace around your template with a pencil. Using a template makes this project so much easier because it means you know all of your triangles will be the same size and shape.
Step 2
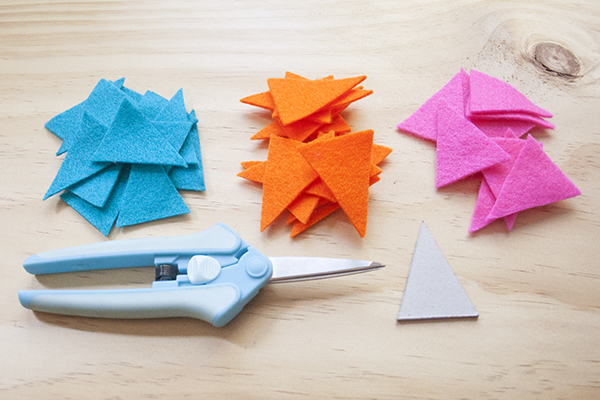
Cut out a bunch of triangles in each of the colours you want to use in your artwork.
Step 3
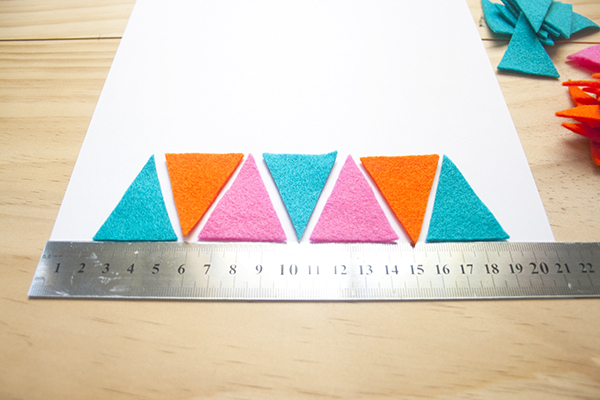
Use a ruler to line up your first row of triangles on your paper. Starting with a straight bottom row is super important as it will help to keep the rest in line too.
Step 4
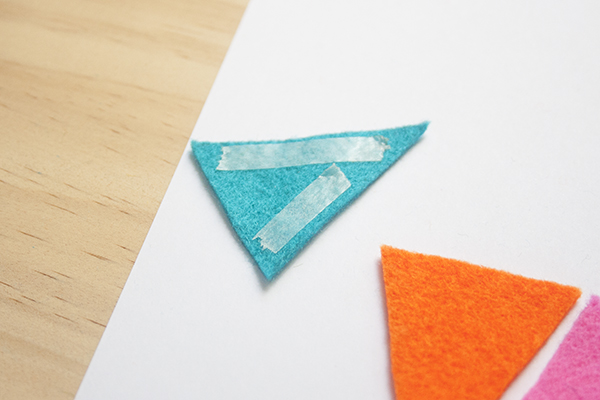
As I’m putting this piece into a frame with glass a bit of double sided tape is all you need. If you are keeping the felt un covered, e.g. mounting on a canvas, I would recommend using a nice fabric glue instead. Felt is such a tactile medium you just KNOW people will want to touch it so it might need something stronger than tape.
Step 5
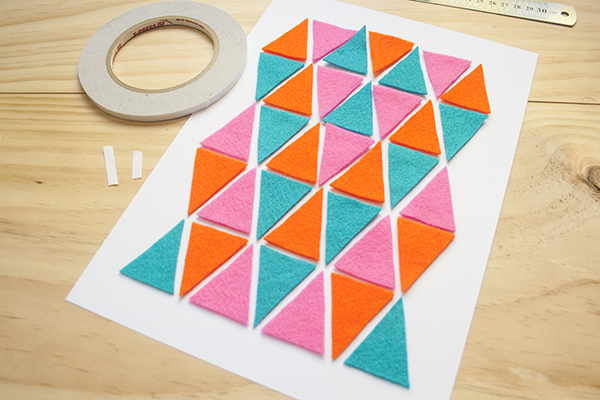
Once you have your first row stuck in place arrange the rest of your triangles to make sure you have enough of the colours you need. Continue to stick each triangle to the paper.
Step 6
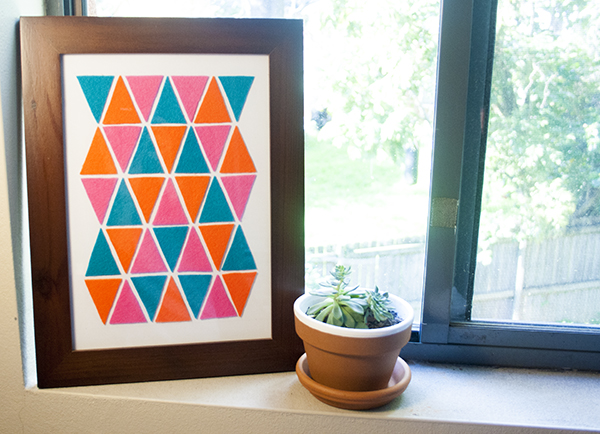
Now all you need to do is stick it in a frame and put it somewhere that could use a bit of extra colour. 🙂
What do you think? Super simple but so effective!



-0 Comment-