DIY – Felt Christmas decorations
FREE PATTERN – Christmas Tree Pattern
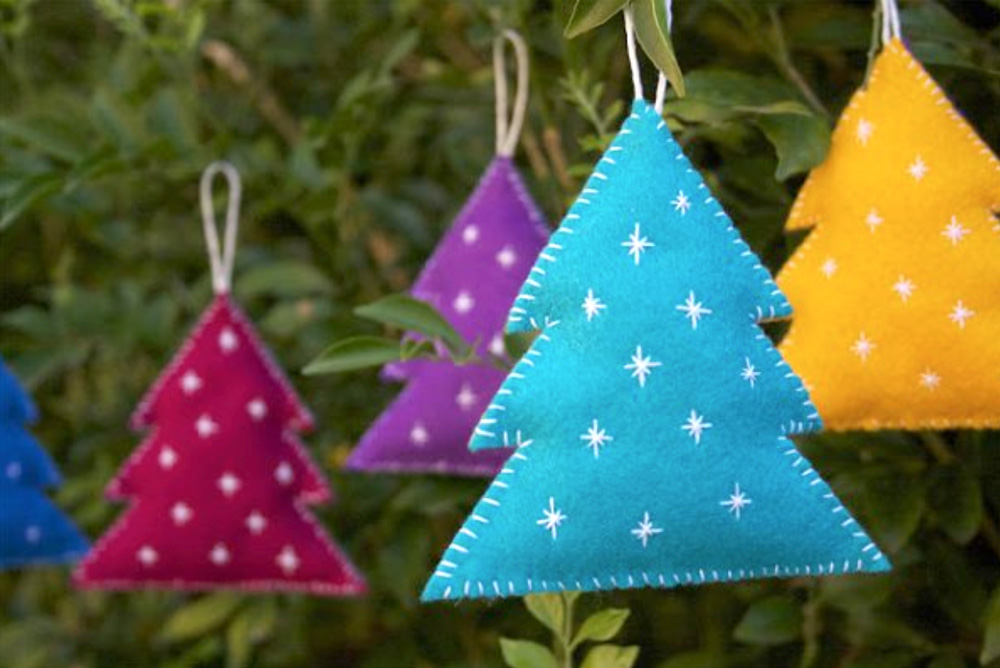
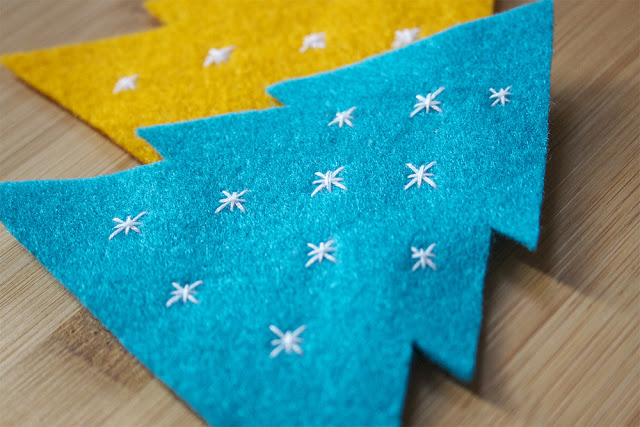
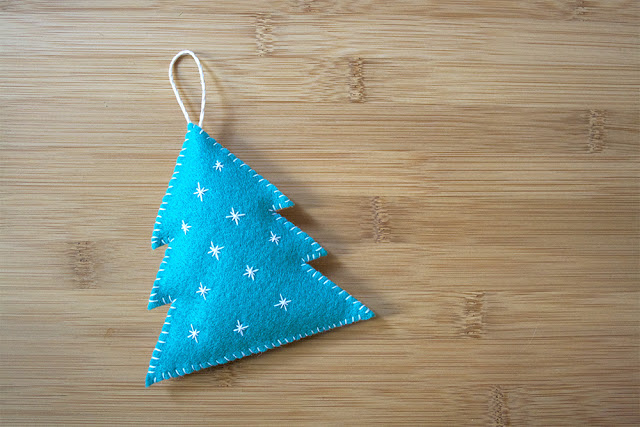
These felt Christmas decorations are the perfect project for any beginner embroiderer. I love embroidery but I just haven’t done much of it. I really wanted to try my hand at some fancy stitches but I thought I would be a bit of a hypocrite if I was telling you guys to make something that I didn’t know how to do myself… So I did a bit of playing and this star stitch is what I came up with. I was quite happy with the result. 🙂
Full disclosure – This article contains affiliate links. If you choose to purchase anything from Amazon after clicking on the links below I will get a very small commission. (Thanks for your support!)
You will need
Felt – Pick a bunch of your favourite colours! Shop felt on Amazon here.
Thread and needle – Use a colour that will show up on each colour you are using.
Scissors – Any old things will do. You will need them for cutting the felt and the threads. These are my favourite scissors.
Stuffing – I didn’t use a lot of stuffing in my trees. I wanted them to have shape but not be to big.
String – to create the loop
Step 1
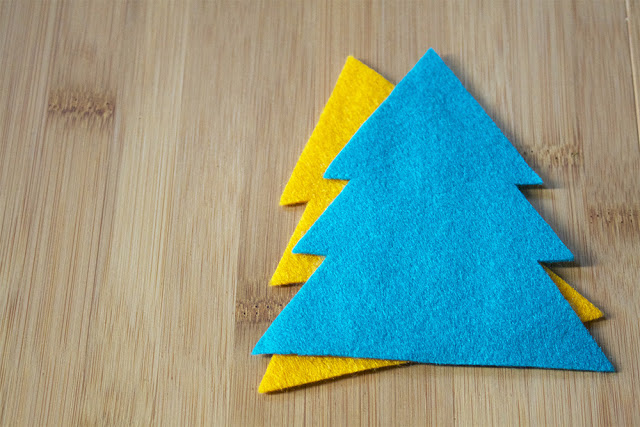
Cut out two trees. I used my Christmas tree template to cut the shapes for these trees. Click here to get my FREE template. Otherwise, you can just draw one up yourself. 🙂
Step 2 – The embroidery
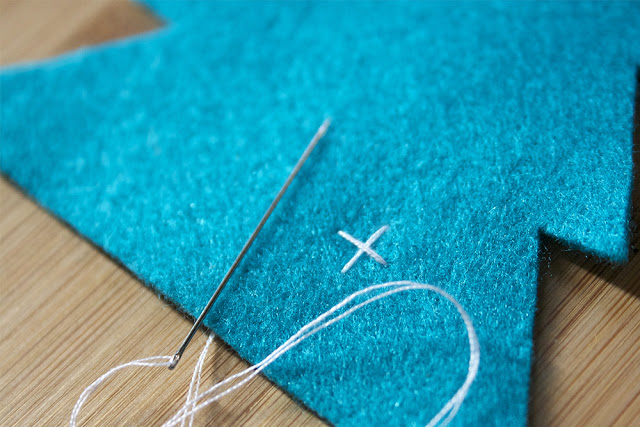
Stitch a cross into the felt. You want it to be up and down like a plus sign (+) This will form the longer points of your star.
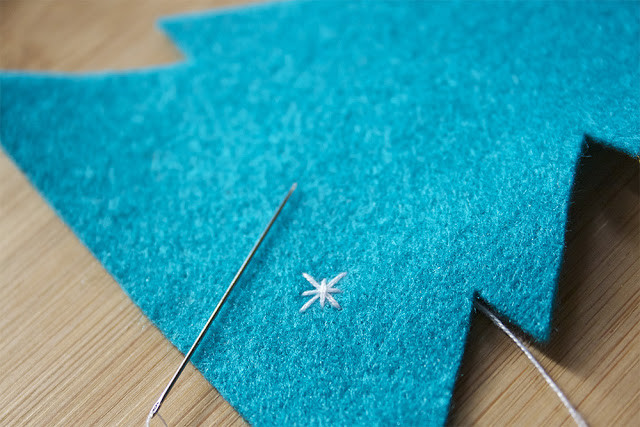
Now do another smaller cross over the first one. This time like an X not a +
TIP start the points of the second cross in line with the two points on either side of it. One thing I learned from this project is to make your stitches bigger than you want them to be. I found when I put the needle in where I wanted the line to start it would always turn out too short. This may only be the case when doing straight lines and in felt but it’s a good thing to keep in mind…
Keep making your stars until your Christmas trees are nice and full. Could be a good idea to practice on some spare felt until you are happy with the way they are looking.
Step 3
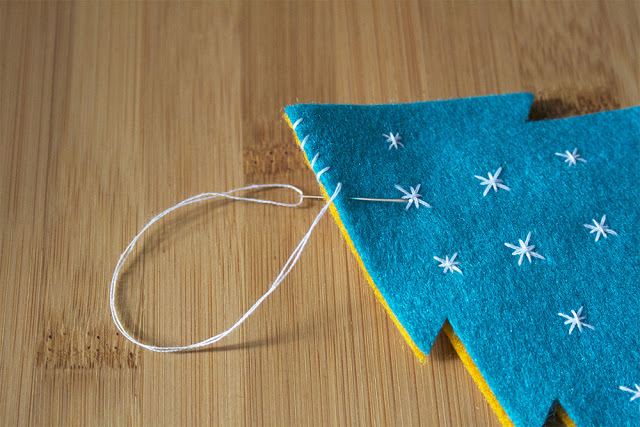
Start to stitch the two pieces together with both starry sides facing out. Don’t stitch over the tip of the tree yep. Just do enough to hold the trees together where you want them.
Step 4
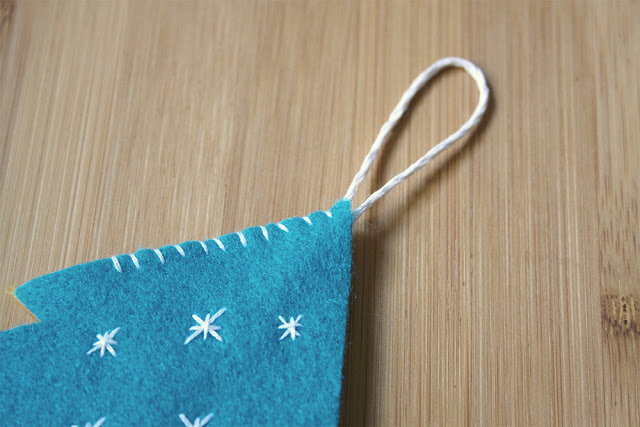
Make a loop in a piece of string and tie a knot. The knot will stop the string from coming out. Put the end of the string in between the two pieces of felt and stitch up the rest of the sides, leaving the base open.
Step 5
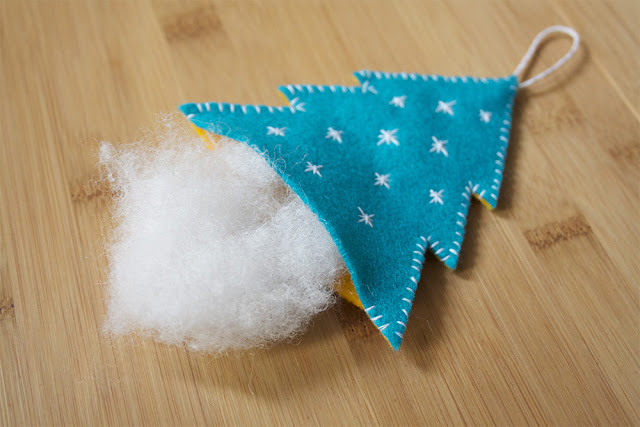
Add your filling. Put in as much as you want doing your best to get stuffing into the little corners of the tree. Once you’re happy with your felt Christmas decoration fill simply stitch up the base and you’re done!
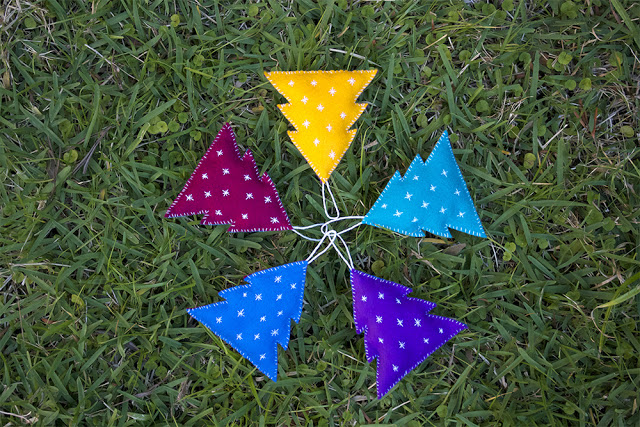
Now make this guy some friends to hang out with. 🙂
Make as many as you like. If you have a specific colour theme for your Christmas decorations this year you can make them to match. These cute felt Christmas decorations also make great gift toppers or a fun little embellishment on a bottle of wine.
Cute right? 🙂
What do you think? Are you making any decorations for Christmas this year? 🙂




-1 Comment-
The threes are sou cute! Thank you for the good diy! I want to make some mye self, rigth now!