DIY Felt Bead Bracelet – Guest post from Emma Amy Jane Wall
Emma is a great felt artist and we’re so lucky to have her here today to show us a thing or two about making a felt bracelet.
Enjoy! – Dom
Making your own felted beads is a fun and inexpensive way to create your own simple and stylish bracelet. This versatile piece takes only minutes to make, and can be easily customised with beads or charms for that extra unique touch.
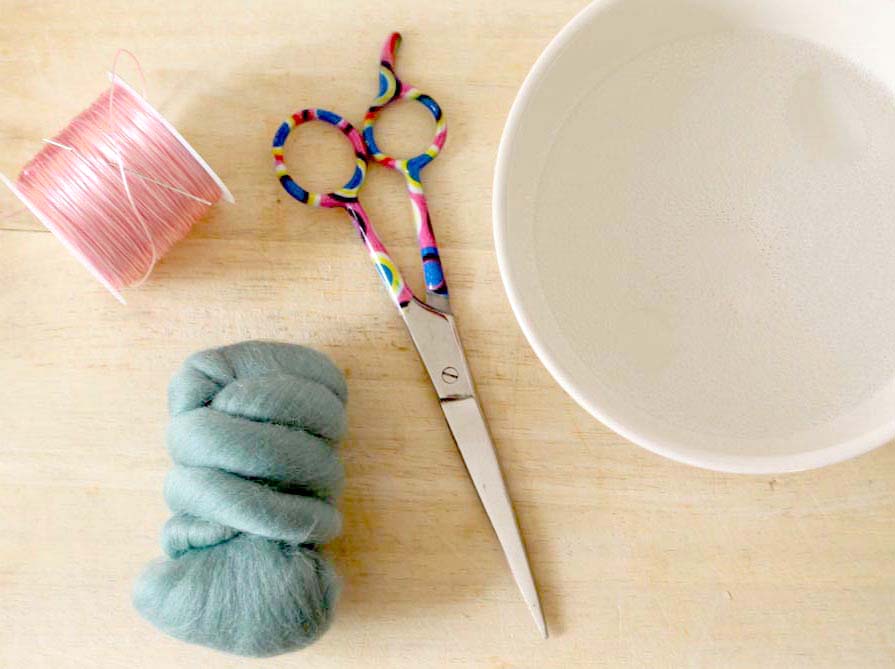
You will need
A handful of merino wool top
Warm soapy water
Scissors
Large threading needle
Elastic beading string
Step 1
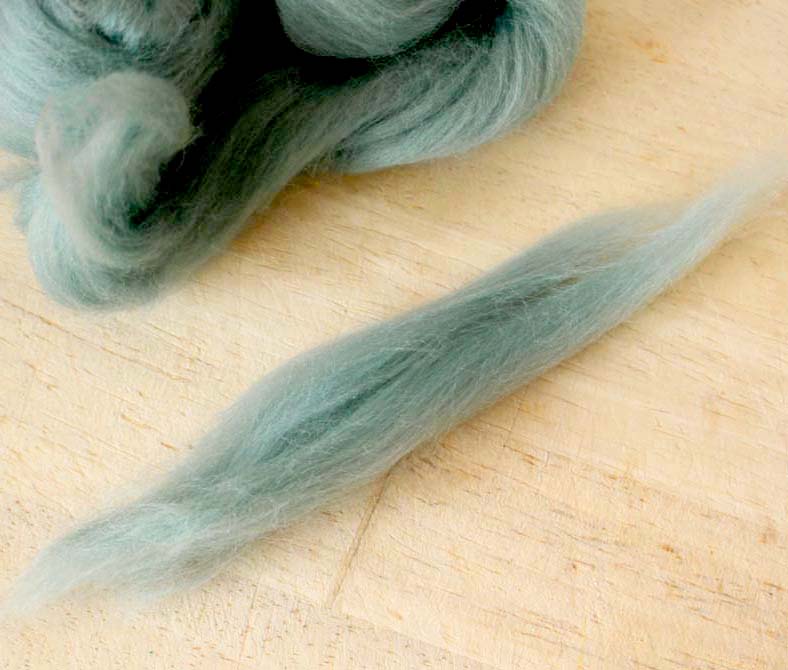
Pull away a small tuft from your chosen merino wool top, an ideal size for this is 3 – 5 inches.
Step 2
Wet the wool with a small amount of warm soapy water.
Step 3
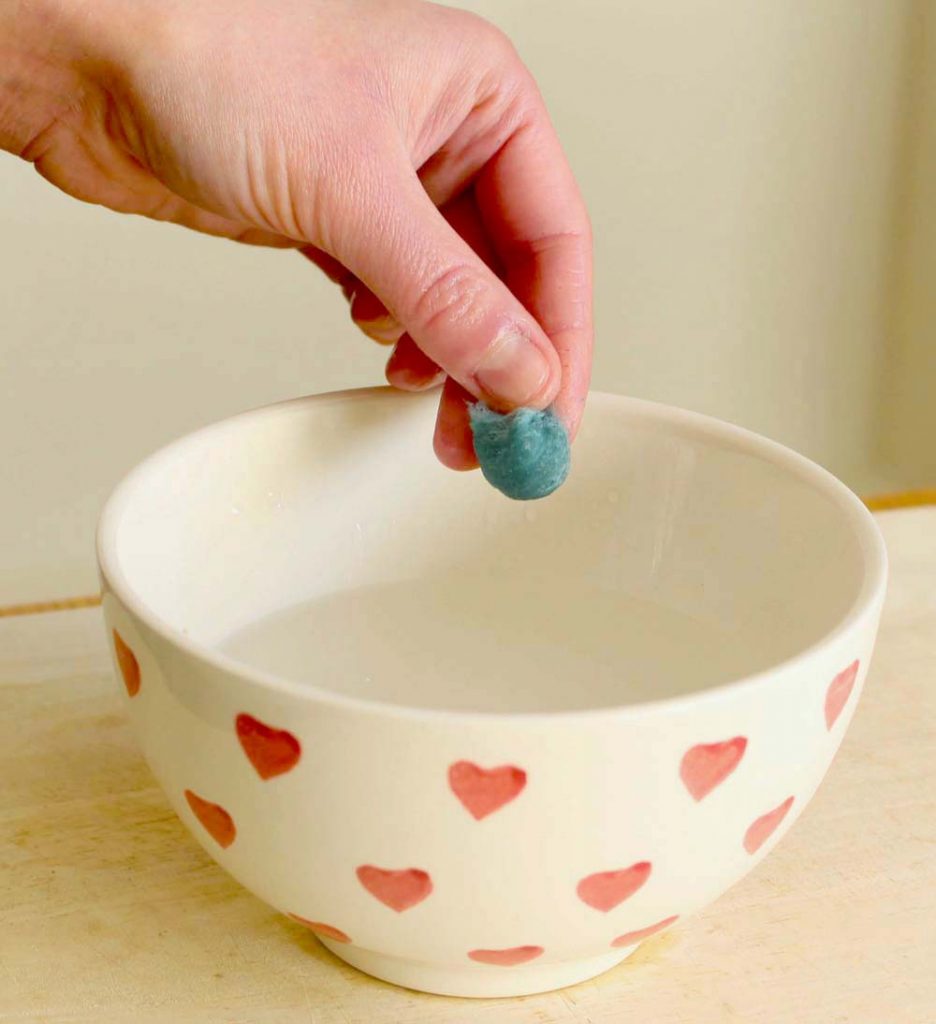
Take one corner of the wool and start manipulating it into a ball shape.
It should look something like this.
Step 4
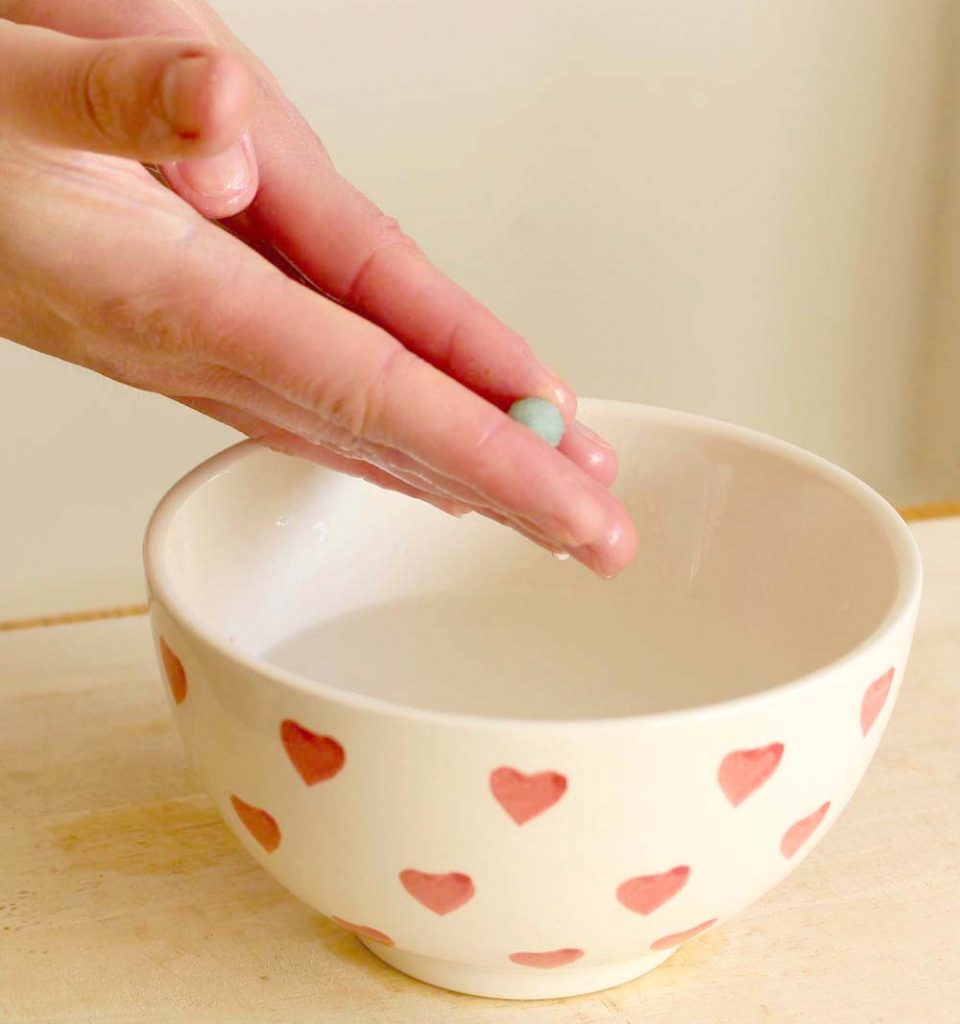
Next, gently roll the ball between your palms. When you start to feel the wool tighten, it’s time to add a little more soapy water.
Step 5
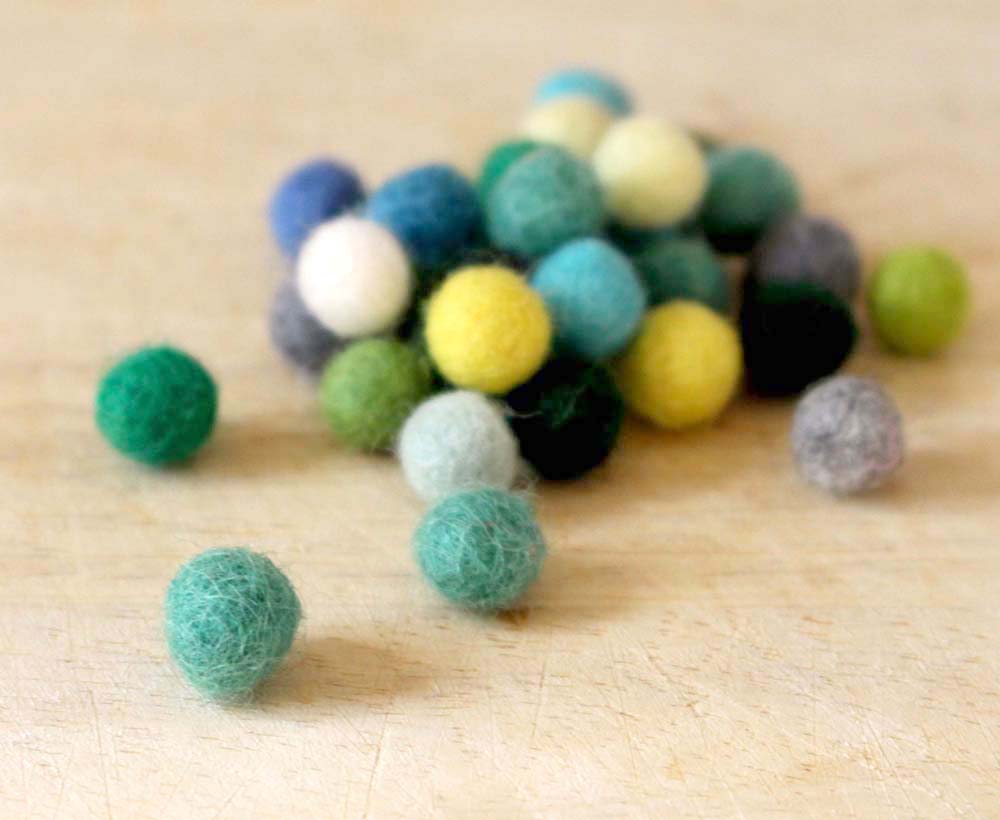
Keep rolling between your palms until you have achieved a tightly felted ball, this can take a few minutes.
Step 6
Repeat steps one to five, until you have enough felted beads to wrap around your wrist, this will ideally be around 18 – 20 beads. Then allow the beads to dry.
Step 7
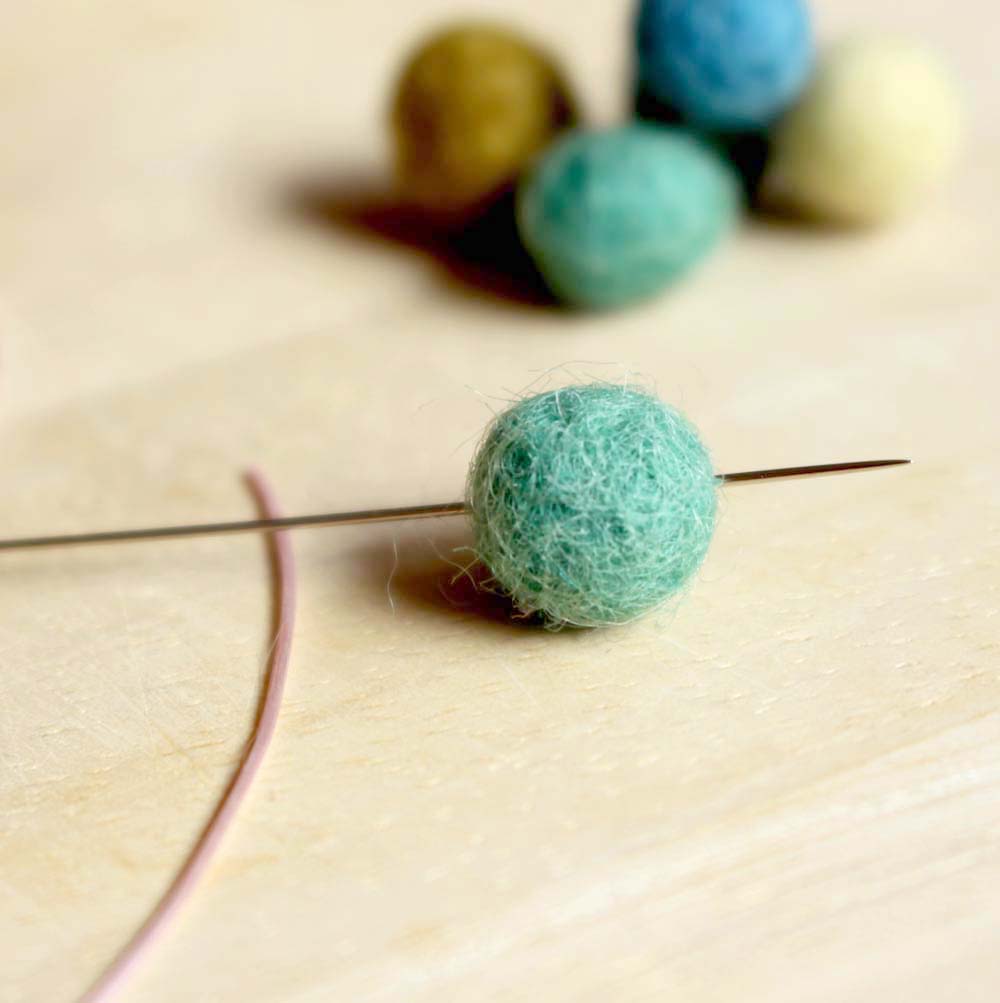
To make the bracelet, thread your needle with the elastic string (or any durable thread will work well for this) and tie a knot five centimetres from the bottom of your string.
Step 8
Thread through the middle of each felted bead onto your string, keep adding them until you have filled it with enough beads to wrap around the width if your wrist.
Step 9
Tie a secure double knot where the ends of string meet, and snip away the excess.
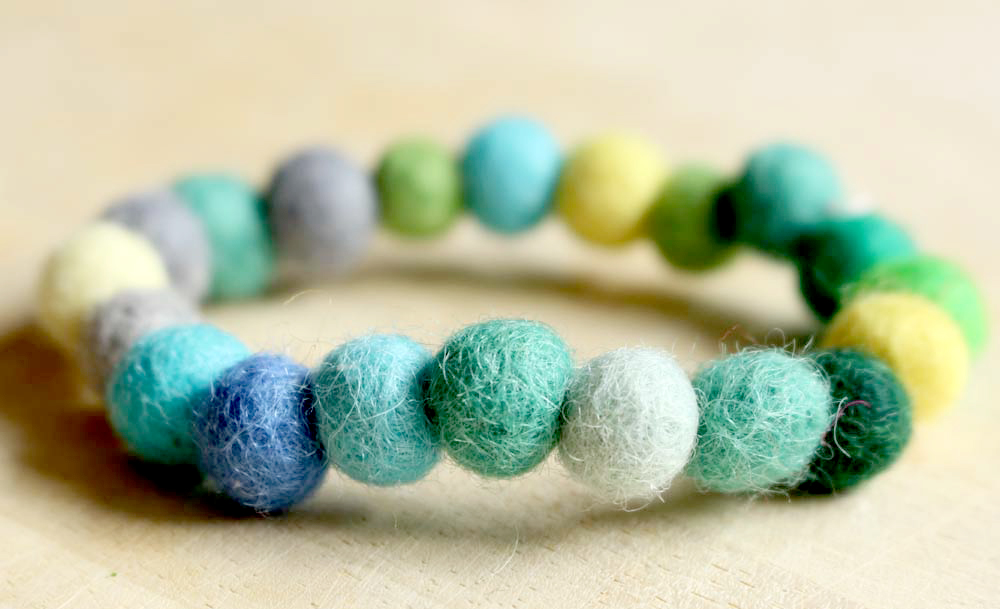
Your bracelet is now ready to wear!
Thanks for the great tutorial Emma! I’d love to give felting a go.
Have you tried felting before?
If you’re a felting fan make sure you head over and check out Emma’s work on Etsy.
Middle Mistmakes.



-0 Comment-