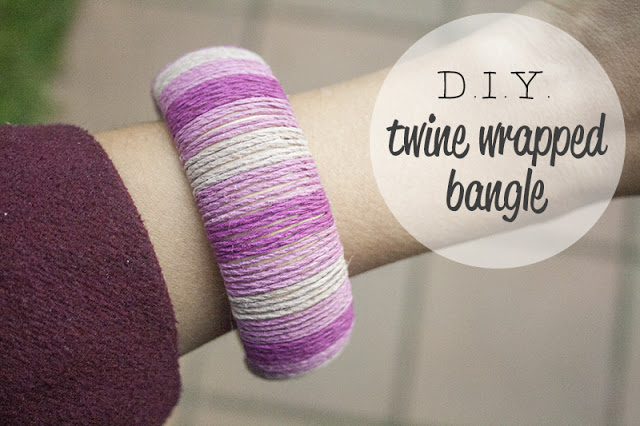
DIY twine covered bangle
Buzz feed approached me and asked if I would make them a DIY project featuring twine they could feature on their site. I was super excited so of course I said yes. Unfortunately there was a MAJOR booboo made and there was no link or even mention to my blog for the first few days. During this time they got over 18 000 of the posts current 20 000 page views. So I missed out on most of the traffic. As you can imagine I wasn’t super happy about this… But I’m not one to hold a grudge. I was thrilled they asked me and I would totally do something for them in the future. (I’m sure it’s not a mistake that is easily forgotten for them either…)
Enough of my blabbering, onto the project!
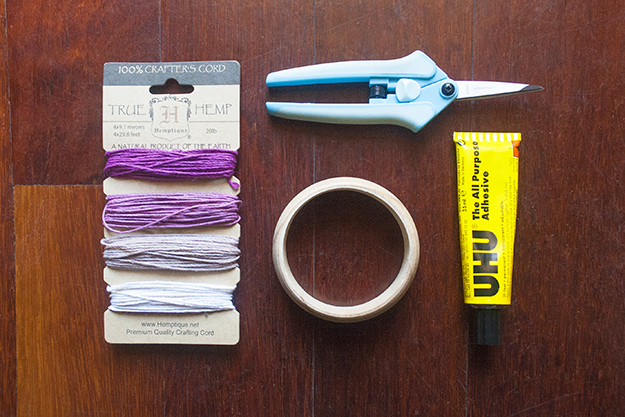
Coloured twines
Scissors
A wooden blank bangle
Nice strong, fast drying glue. (UHU All purpose is amazing!)
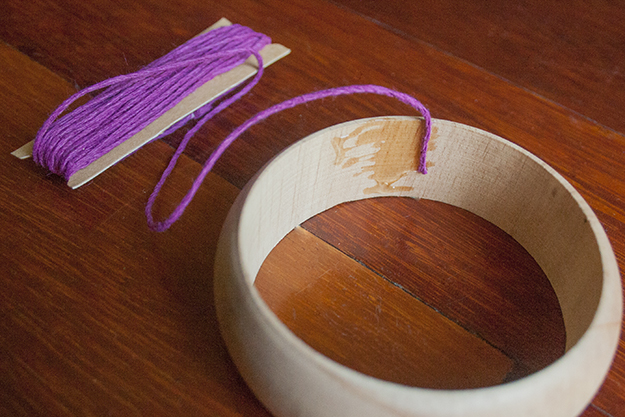
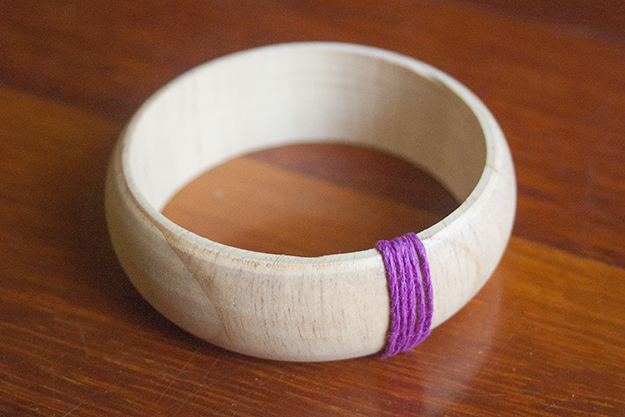
Apply some glue to the inside of the bangle and attach the end of your first twine. Apply enough glue to hold a few wraps.
Wrap the twine around the bangle five times then cut and stick the end to the inside of the bangle.
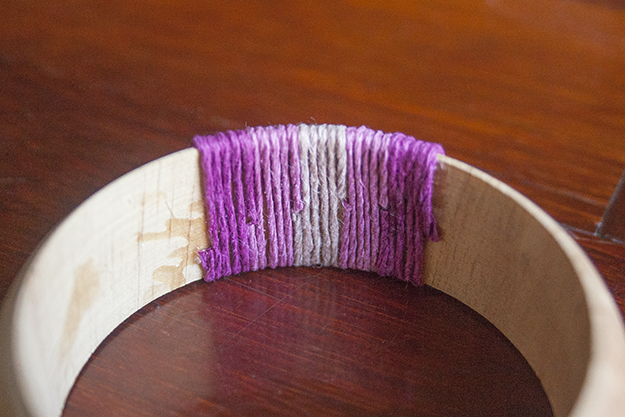
If you want bigger sections of colour simply wrap with one colour for longer before changing over.
To keep the inside nice and neat glue the start of the next twine along side the end of the one before. You could totally just stop here too. I think the small amount of twine looks awesome against the raw wood. But of course keep going if you want to make one like mine.
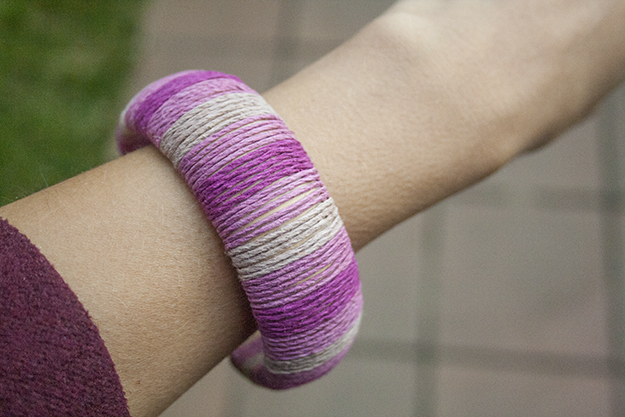
Continue this process until the whole bangle is full and beautiful!
It’s a simple project but does take a while to get the whole thing covered.
Tip: I like the wood showing through the twine however if you prefer you could paint the bangle to match the colour of your twines before you start wrapping.
So what do you think? 🙂


-0 Comment-