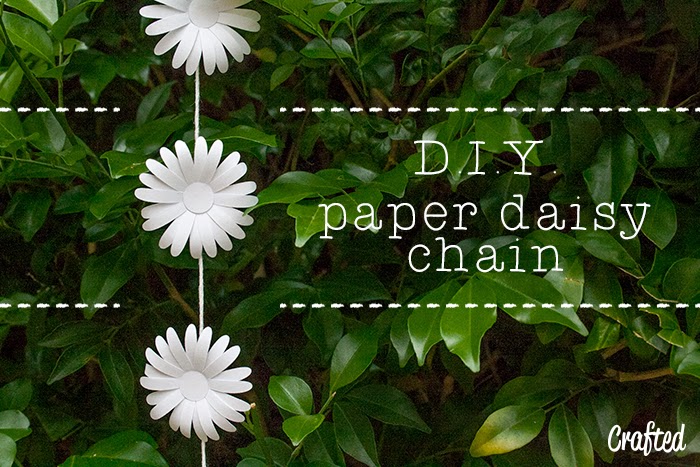
D.I.Y. Paper daisy chain
I recently got a freakin’ fantastic, beast of a machine. KNK Zing. Ok beast might be to strong a word but it has littereally changed my life! It’s amazing. It’s an electronic cutting machine similar to a silhouette but this one is way more powerful. (and more expensive…) It’s not a commonly available product here in Australia but the reason I chose this one over one of the cheaper alternatives is that it is powerful enough to emboss and it can cut more materials. Anyway, enough about my new baby, on with the project…
This project developed from something else I’m working on with Lucus for Makes Two Studio (you’ll see it in a few weeks.)
You will need
White paper
Glue (UHU All purpose is great for this*)
Daisy template (you can get my template here)
Scalpel/scissors/cutting machine
Step 1
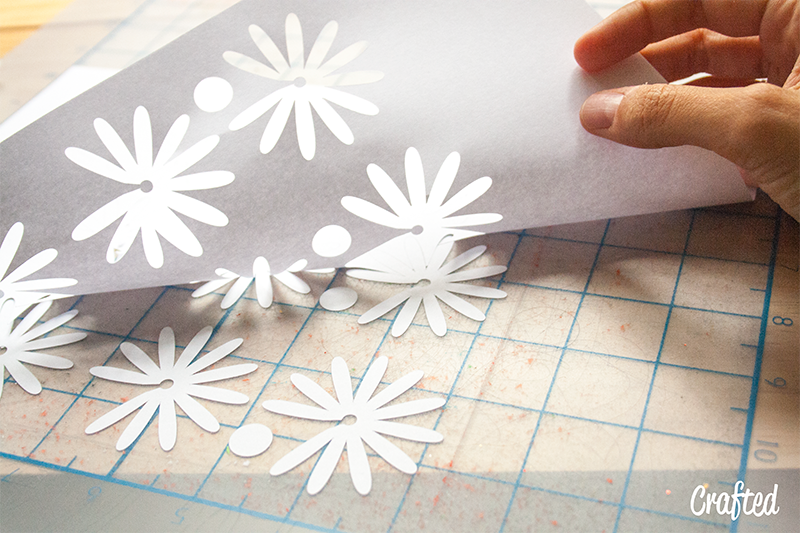
Cut your daisies from the template. If you would rather not purchase the template you can simply draw your own.
For one daisy you will need two flower pieces and one circle.
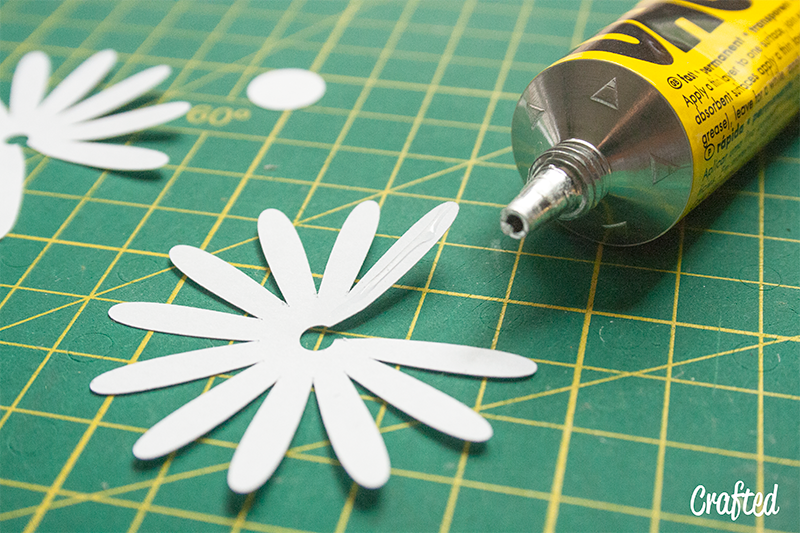
Step two Apply glue to one of the end petals.
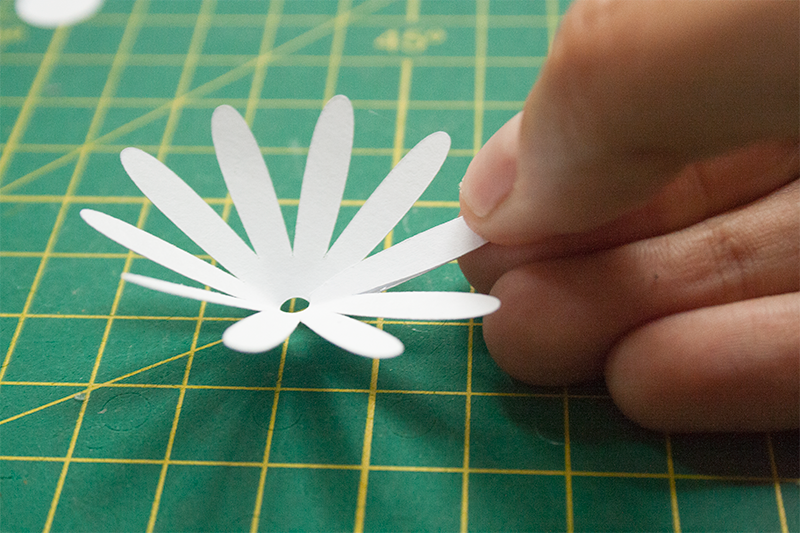
Step three Stick the two end petals together.
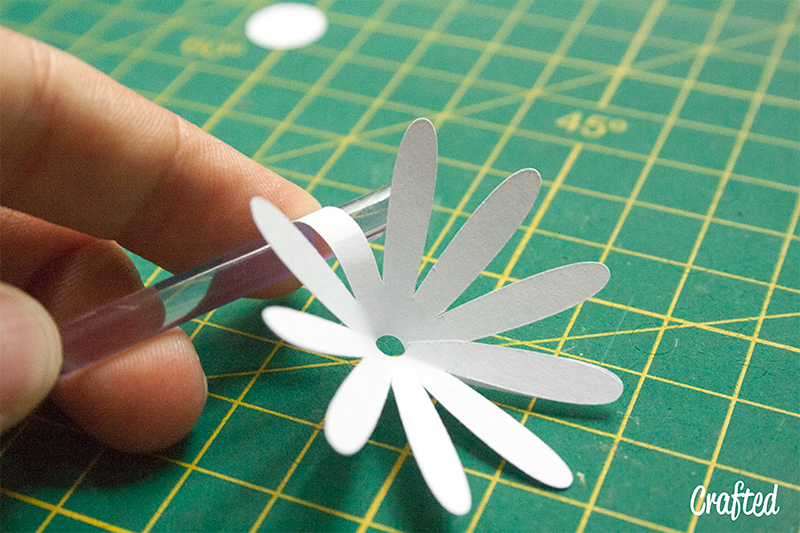
Step four Give the petals a slight curve by rolling them around a paint brush or a curved pencil.
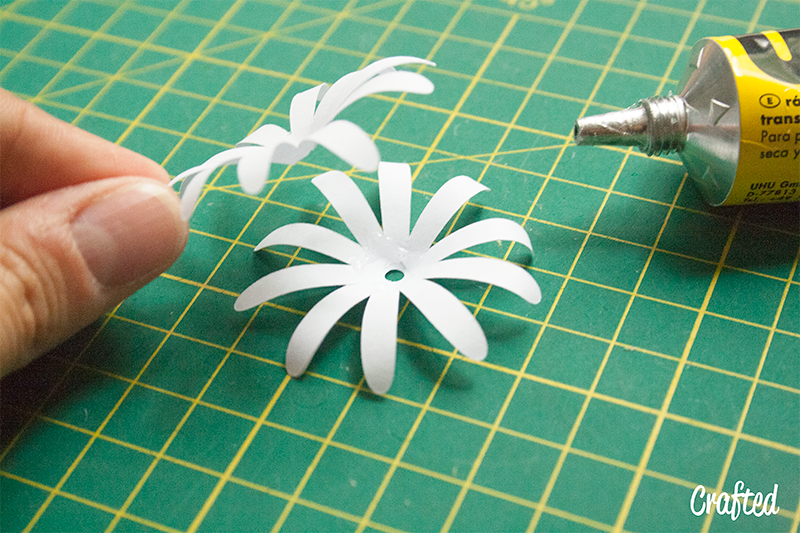
When you have curved all of them it should look like this. Do this to both flower pieces.
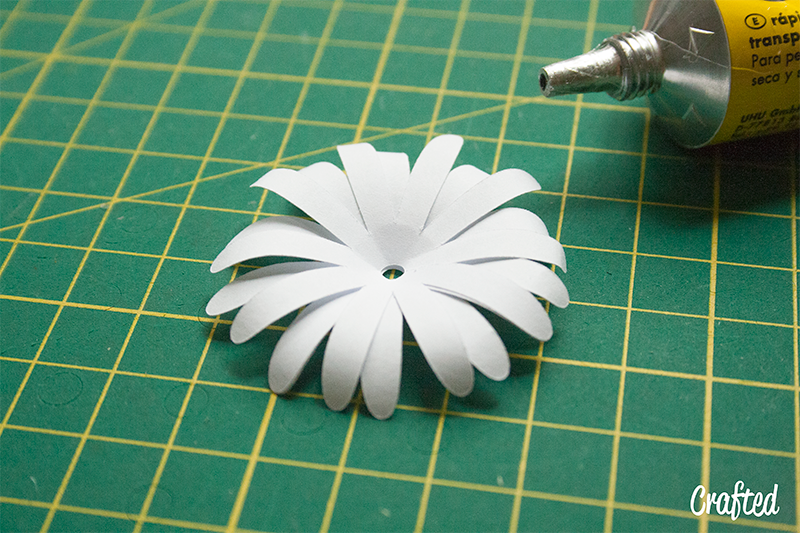
Step five Glue the two flower pieces together.
When sticking them together try to create as much petal coverage as you can. Place the top piece so that it’s petals sit in the gaps between the petals of the bottom piece.
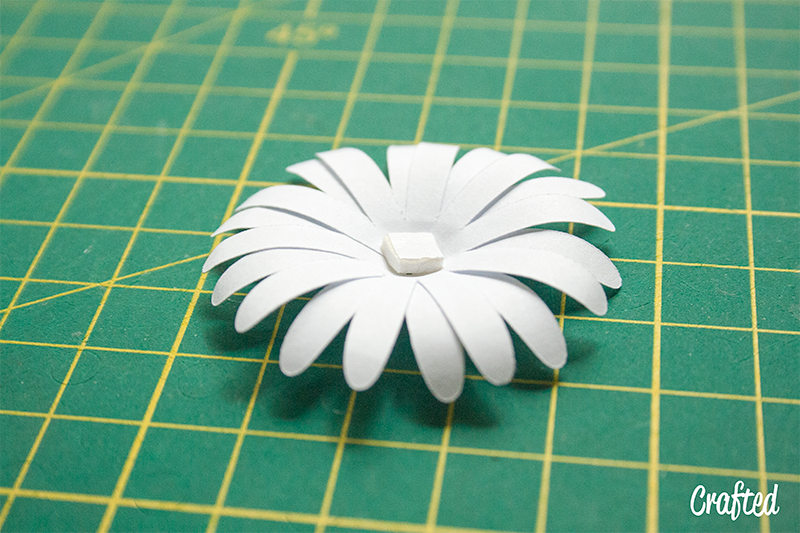
Step six Use a small piece of double sided foam tape in the centre of the flower…
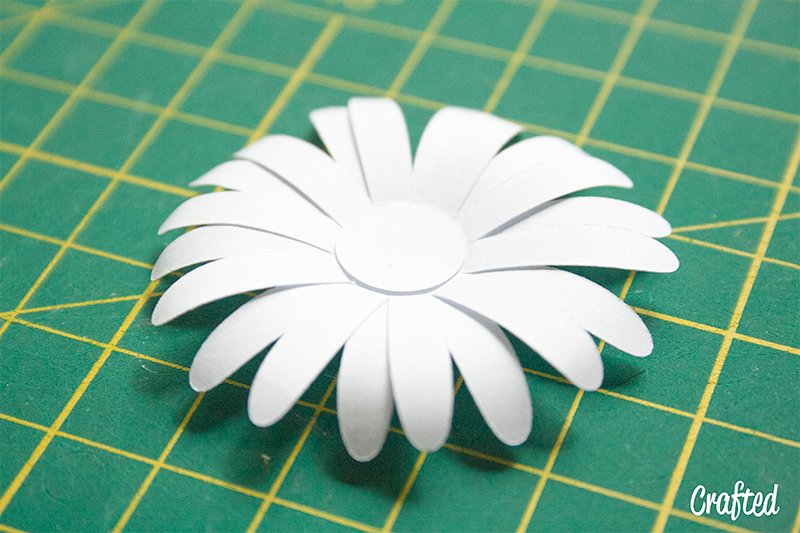
then ad the circle. That’s one flower down, several more to go. 😉
Step seven Once you’ve made all of your flowers you can start to create the chain!
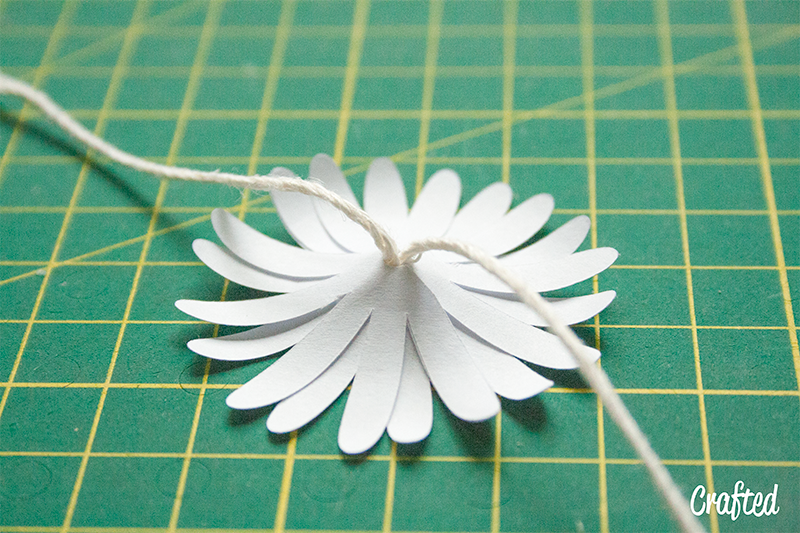
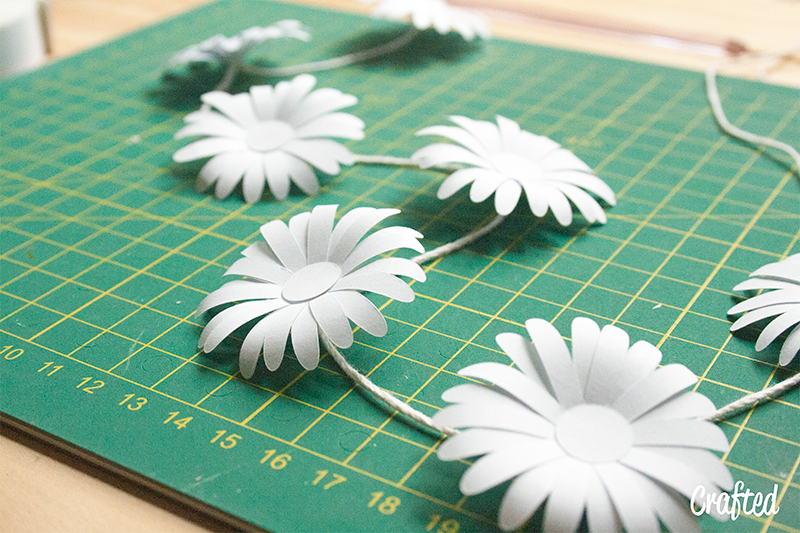
Turn the flower upside down and apply some glue the to hole. Fold a section of the string in half and stick the point into the hole. You might need to hold it in place for a few seconds. Repeat this with as many flowers as you like to create your chain.
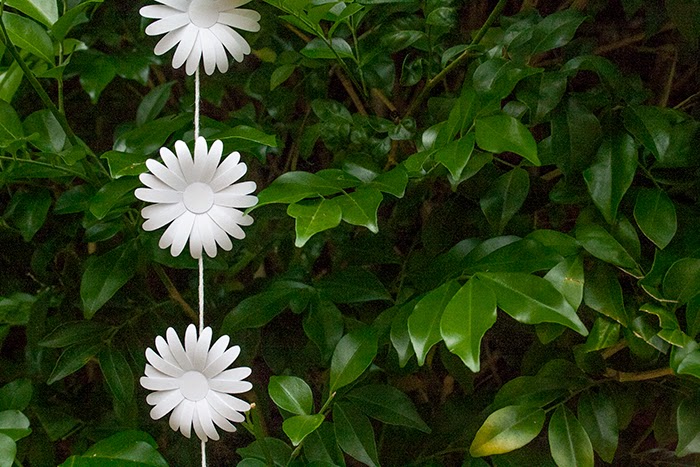
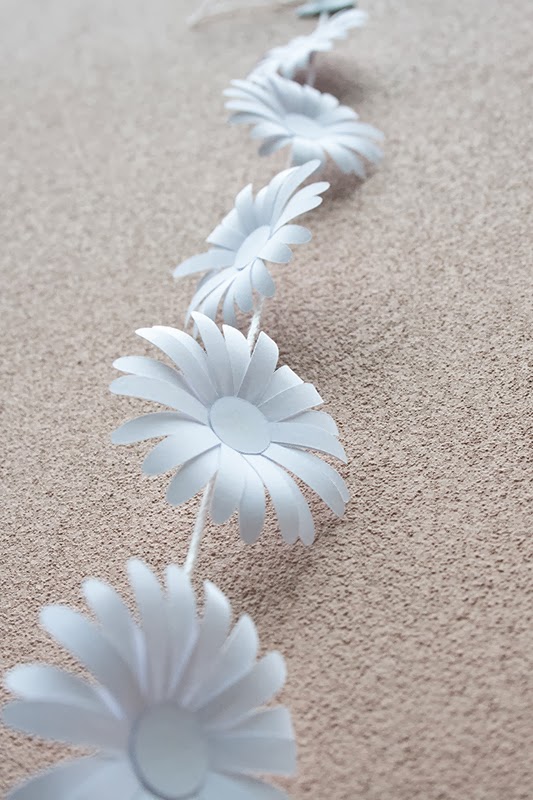
Tada! All finished!
I think these would make great embellishments for events like weddings or baby showers. 🙂 You’ve all seen those hanging flower back drops on Pinterest right? I was totally tempted to create one of those full of these paper daisies but the dreaded “T” word got in the way… Time…
How great would that be though… 🙂
I think they are super cute. 🙂 What do you think?
In case you missed it you can get your template here – makestwoweddings.etsy.com
* UHU All purpose is one of my all time favourite glues but it is not recommended for kids! It’s very strong and not non-toxic. If you are trying this project with children I would recommend double sided tape or a glue stick.



-1 Comment-
How wonderful. I am very happy for you and the new cutting machine sounds wonderful. Do you have a business that sells the things you make?