DIY memory game wood blocks
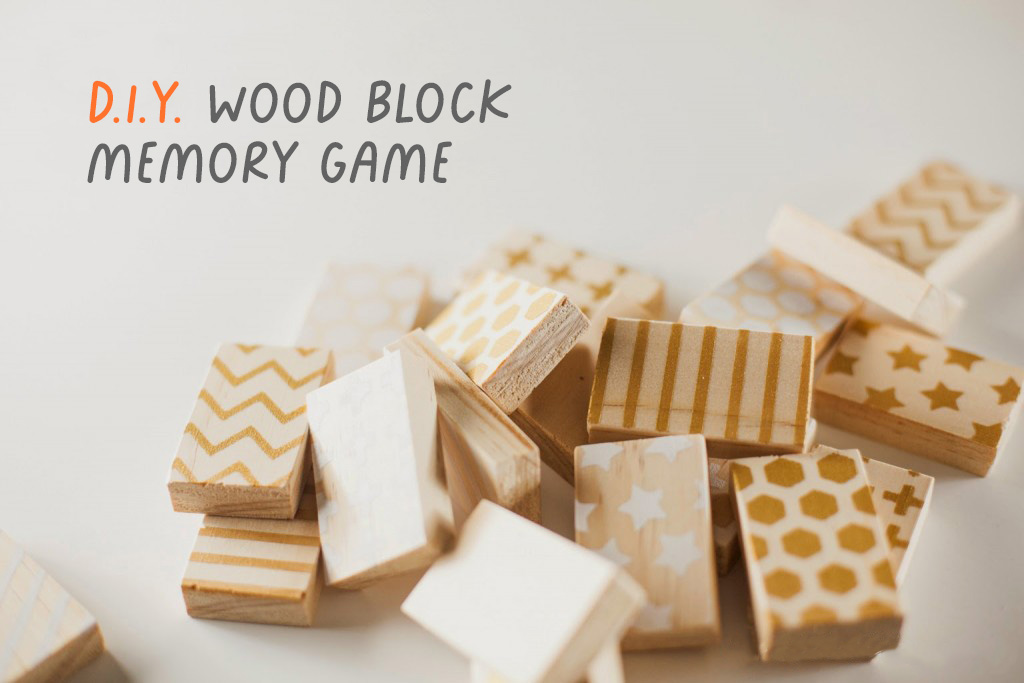
Memory games are fun for kids and adults alike and your family is sure to love this DIY memory game.
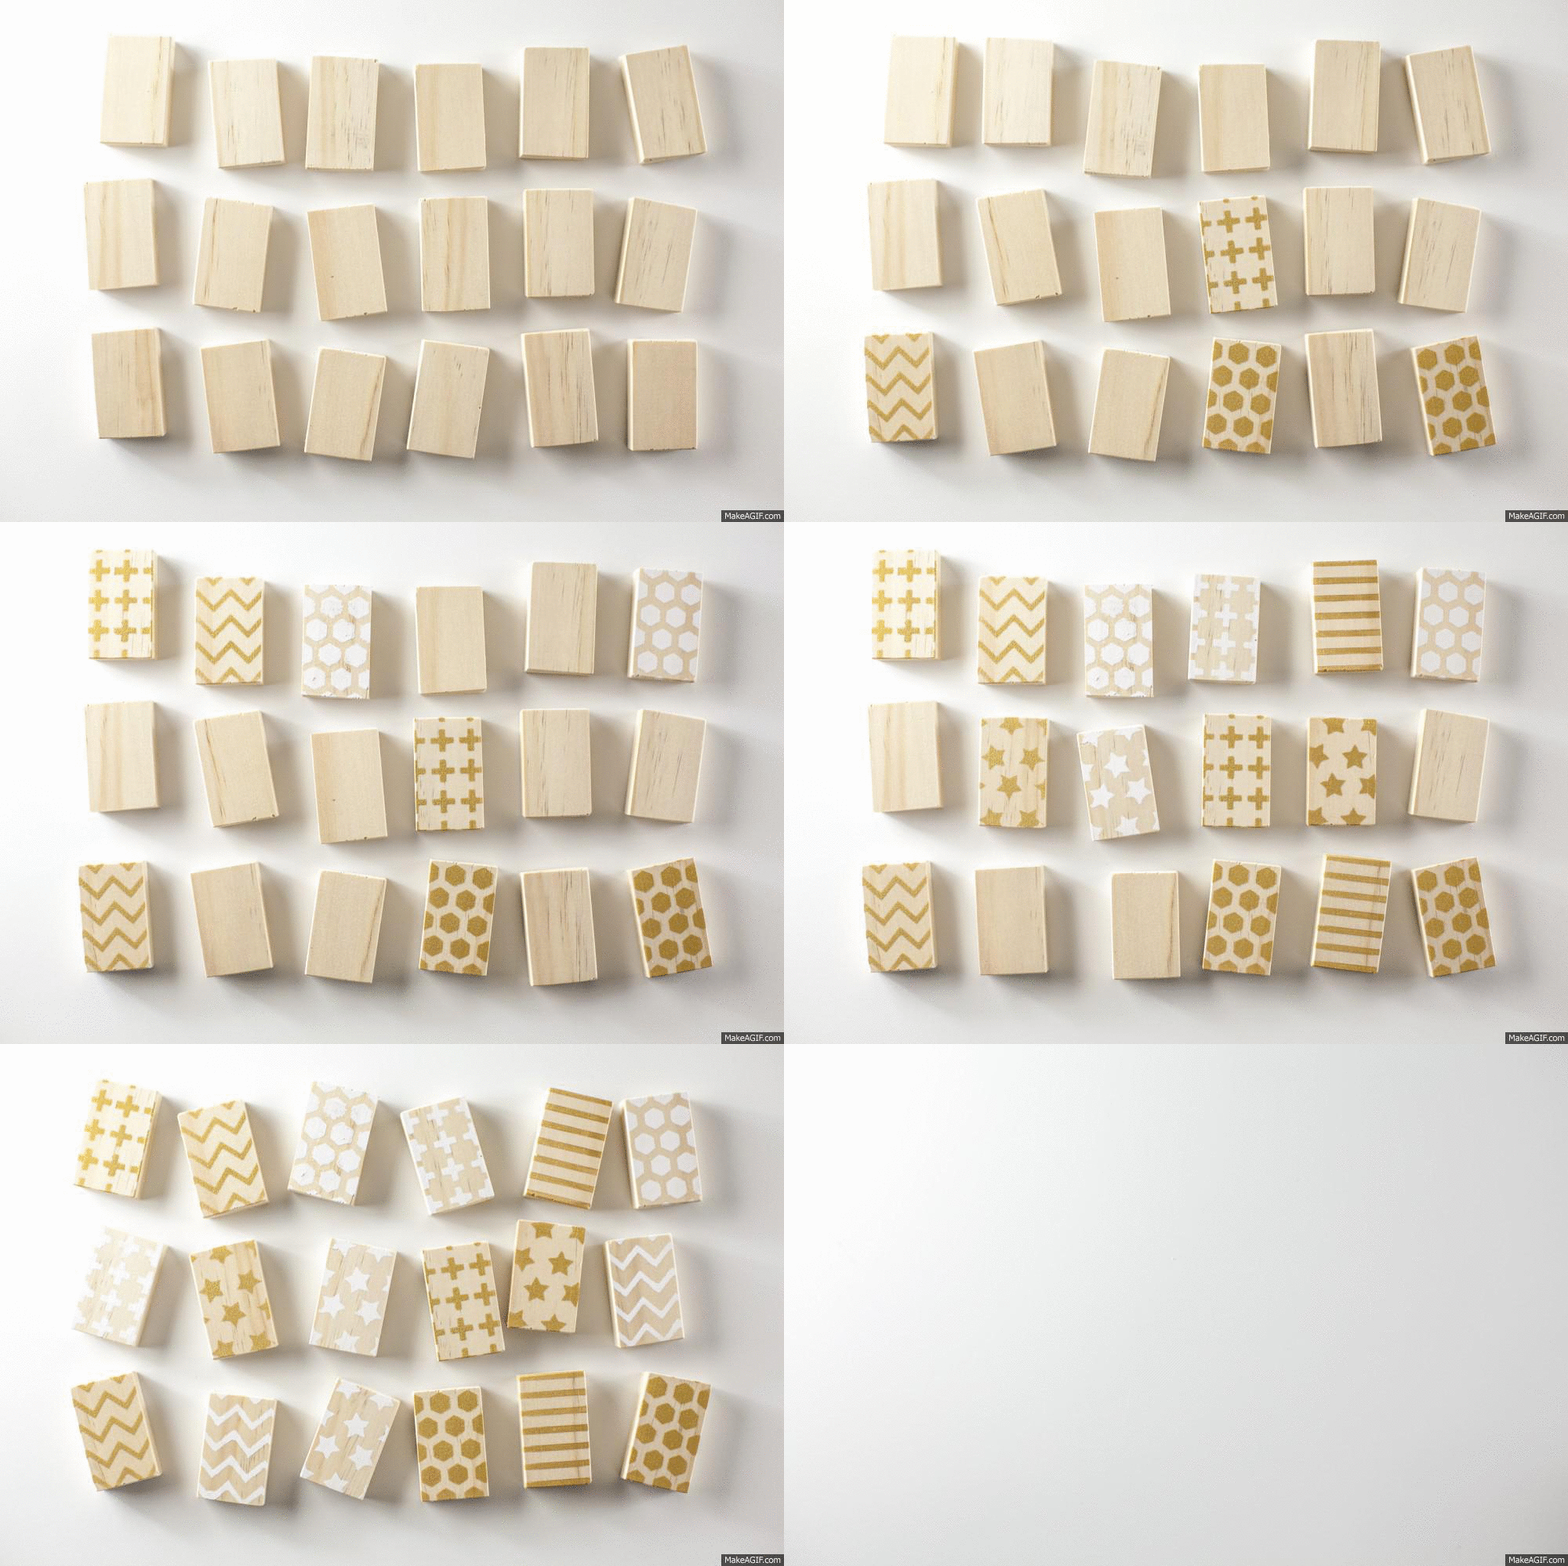
The idea of a memory game is to have the blank sides facing up and the designed sign facing down. You choose pairs at a time trying to match the two patterns together. Check out the little gif below to see how it to play. 🙂
The idea of a memory game is to have the blank sides facing up and the designed sign facing down. You choose pairs at a time trying to match the two patterns together. Check out the little gif below to see how it to play. 🙂
Materials
Wood. I’ve used a piece 1cm x 3cm x loooooong.
A few colours of paint
stencils
spray adhesive
sponge brush
saw
clamp
sand paper and block
Ruler
Pencil or pen
Step 1
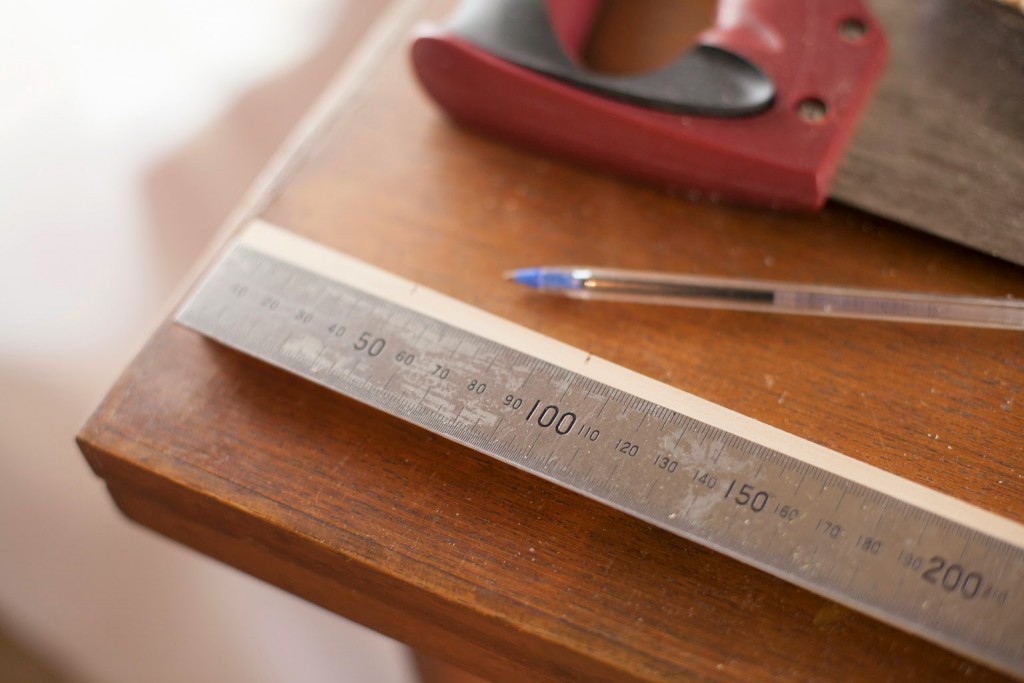
The first step in making your DIY memory game is to mark your wood.
There are no rules to just how big your blocks should be but I made mine 5cm in length. (5cm x 1cm x 3cm)
Tip: If you want each of your blocks to be exactly the same size measure one. Saw it off, then measure the next one. The teeth of the saw will take a few millimetres from your mark.
Step 2
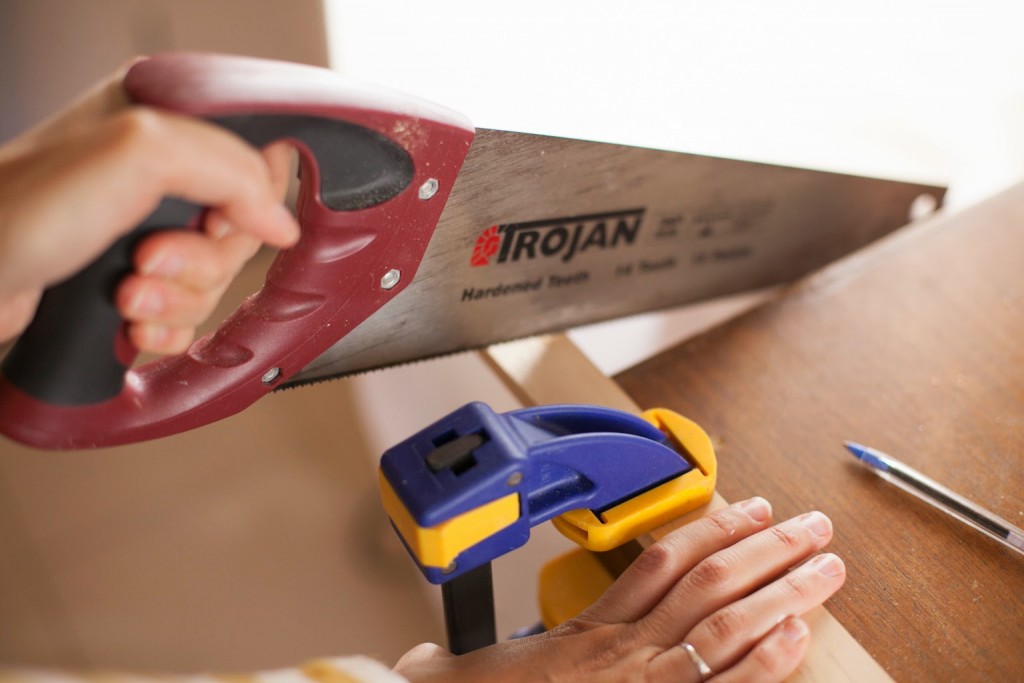
Time to get out your saw and clamps and start cutting.
I’m totally in love with these Irwin clamps. I use them all the time.
Step 3
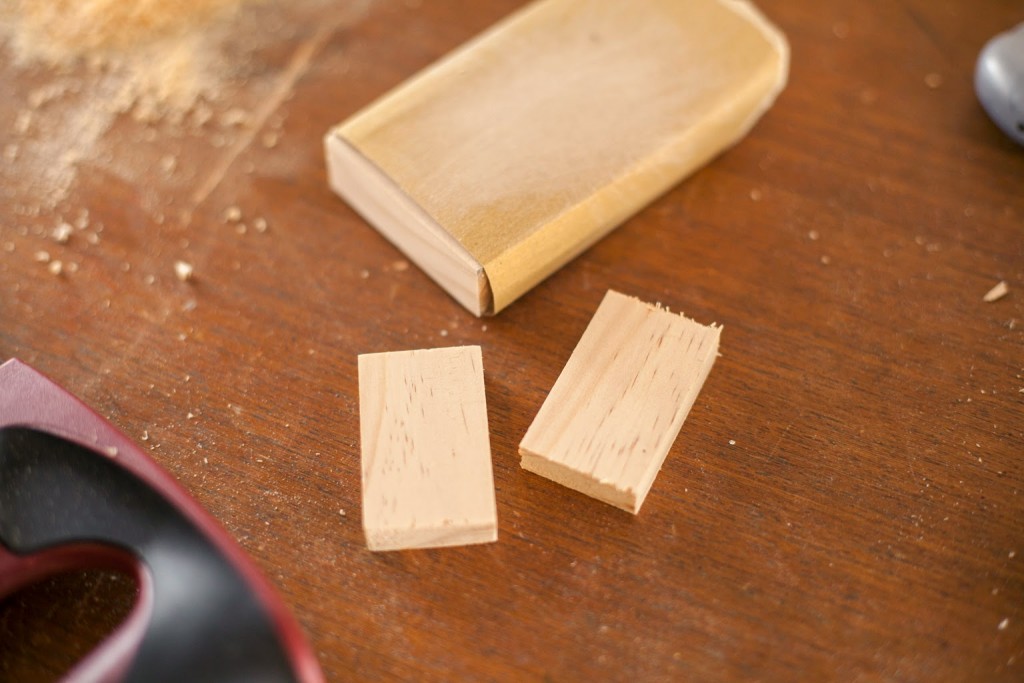
Sand off any rough edges on the blocks. I’m using a fine grit sand paper wrapped around a block of wood to give a nice clean finish.
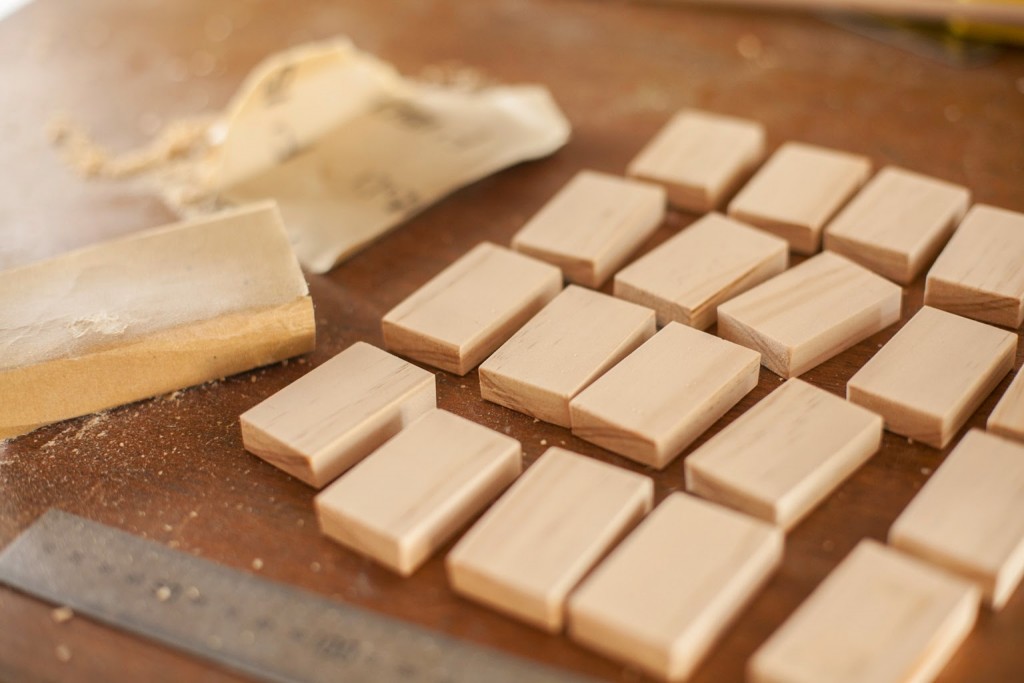
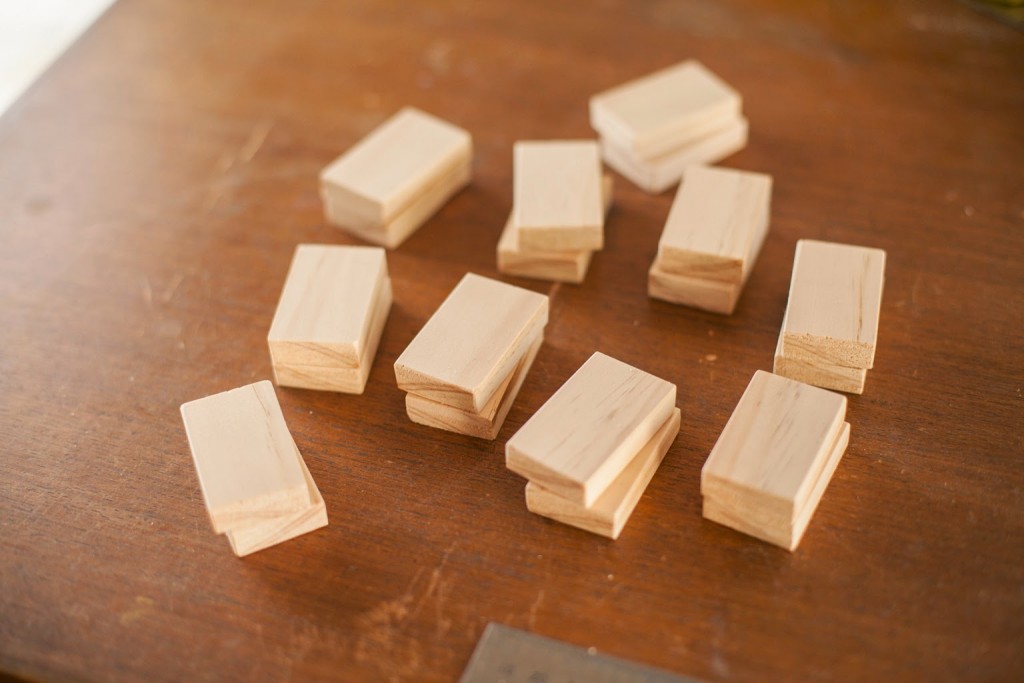
Make as many as you want! The more pieces in your game the more difficult it will be. If you are making a game for a small child you might limit it to 8 blocks or if you’re making it for a group of adults then go nuts and make a whole heap of blocks! You just need an even number, the aim of the game is to match two blocks together so you will need two of each design.
Step 4
Pair up your blocks and decide what patterns and colours you want to use. I made my own stencils using an electronic cutting machine but you can just use a shop bought stencil and save yourself the trouble. These pattern stencils look like they would be perfect for this project.
Step 5
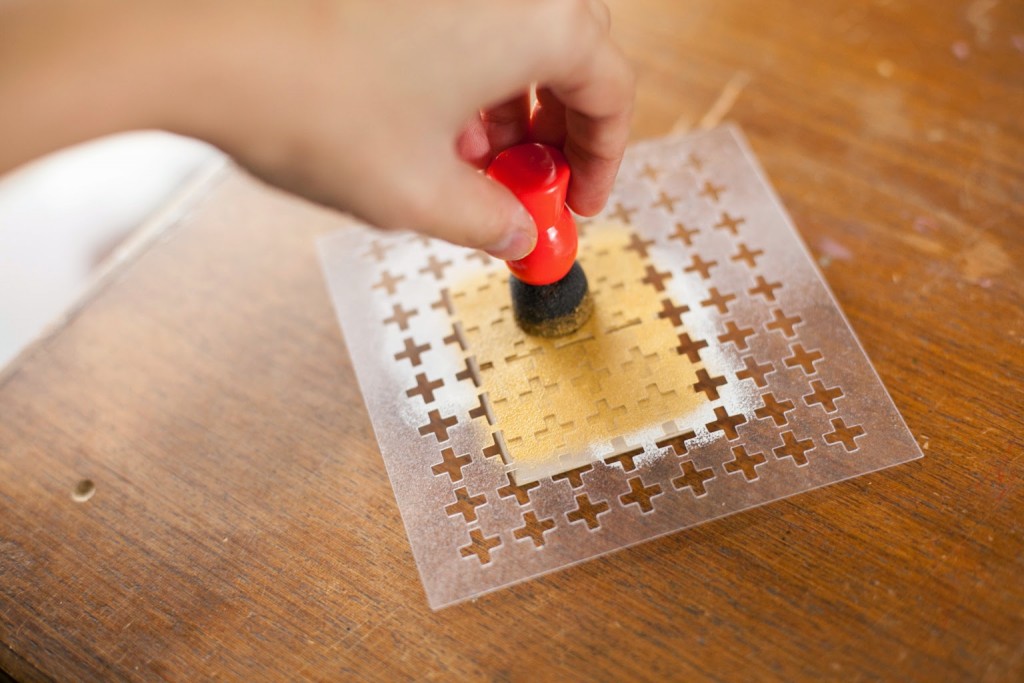
Apply some temporary spray adhesive to one of your stencils. (following the directions on the can) Line up two blocks side by side and stick the stencil on top. With minimal paint on your brush apply the paint to the stencil. The less paint you have on your brush the better. You can apply several coats but TRUST ME. Dry brushing is the best technique to use with stencils if you want a nice clean edge. If you apply to much paint at once the paint can seep under your stencil and wreck your work.
Step 6
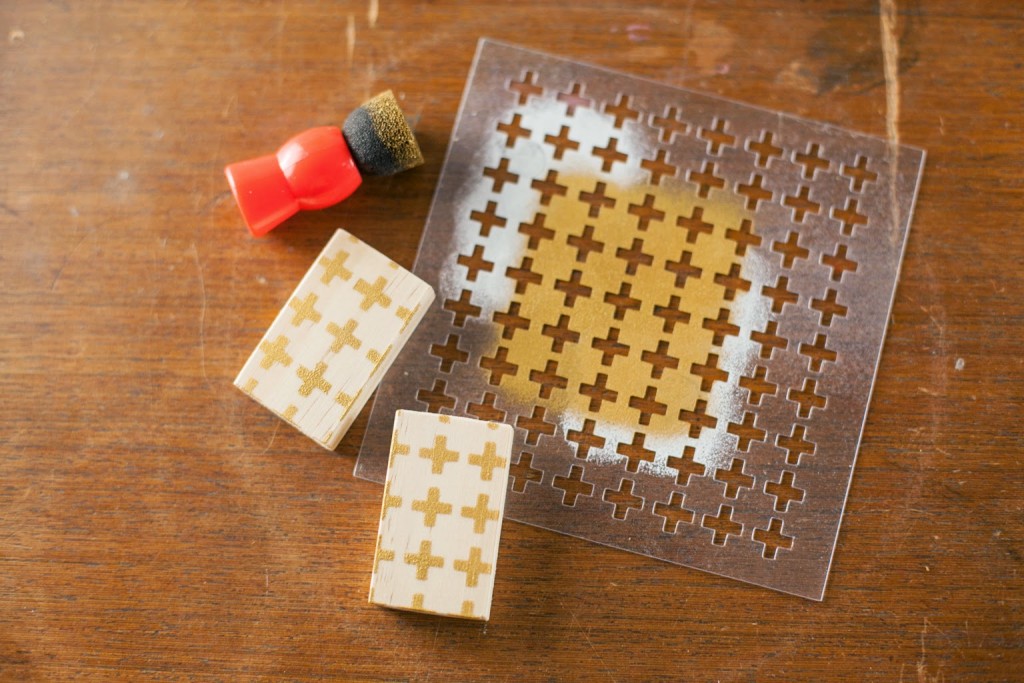
Wait for the paint to dry and peel the stencil off the blocks and… TA DA!
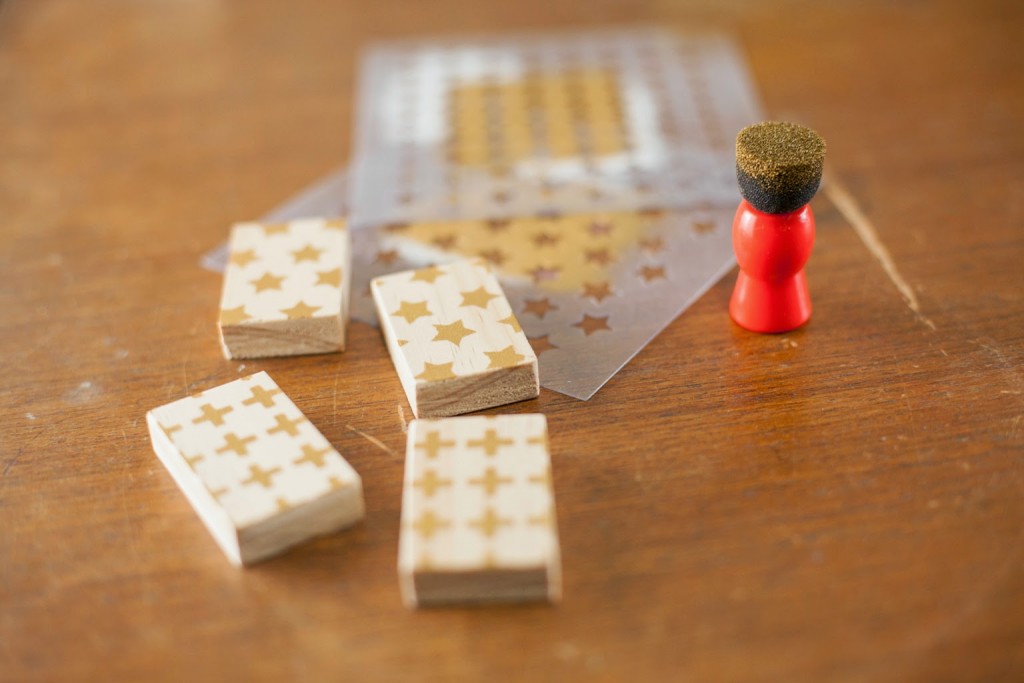
Use different stencils and different paint colours. Make sure you don’t make more than 2 using the same pattern AND colour. You only want one possible pair.
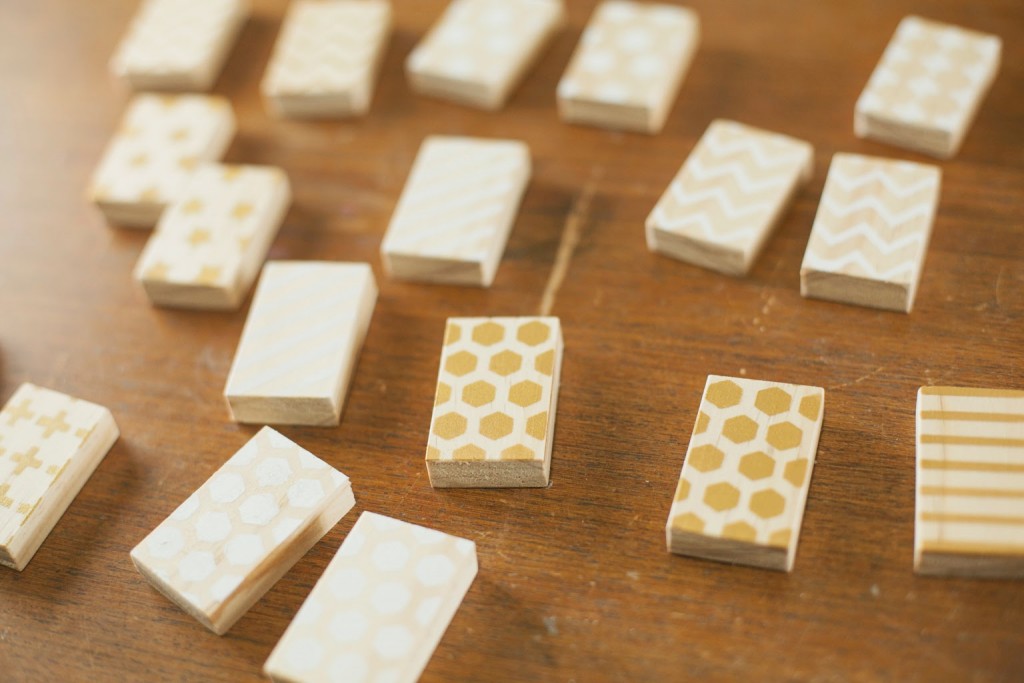
Lots of patterns! I stuck to white and gold for mine. 🙂
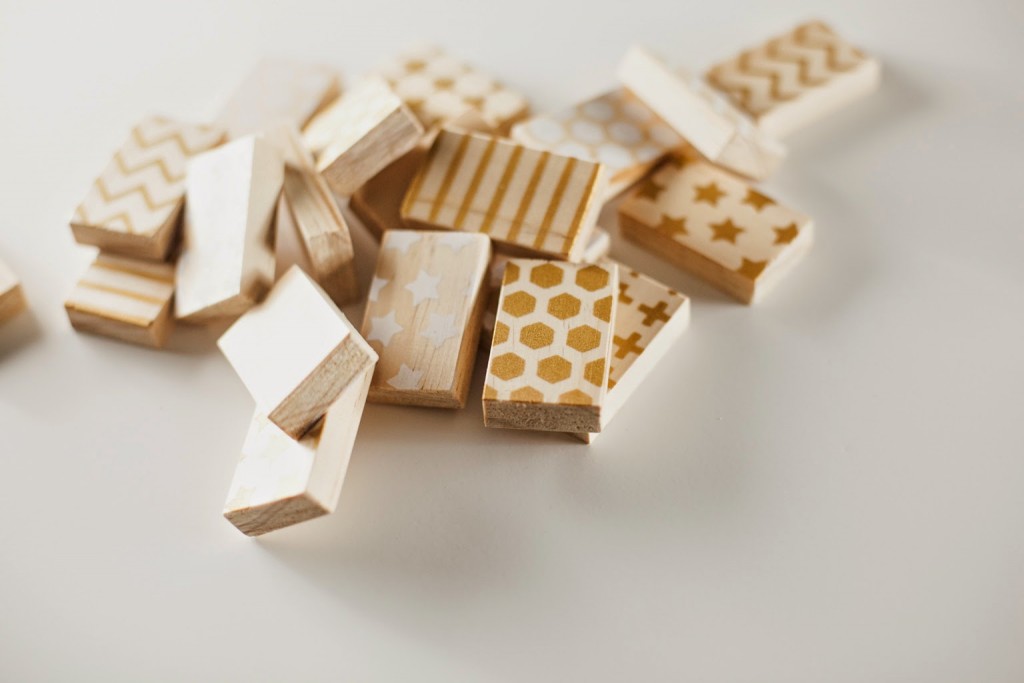
What do you think? Pretty simple to make and a whole lot of fun to play with. 🙂
If you like a litte light woodwork you might also like this DIY Clock project.




-0 Comment-