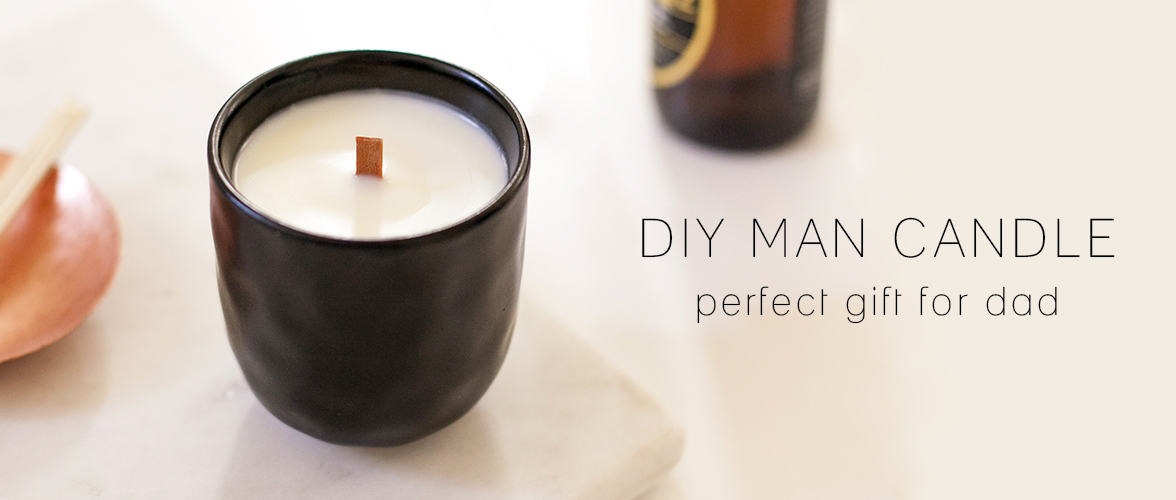
DIY Man Candle
Guys are notoriously hard to buy for.
Not all men want a stubby holder, BBQ tools or socks…
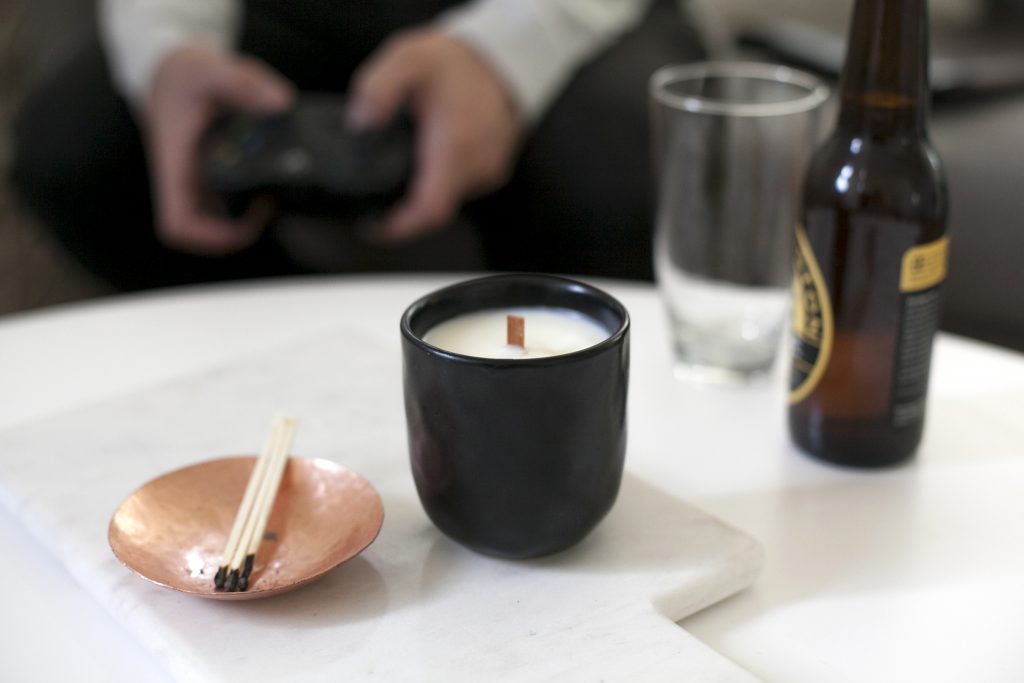
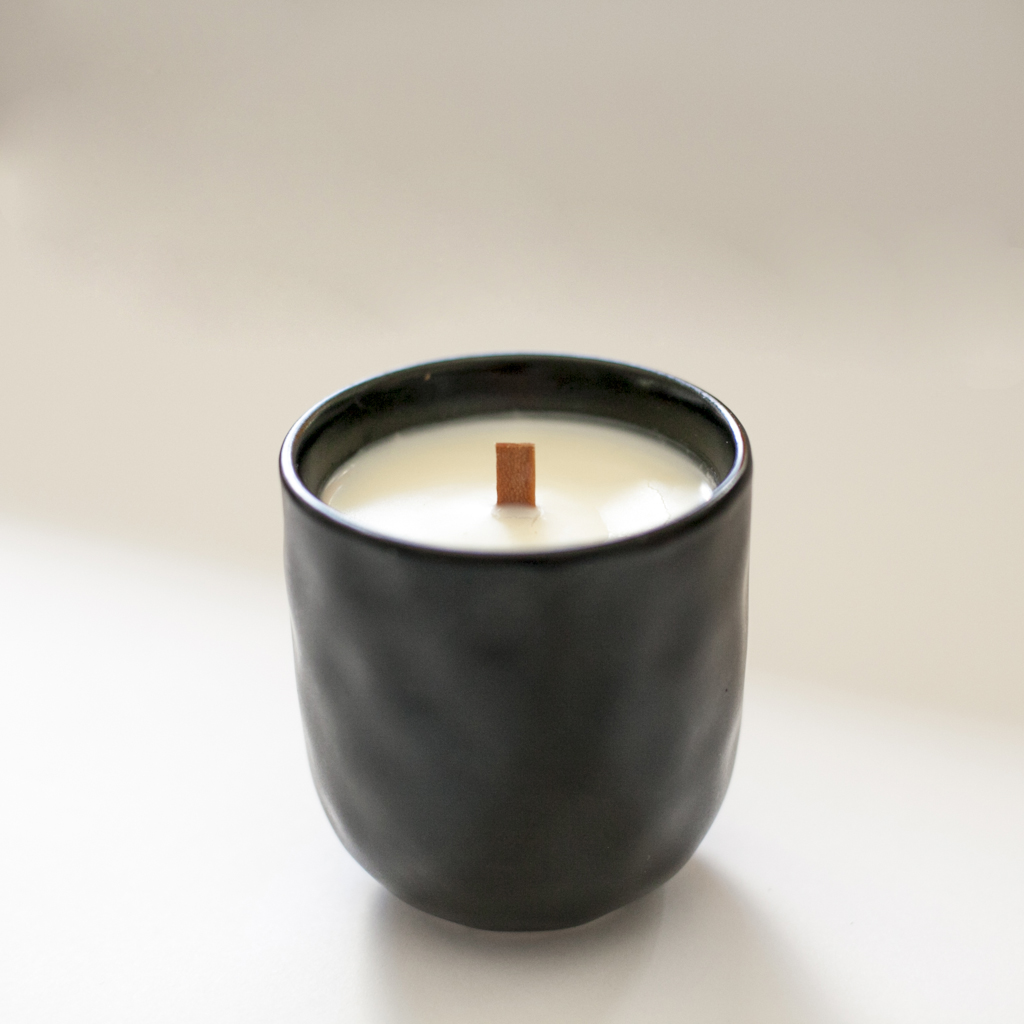
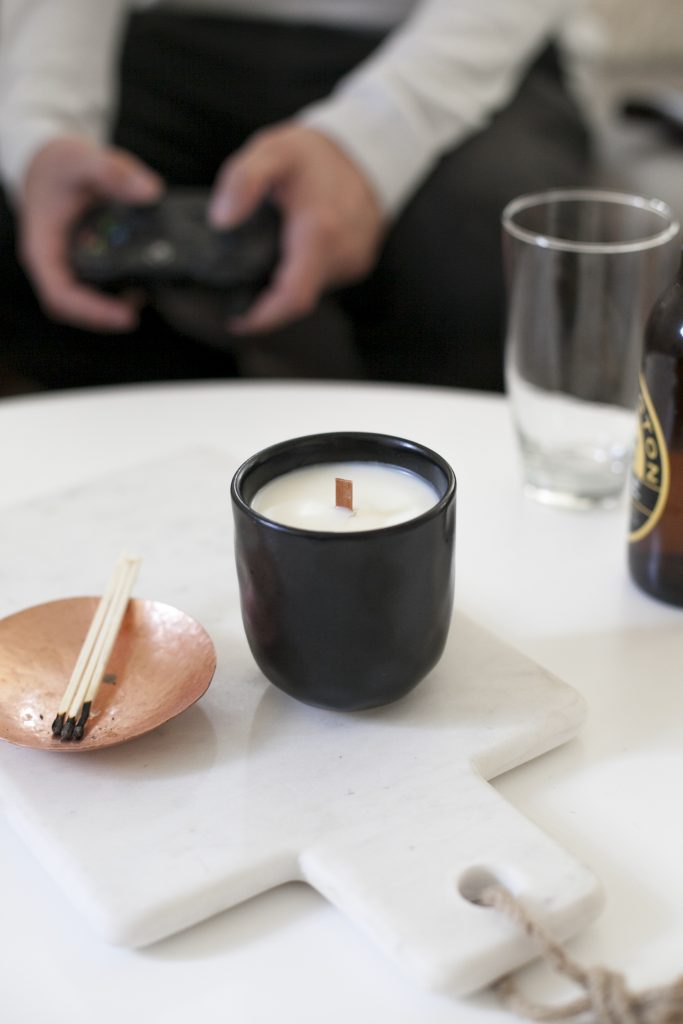
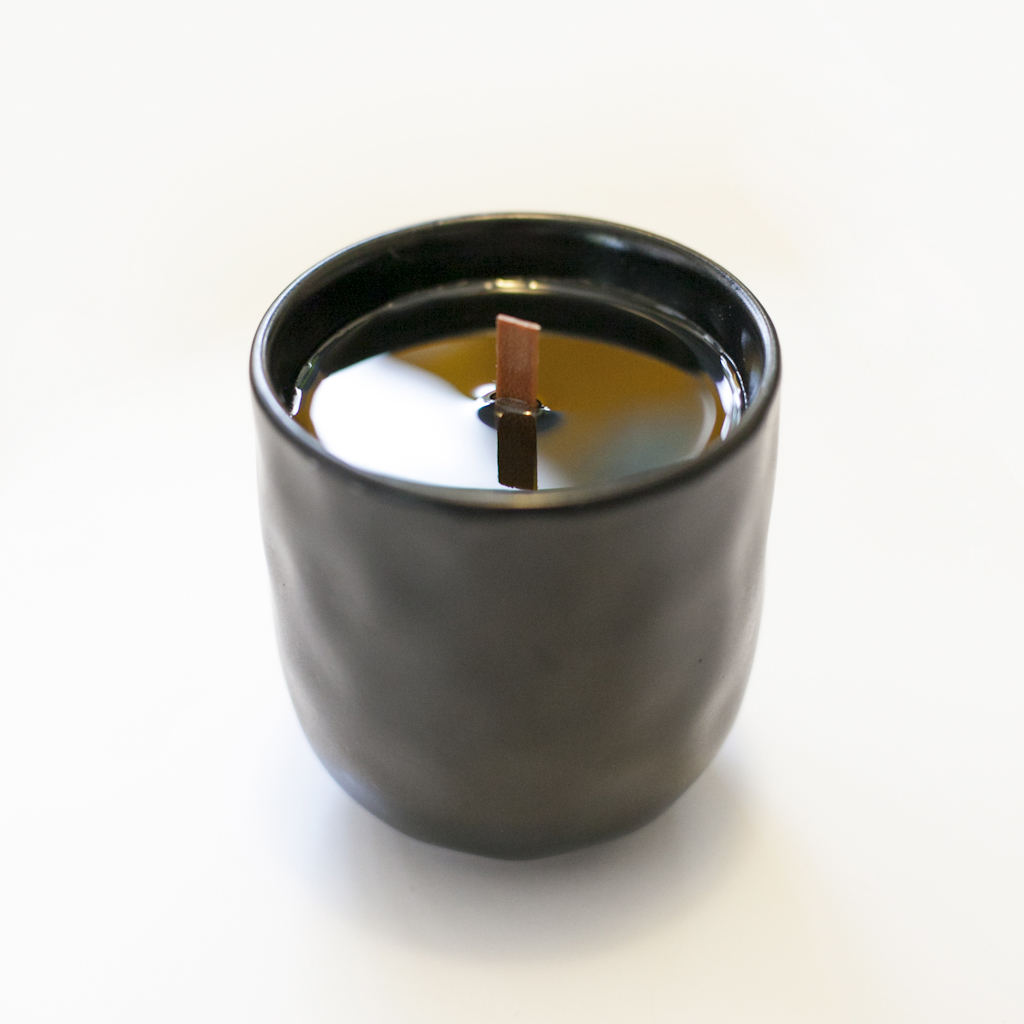
If you’re looking for a gift for a man in your life this quick little DIY project could be perfect! This isn’t you average candle. We’re making a MAN CANDLE. Yep that’s right. This isn’t your grandmas lavender candle. We’re going to use a dark ceramic vessel, a masculine fragrance and a wooden wick to top it off. Here’s how it’s done…
Full disclosure: This article contains Amazon affiliate links. If you purchase something through one of these links we will receive a small commission. This commission is what helps fund this website. Thank you for your support! 🙂
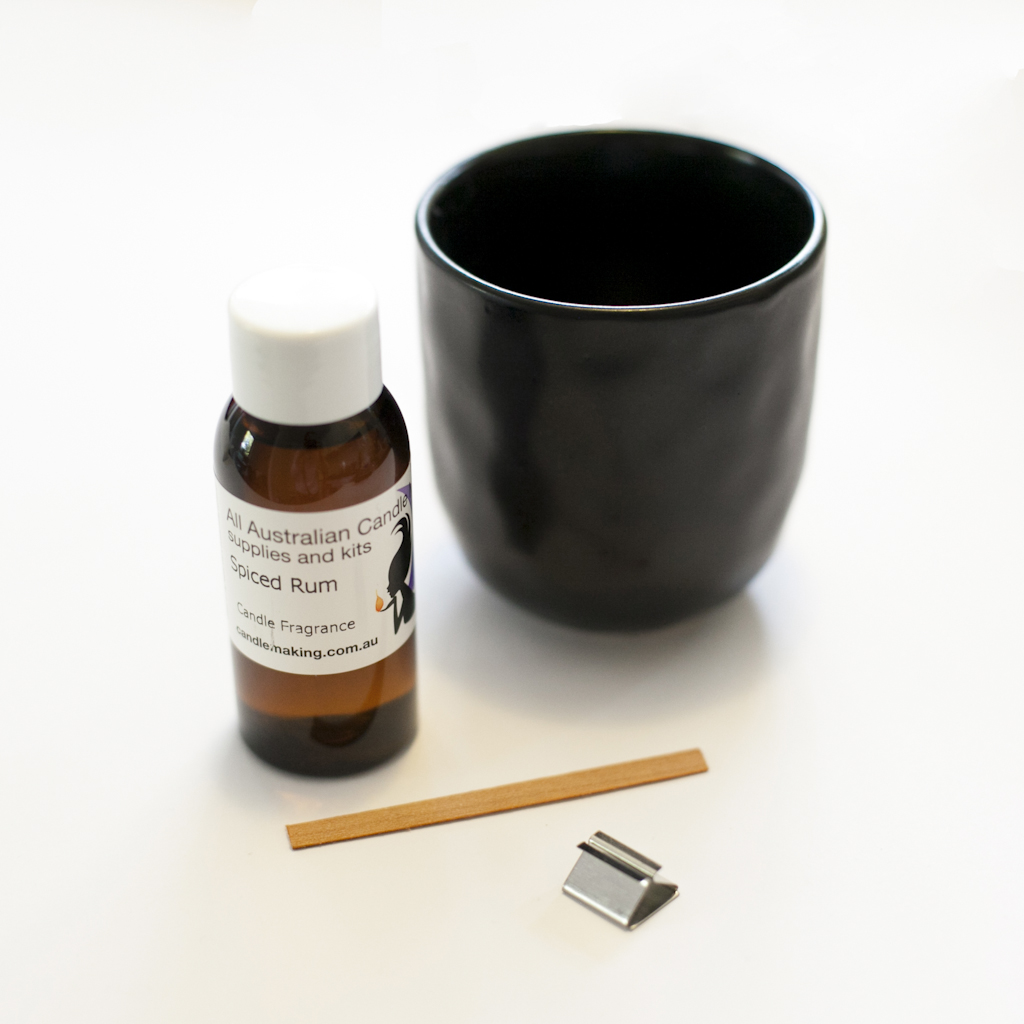
Materials
Wood wick and holder
Soy wax flakes
Vessel – I picked the Sorrento Cuddle Mug from Freedom
Masculine scent – I picked a spiced rum fragrance
Microwave safe container
This was the first time I’d made a candle using a wood wick, I did some things the wrong way and I’m going to warn you so you don’t make the same mistakes when you make your man candle…
Choosing your man candle supplies
In the interest of full disclosure I’m going to admit, I’m no candle making guru. When making this man candle I used the wrong size wick for my vessel. The mug I chose for my candle is 8cm wide. The wick I used is only recommended for candles 4.5cm wide. So of course when it burns it simply melts a pool in the middle of the wax and doesn’t melt all the way out to the edge of the vessel.
OOPS! At least now that I’ve learnt my lesson, you don’t need to make the same mistake.
The wick I’ve linked to on Amazon in the materials list above is 1.5cm wide. much better for a vessel of this size or a little larger.
Make sure you choose the right size wick for the right size vessel.
The Process
Step 1
Melting the Soy Wax
Fill your microwave friendly container with soy wax flakes and pop it in the microwave. Depending on the strength of your microwave you will need different lengths of time to melt your wax.
My recommendation is to pop it in for 1 minute and give it a stir. If the wax isn’t totally melted pop it in for 30 seconds at a time check until the wax has melted completely
OBVIOUS WARNING: When the wax is melted it will be HOT! (surprise surprise…) Please be careful. Treat your container of wax like you would a cup of boiling water. Please don’t hurt your precious hands!
Step 2
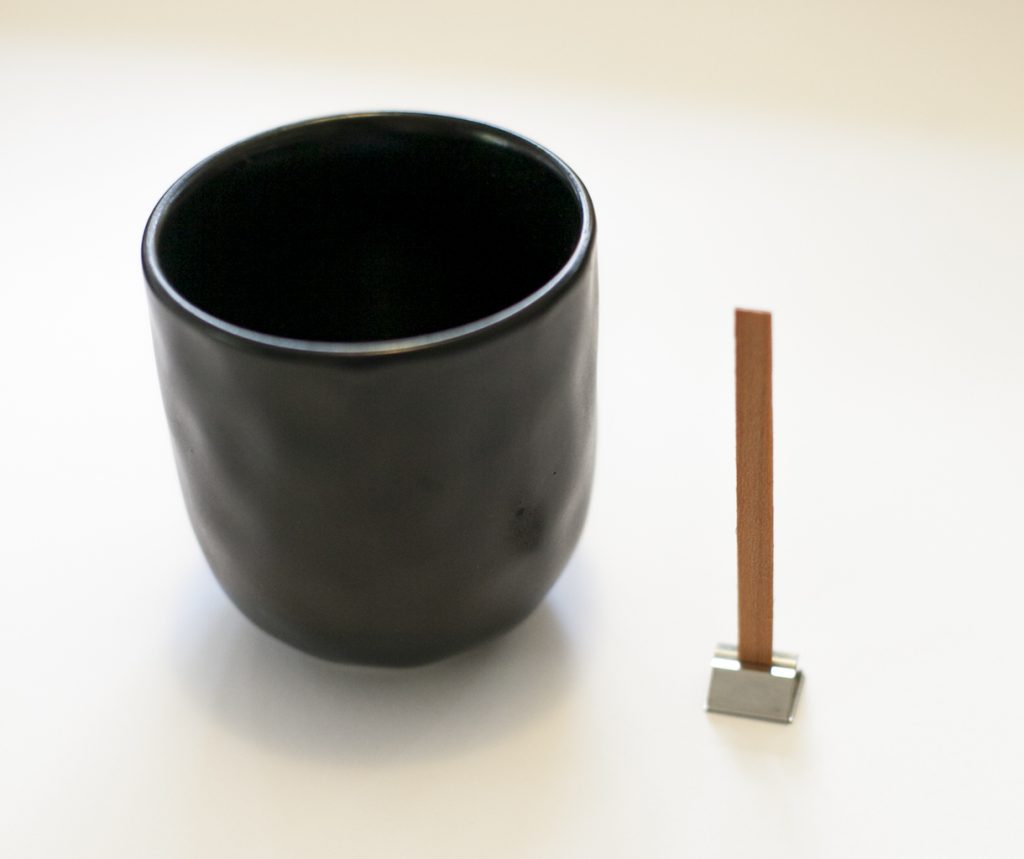
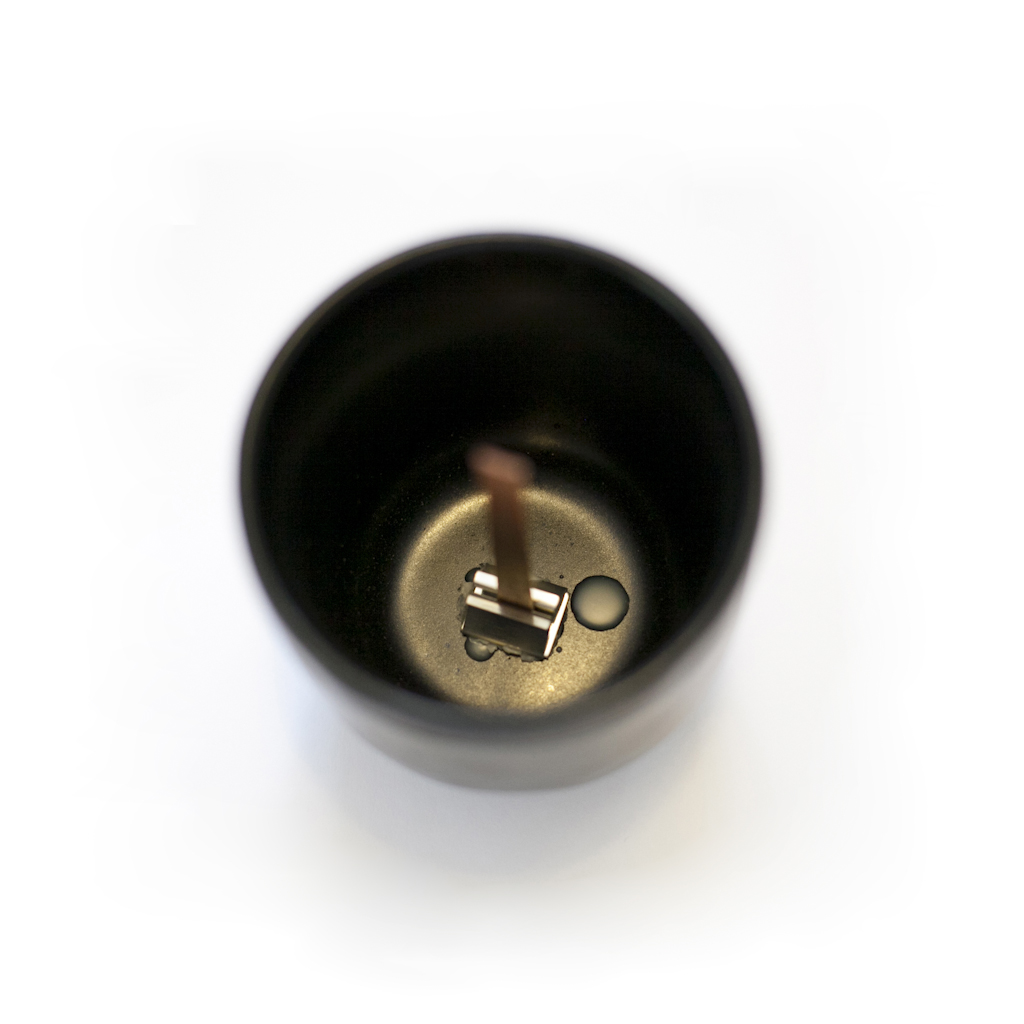
Securing the wick
Wood wicks are actually easier to use that traditional cotton wicks. Well, I think so! They stand tall and proud in their little metal holders so you don’t need to tie them to a stick at the top of the candle. All you need to do is secure the base. You can do this with wick stickers, some people use double sided tape or you can simply use a dab of warm wax to hold the metal piece in place. That’s what I did. There is a downside to this method however. When your candle is burning and melts right down to the bottom this wax will also melt releasing your metal piece from it’s waxy grip. But you know what, when you have melted that far down, the candle is basically doneskies anyway right..?
Step 3
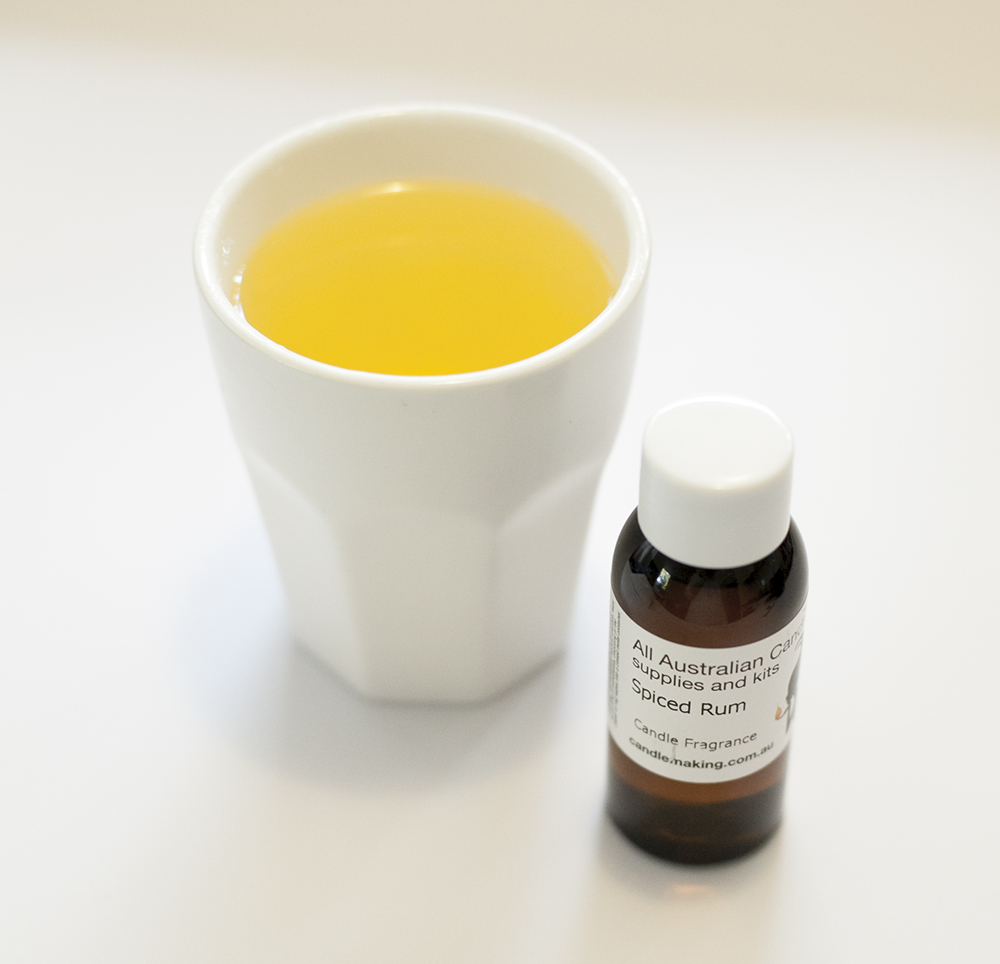
Add your fragrance
The amount of fragrance you should add will depend on how strong you want the candle to smell when it’s burning. I found a good scent calculator on AussieCandleSupplies.com, It’s a great guide for working out just how much you’ll need. Pour your fragrance into the liquid wax and give it a bit of a stir.
I chose Spiced Rum. It’s super challenging choosing a scent over the internet with nothing but a stock photo and a name to give you an idea of how it smells. I was happy with this one but I bought two other scents at the same time, one I like the other is not so good. If you can, I would recommend choosing fragrances in person. If you can’t just be prepared that it might not smell exactly like you imagined it would.
Step 4
Carefully pour the wax into the vessel. If you get any wax on the outside of the vessel, just use a damp warm cloth to remove it.
Now all you have to do is wait for the wax to set.
Leave it over night before you light it up to make sure it’s thoroughly set and you’re good to go! Easy as that.
Candle making tips
Temperature
When I made this guy it was quite a cold day and I left it to set on my stone kitchen bench, which was really cold. My candle set fairly quickly but it also cracked at the top and from what I’ve read, that can be caused by the wax setting to quickly. It doesn’t mean there’s anything wrong with the candle, it just doesn’t look as pretty as if it had taken longer to cool and set.
Choosing your wick
As I said before, I used the wrong size wick for my vessel.
Make sure you check on the recommended “melt pool” size.
If your wick is to long for your vessel, cut it to size before adding the wax. Unlike cotton wick candles, the wood can be tricky to cut to size after the candle is set. Learnt that one the hard way too! 😉
Don’t stress and have fun!
Candle making is easy but like anything else, if it’s the first time you’re trying something you might not get it right straight away. If you want to be sure you’re making “perfect” candle for your gift, make a trial one first. Make sure you’re happy with the amount of scent used, the wick allows the wax to melt all the way to the edge of the vessel… all that good stuff. Otherwise, just give it a crack and see what happens! Have fun!




-2 Comments-
[…] DIY Man Candle – Dominique @ The Crafted Blog […]
[…] DIY Man Candle from The Crafted Blog […]