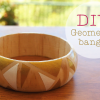
How to: Painted geometric bangle
Supplies:
Wooden bangle
Paint brushes
Sticky tape
Acrylic paint
Scissors
Gloss varnish
1. Cut the tape into this strips and stick onto the bangle. This will mask the areas you don’t want painted. As a precautionary step it’s probably worth using a mat varnish or a wood sealer on the bangle first. If you look really hard you can see the tape. (Sorry, it’s really hard to take a pic of clear tape!)
2. Once you have your lines masked off paint the bangle. I used gold and white and left some blank. This will create glossed wood triangles too once I put the varnish on.
3. Give the bangle several even coats of a gloss varnish. By doing this before removing the tape you will get nice mat wood lines between the painted sections
4. Once the varnish is dry remove the tape from the bangle.
Tips:
– With most varnishes it’s always a good idea to do several thin coats rather than one thick one. If you apply the varnish to thickly it will dry cloudy. This is caused by the surface of the varnish drying and not allowing any air to get to the rest of the varnish. Therefor the varnish underneath cannot dry and stays cloudy.
– If you don’t want the lines on the bangle to be mat wood you can remove the tape and then varnish the piece. This will give you an all over gloss.
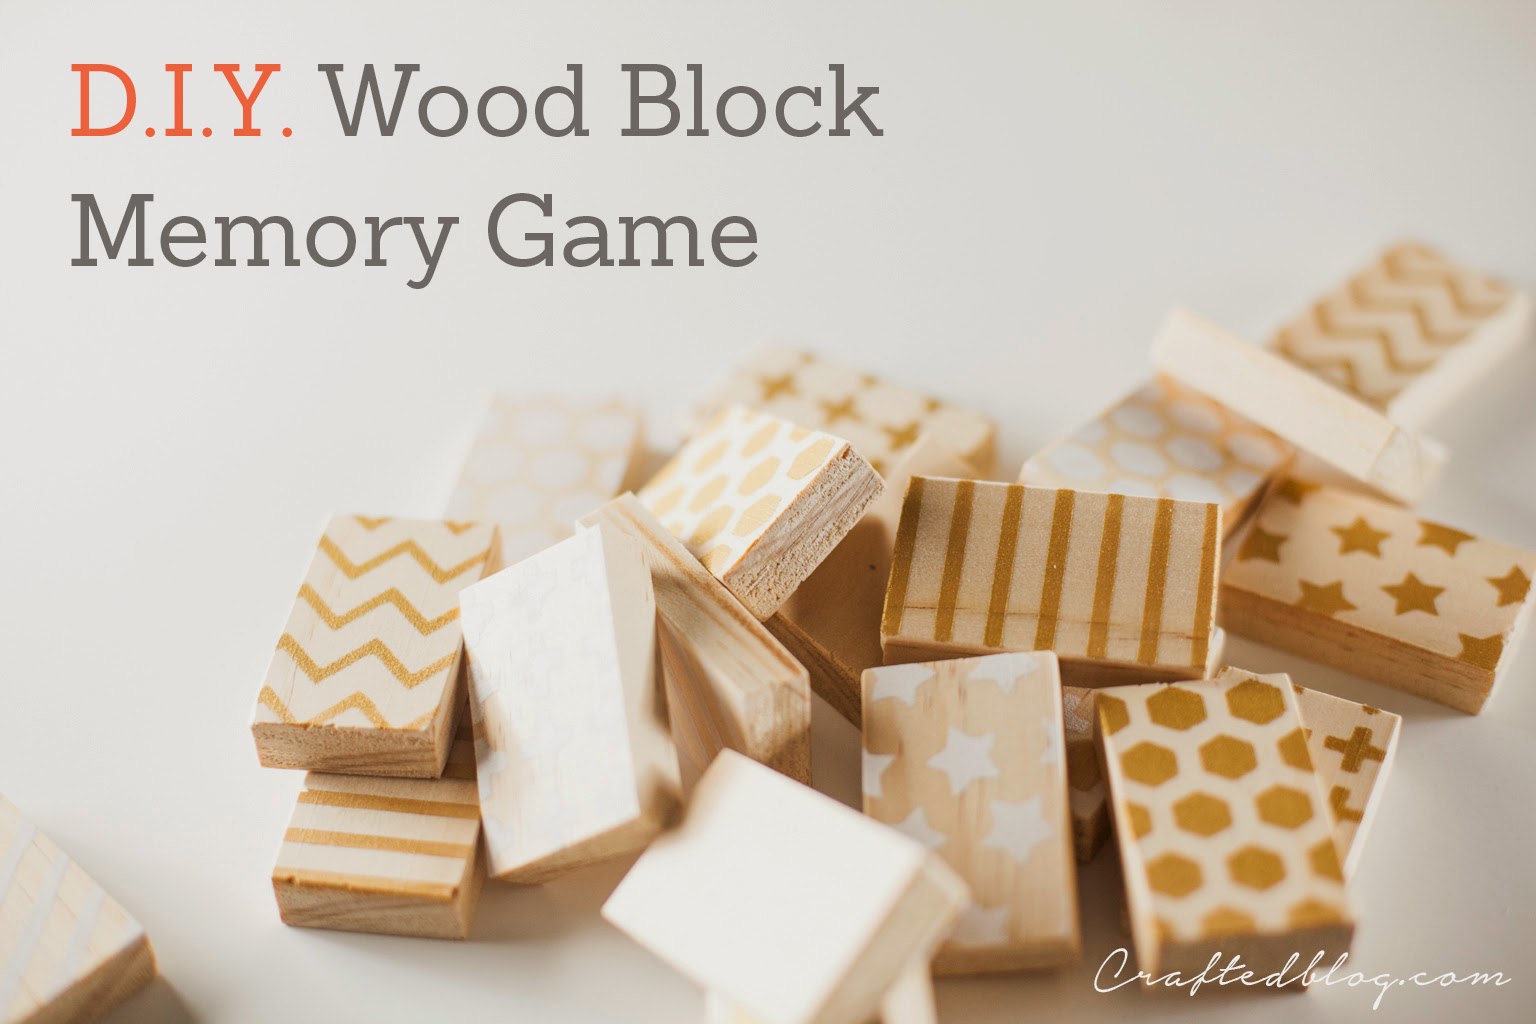
If you like this tutorial check out these coasters I made using the same technique 🙂
Click the pic to go to the tutorial.
I still love this technique of painting. It works on so many objects! What would you geometrify? 😉




-0 Comment-