DIY Poster Hanger
A poster hanger is such a great alternative to a standard picture frame. In this post I’ll show you how super easy it is to make your own from scratch.
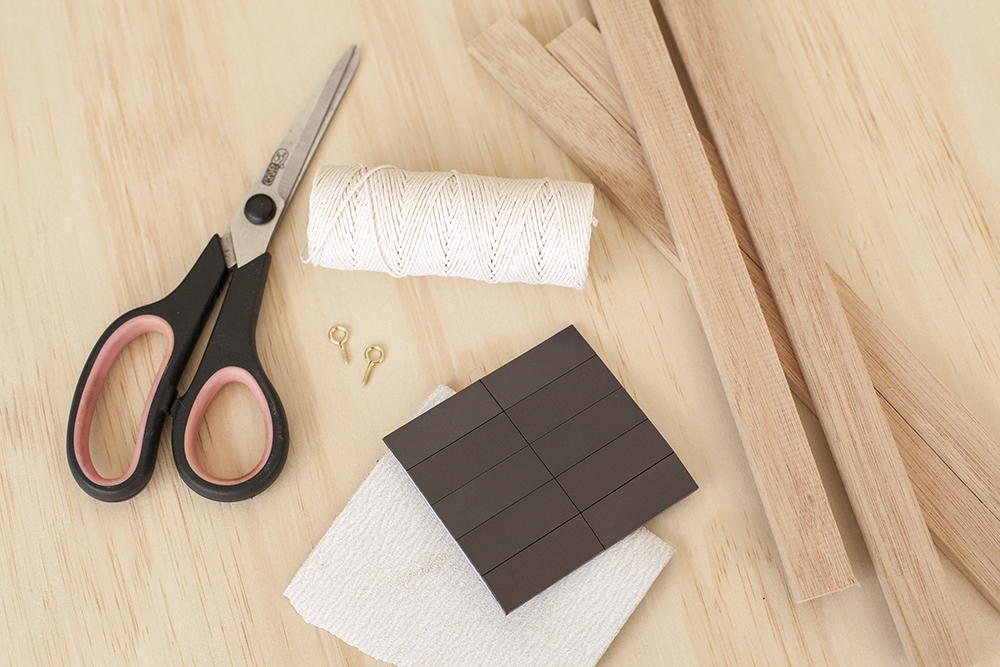
Materials:
Wood
Hand saw
Strong, thin, magnets**
Sand paper
Eye hooks
Scissors
String
** Since creating this post I found the magnets I used weren’t strong enough for a thick poster. I would highly recommend these magnets from AussieMagnets.com.au – They are super thin and super strong! I’ve used these since and they are fabulous! – Not an affiliate for them, I just know they’re great. 🙂
Step 1
Saw your wood into four even lengths. You can make them however long you need! If you have an artwork in mind already, measure the length of the top side of the artwork. Sand the cut edges to make them nice and smooth.
Tip: Use a mitre box to get a nice straight cut.
Step 2
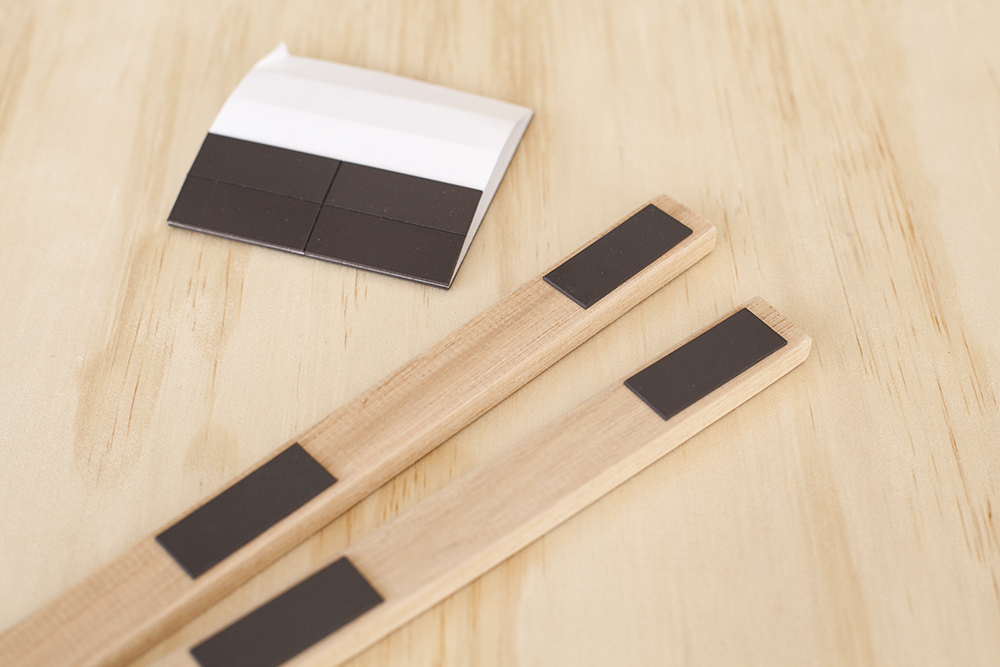
Attach magnets to one side of each of the wood pieces. If your magnets are self adhesive then you can just whack them straight on there. If not, most craft glues should do the trick. I always recommend UHU All Purpose.
Totally my favourite glue!
If you’re making this for one particular print you could simply use double sided tape to attach the wood to the print.
TIP: Be sure to use strong magnets. If the magnets are not strong enough your poster will fall off the wall. Since creating this project I have made another poster hanger and I used these magnets from AussieMagnets.com.au and they are amazing! Really thin and super strong. Highly recommend these over the strip style shown in these images.
Step 3
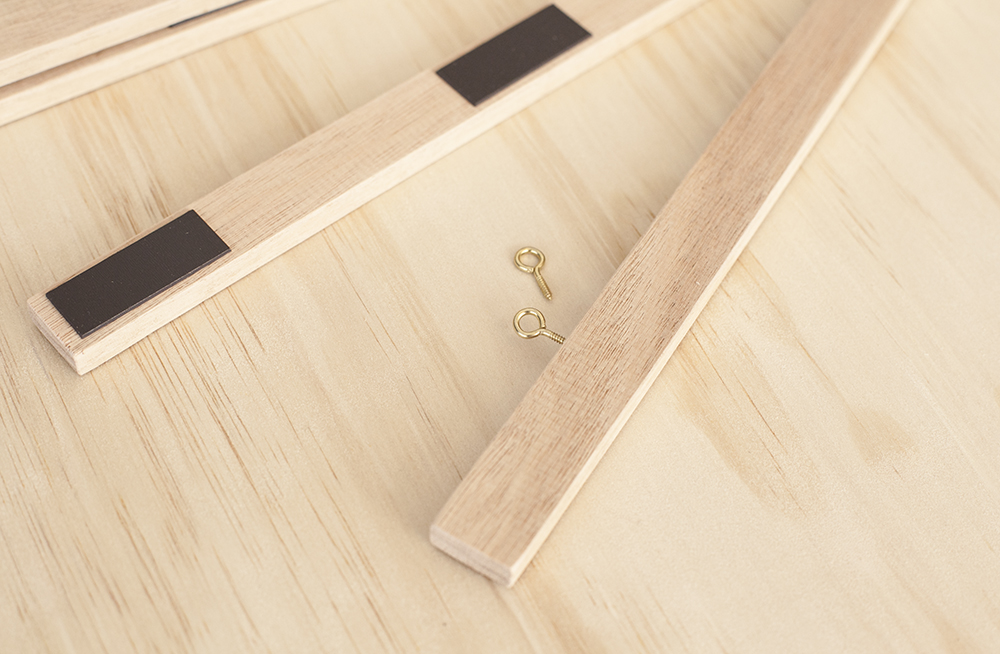
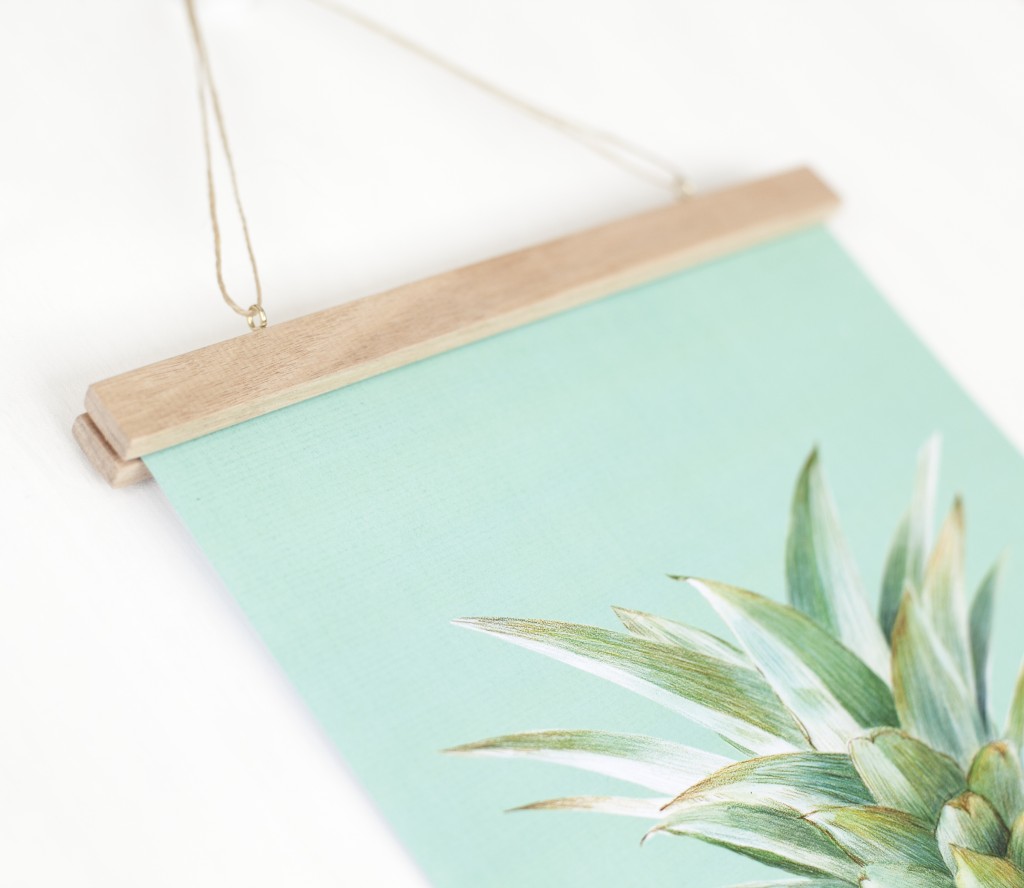
Choose the piece you want to be at the top and on the front of the poster and screw the eye hooks into the top.
Finito! Told you it was easy!
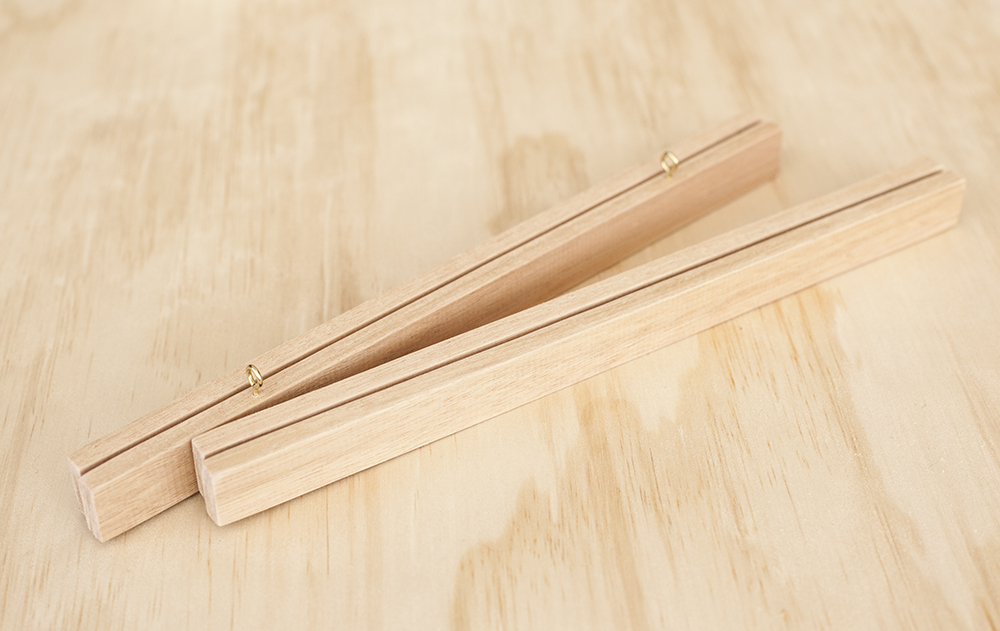
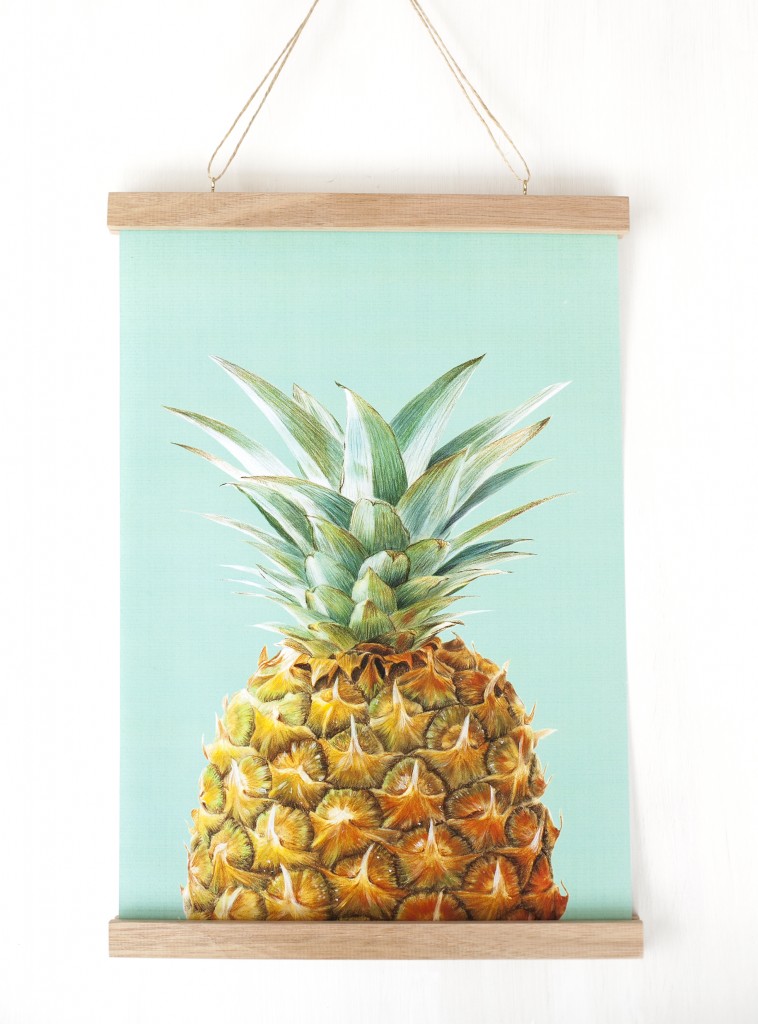
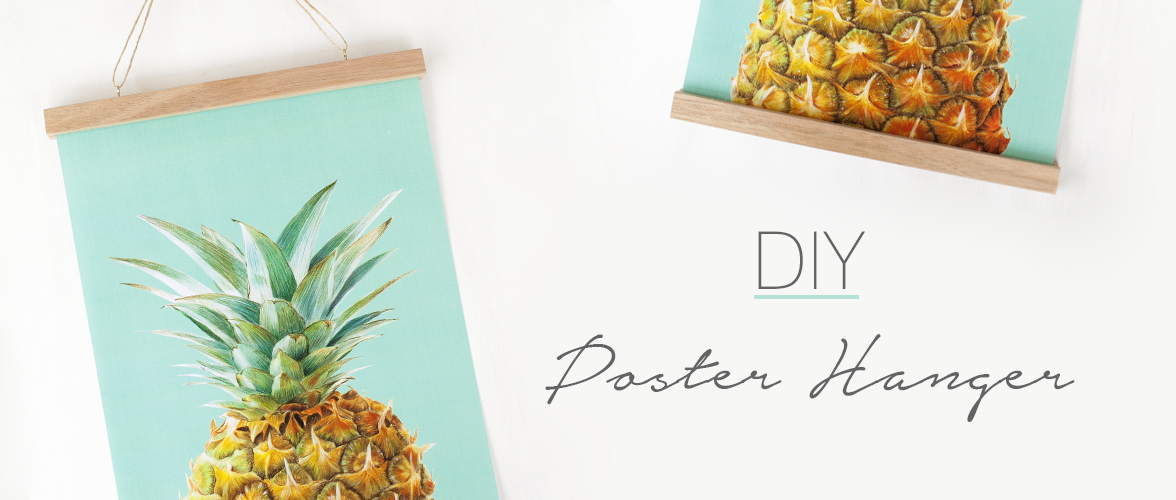
Now all you have to do is choose a fun print to hang! I chose this pineapple print from Lila + Lola on Etsy.
Here’s a little pic for you to add to your pinterest board…
There are so many great prints you can purchase and digitally download and print yourself. So simple and fast!
That’s how I got this one from Lila + Lola. Love it!
Well, I hope this project was helpful for you!,



-14 Comments-
Cute tutorial and KILLER print! The teal with the wood tone you chose is soooo pretty!
It looks really nice!
Love this! Where’d you get all of your materials?
Hi Adrienne!
I got pretty much everything from my local hardware store. 🙂
Hi, Dominique! I´m from Brazil.
I love this DIY 🙂
Where can I find (online stores) these magnets self adhesive to buy? Thanks!
I love it!!
I am SO glad I found this tutorial. I’ve been agonizing trying to find a solution for some large prints I have and this is exactly what I’m going to do! Thanks so much
Hi Jonathan!
So glad this post helped you!
Just make sure you get good strong magnets with a large print.
Please send me a pic when you’ve made them. I’d love to see! 🙂
Dom
DIY Vintage Science Poster – So easy to make a great way to hang art with out making any holes in the wall!
I was thinking of buying one of these and then wondered how easy it would be to make. Totally making it now, thank you!
hi
did you use the little round magnets from aussiemagnets?…i will need to hanger large canvas’s that are 1.45cm long..thanks..Barb
Hi barb!
Yes I used the little round ones. They are great!
The length of your piece may mean you need larger magnets though.
I would recommend having a chat to the Aussie magnets team. They were super helpful when I asked them for advice before. They should be able to point you in the right direction.
All the best Barb!
Wow, beautiful idea, thanks for sharing!
What wood width and thickness did you use? I have an old 50″ x 40″ map of the world — it’s from a classroom, an old roll-up style map. Wondering if i should increase width and/or thickness of wood rails for my project…